Automating CDS Role Assignments using Power Automate
- Print
- DarkLight
- Download PDF
Automating CDS Role Assignments using Power Automate
- Print
- DarkLight
- Download PDF
Article summary
Did you find this summary helpful?
Thank you for your feedback!
While many people feel Power Automate is only a tool for “Citizen Developers”, it can be used by anyone in your organization to improve their productivity. This includes IT Pros and Administrators. In the past, I have discussed the ability to automate assigning users to a Power Platform environment. In this tip we are going to take that automation a step further and use Power Automate to assign CDS security roles to users using Power Automate and the Common Data Service connectors.
Why would I use this?
Consider a scenario where you want to assign CDS security roles to a group of users, but want to do this in an automated manner. While you can assign a security role, when you share a Canvas app there are situations where that approach will not address all scenarios. For example, perhaps you have a Dynamics 365 CE implementation and you want to automate the provisioning of Dynamics licenses, environment access and security role(s). Alternatively, you may have a Power Automate use case where a maker needs access to CDS for their flows and you want to automate this process.
Building our solution
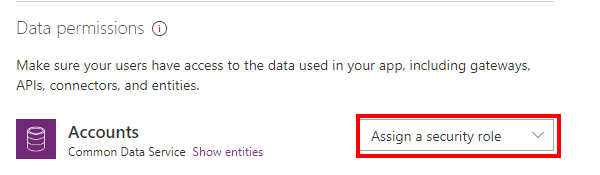
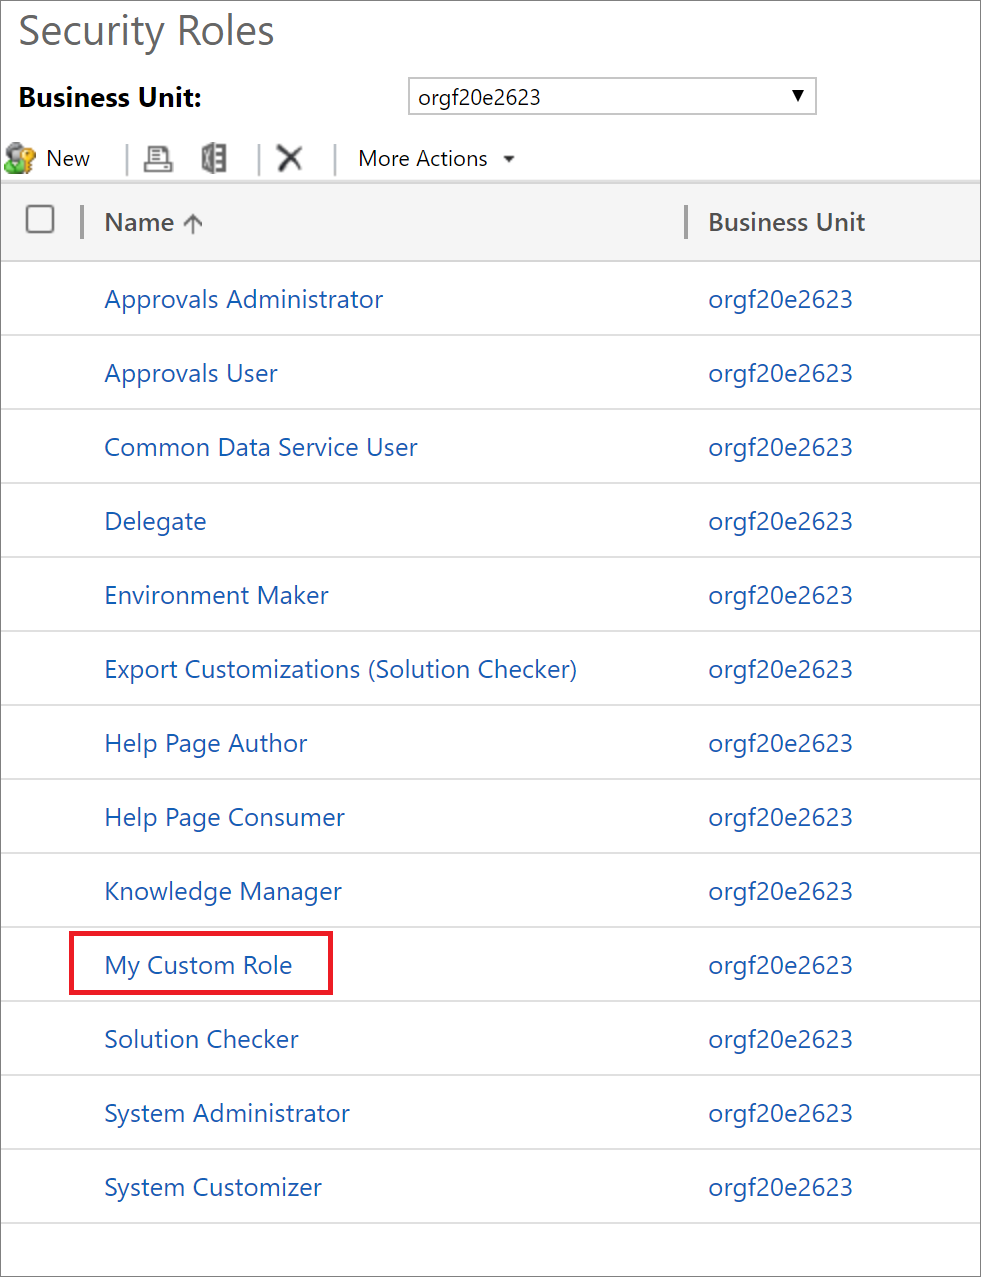
For the purpose of this blog post, we are going to create a custom security role, although out of the box roles will also work.
The next thing that we need to do is to create a Solution. This is required in order to leverage the Current Environment version of the Common Data Service connector.

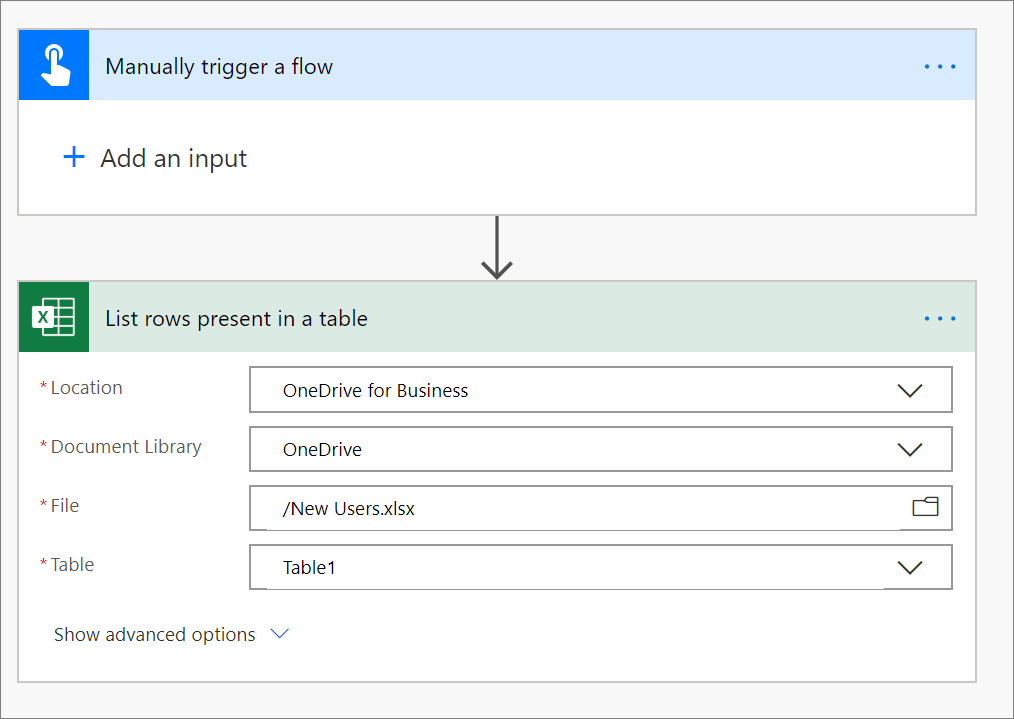
To kick off our process, we will use a manual trigger. Then we will go ahead and use the Excel Online connector that will List rows present in a table. For every user that we want to assign a CDS role to, we will include them in this spreadsheet.
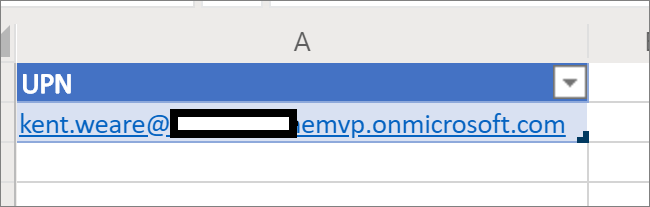
Our spreadsheet is quite simple, a single column that contains a list of UPNs.
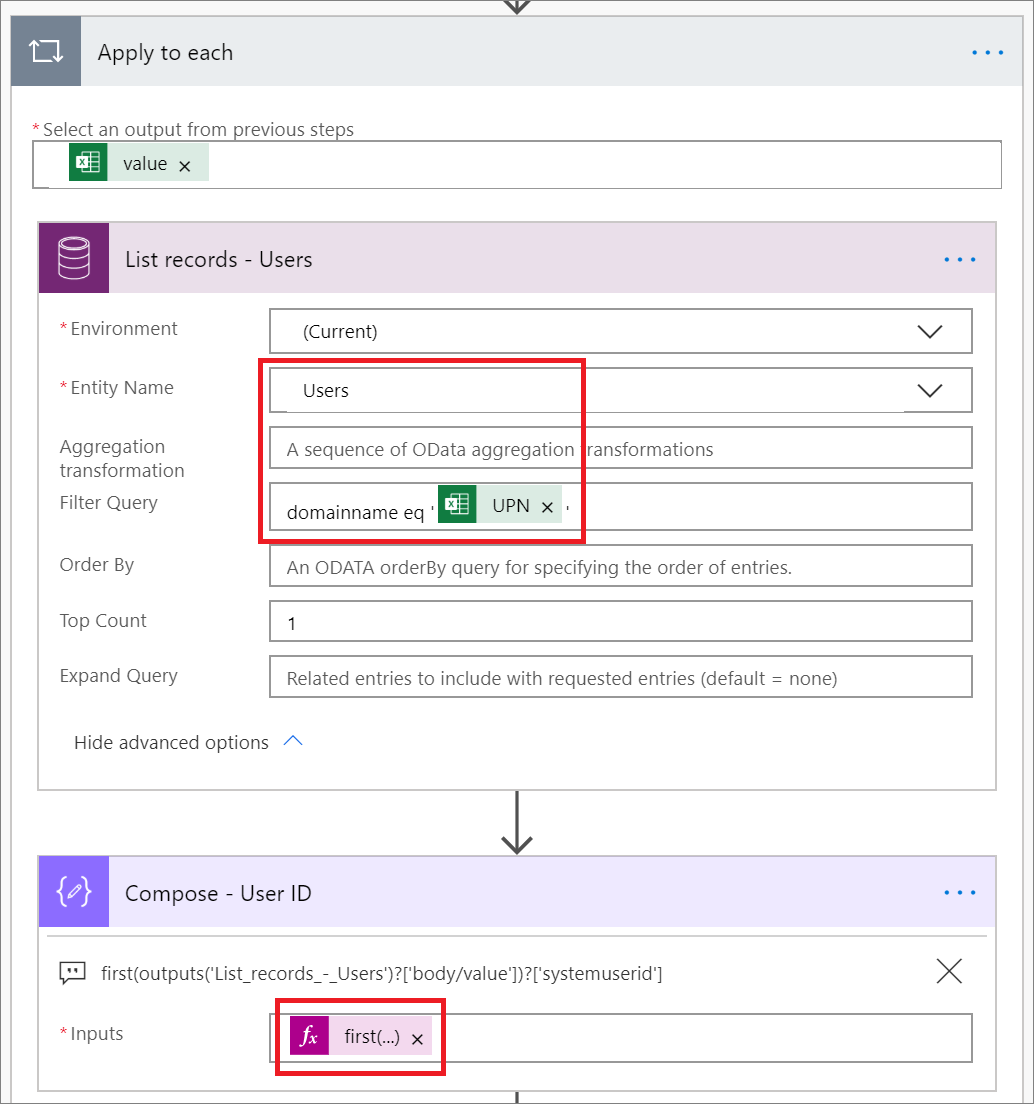
Next, we need to look up the user ID (within CDS) for our user and can do so by using the List records action in the CDS connector and the Users entity. We will also filter our record set by including a Filter Query of domainname eq ‘< UPN >’.
To simplify using the user ID in subsequent actions, we will assign this value to a Compose action. To accomplish this, we will use an expression of first(outputs('List_records_-_Users')?['body/value'])?['systemuserid'].
Note: The name of the CDS action will have an impact on the value of this expression.
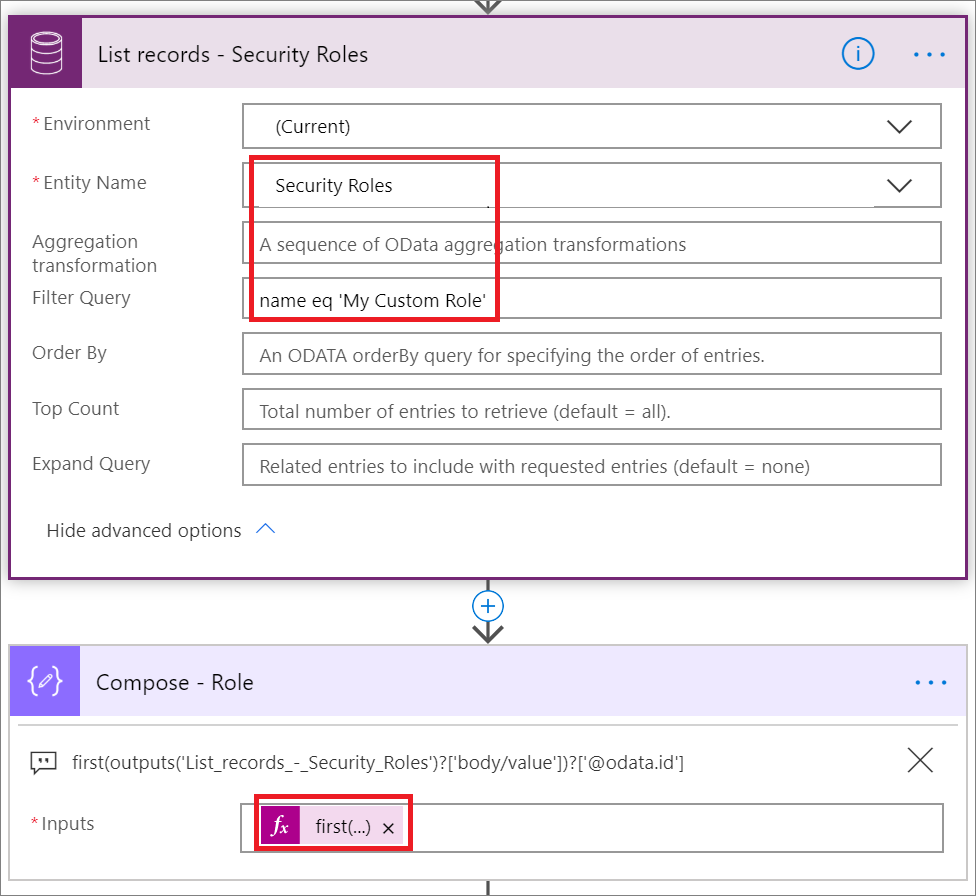
The next piece of information we need is the ID for the role that we want to assign to our user. To accomplish this, we will use the List Records action to query our Security Roles entity. Much like when listing our users, we want to provide a Filter Query of name eq '< My CDS Role >'.
To use our ID in subsequent actions, we will once again use a Compose action and an expression to retrieve this value. The expression is: first(outputs('List_records_-_Security_Roles')?['body/value'])?['@odata.id']. Once again, the name of our prior CDS action will have an impact on this expression value.
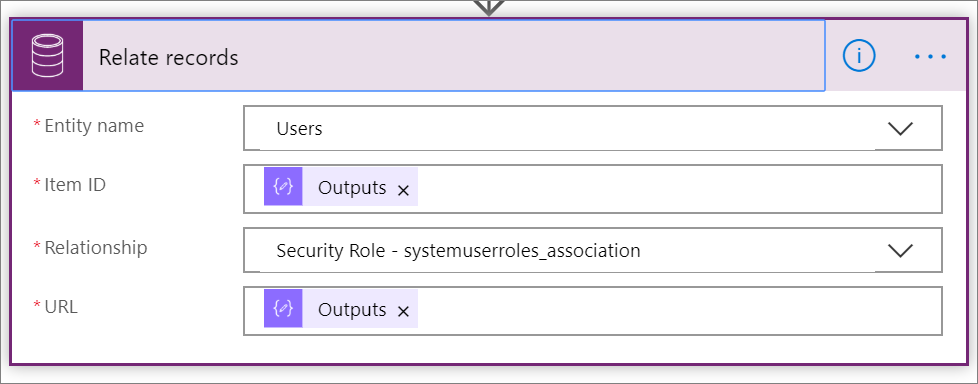
Lastly, we need to use the Relate records action, found in the Common Data Service connector that will assign our User ID to Item ID and our Role to our URL.
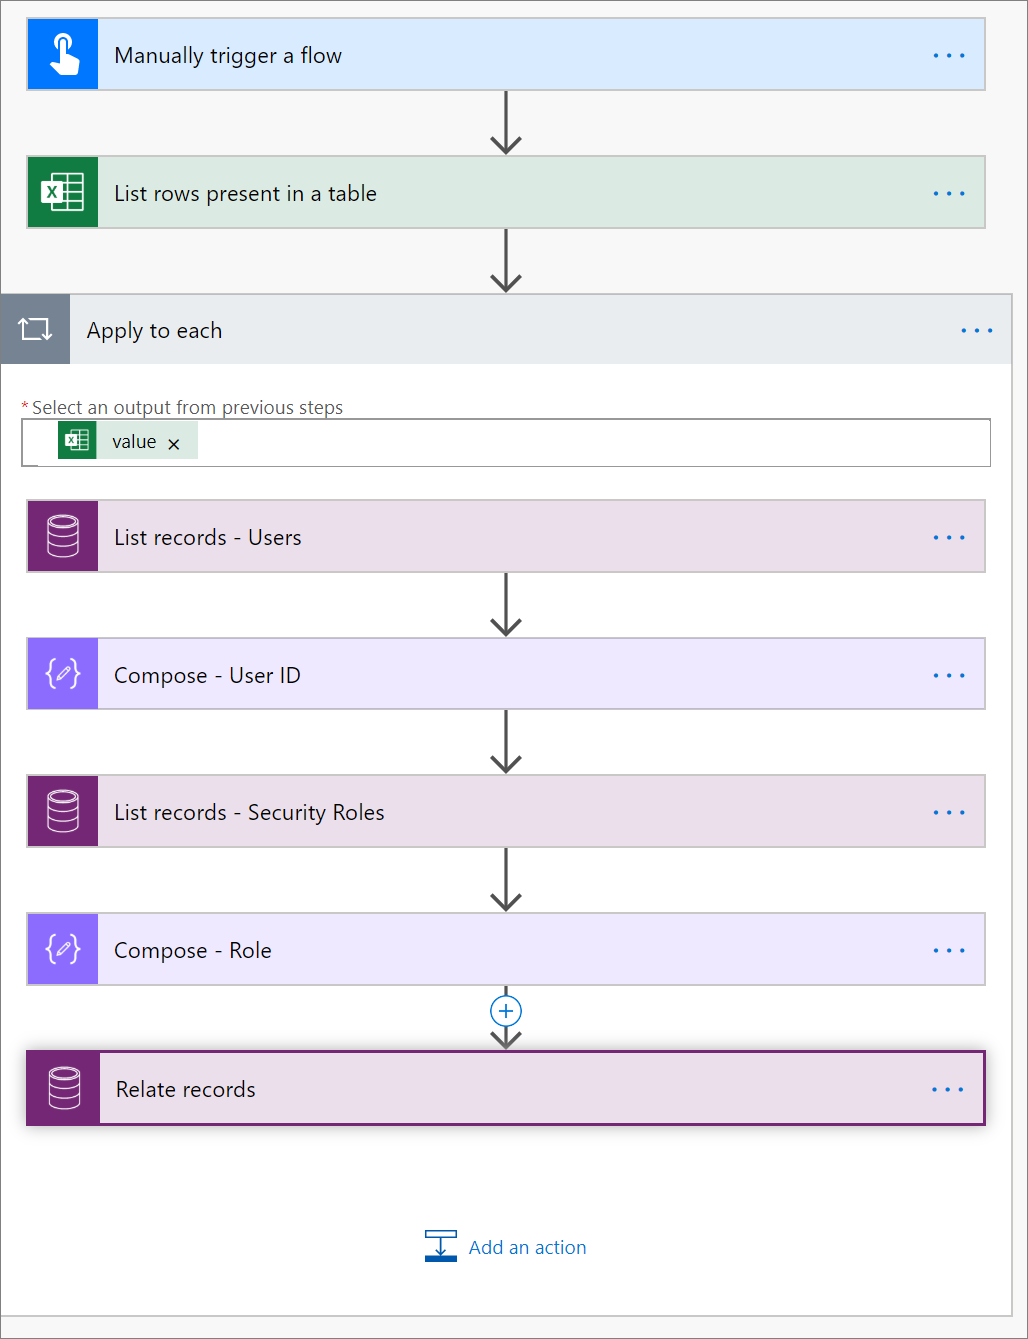
Our complete flow looks like the following:
Testing
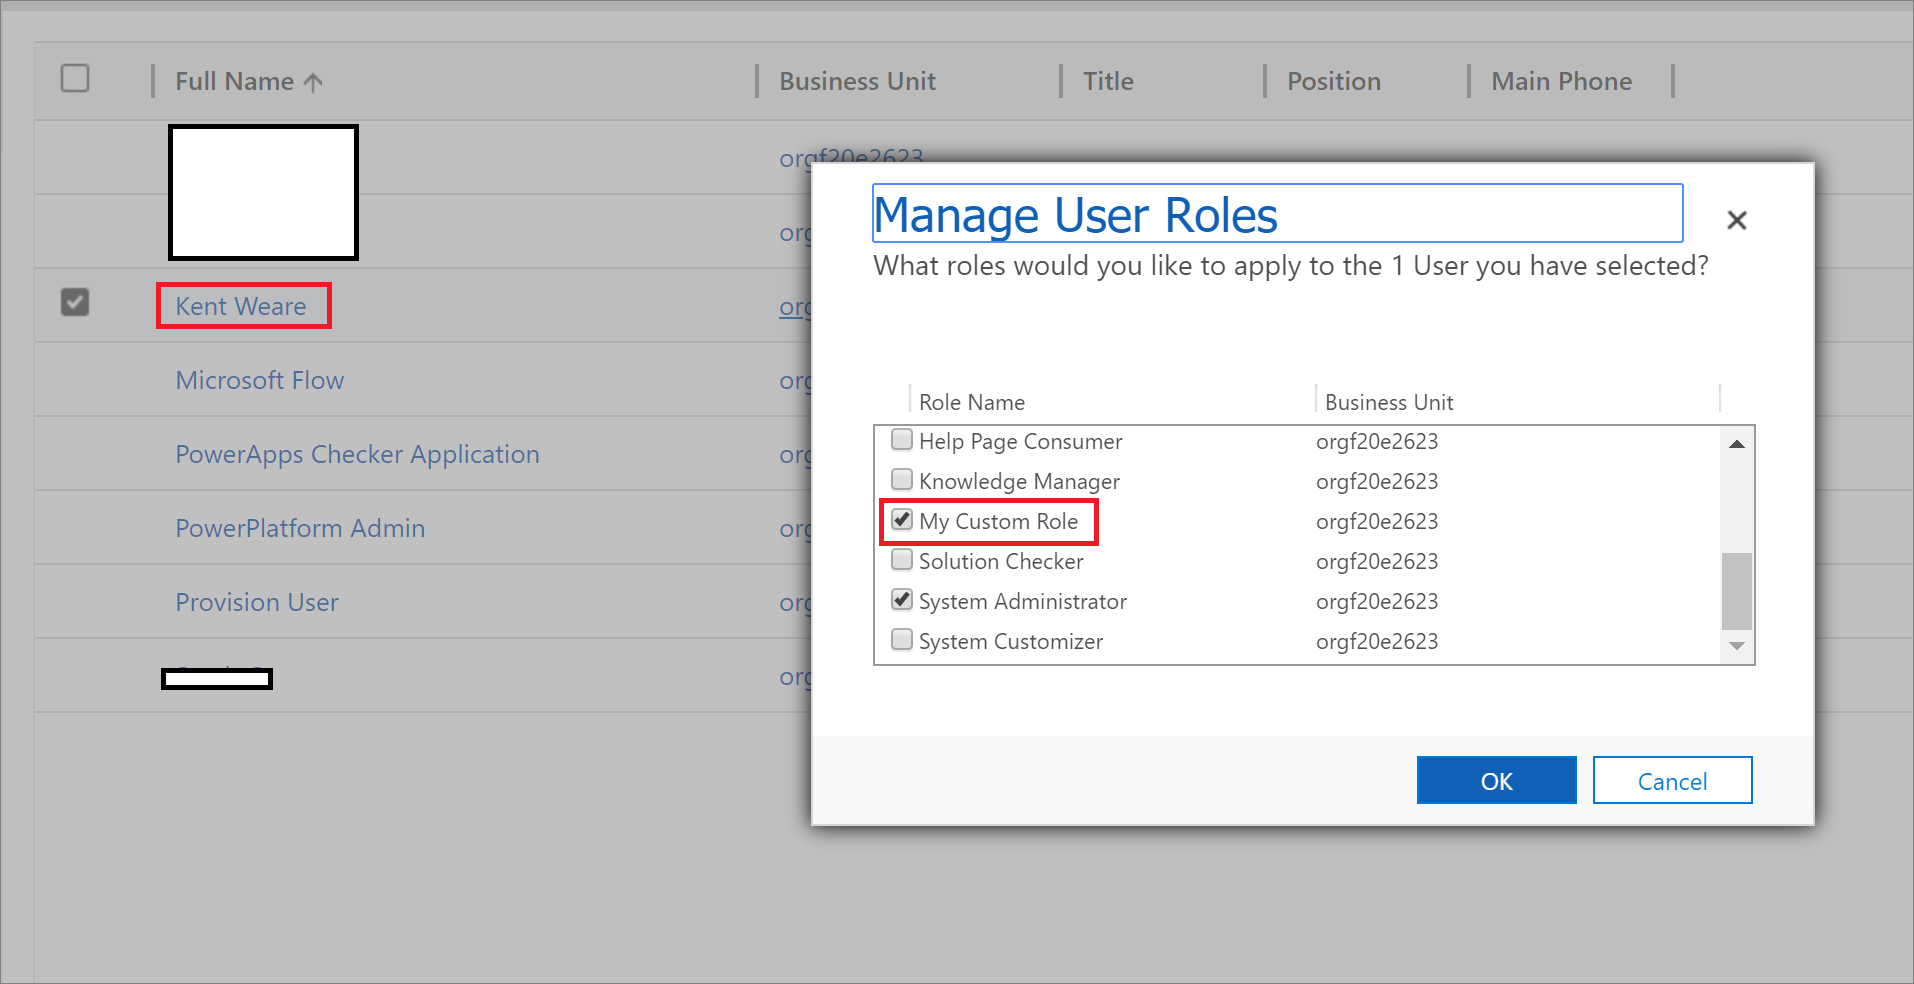
We can now go ahead and test our flow. When we do so we will discover that our custom CDS role has been assigned to our user.
Conclusion
Every user, regardless of role, should find ways to automate their workloads. Using the Common Data Service connector allows for the automation of CDS role assignment which can simplify and standardize the provisioning of user access.
Was this article helpful?