Calling Microsoft Graph Reports API
- Print
- DarkLight
- Download PDF
Calling Microsoft Graph Reports API
- Print
- DarkLight
- Download PDF
Article summary
Did you find this summary helpful?
Thank you for your feedback!
Microsoft provides an out-of-box Power BI report for organizations looking to gain an understanding of their Microsoft 365 usage. While these reports are extremely useful, you have less control over the underlying data model and the data is based upon monthly usage for the past 12 months.
There may be situations when you want more timely access to data and want to persist it for more than 12 months. The Microsoft Graph Reports API exists that allows developers to access organizational-level data for the past 7y/30/90/180 days. Because you have direct access to this data, you can store this information in your own data store, such as CDS or Azure SQL.
Calling the Graph APIs are straight forward. Microsoft does a good job of showing examples in their documentation. However, what is not very straight forward is how you can create your Bearer token and call the Graph API from Power Automate using the HTTP action. In this post, we are going to focus on these areas since this isn’t well-documented elsewhere.
What information can I find in the Graph Reports API?
- Microsoft Teams
o Device Usage
o User Activity - Office 365 (general)
o Activations
o Active users
o Group activity - OneDrive
o Activity
o Usage - Outlook
o Activity
o App usage
o Mailbox usage - SharePoint
o Activity
o Site usage - Skype for Business
o Activity
o Device usage
o Participant activity
o Peer to peer activity - Yammer
o Activity
o Device usage
o Groups activity
Authentication
We won’t be putting in our credentials directly into the Power Automate connector. Instead, we will be creating an Azure App Registration where we can use those values for authentication and use those details inside our HTTP action within Power Automate.
- Within the Azure Portal, access Azure Active Directory and select App registrations.
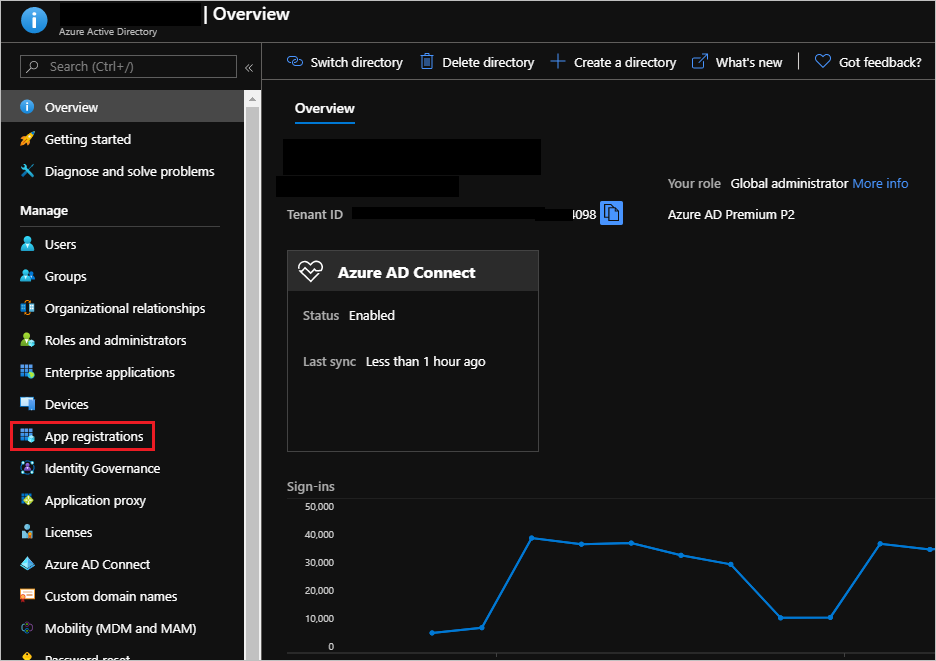
- Click on New registration
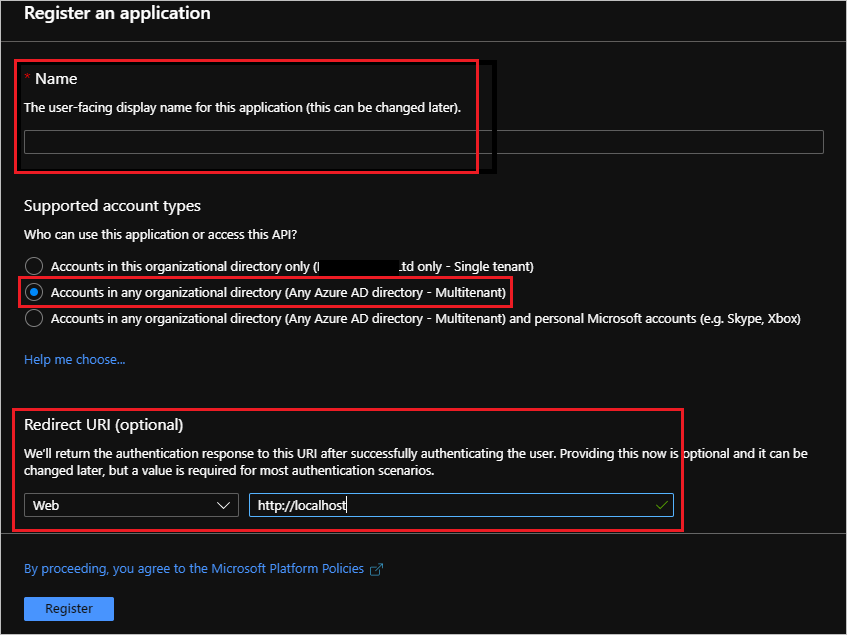
- Provide a Name, select Accounts in any organizational directory (Any Azure directory – Multitenant) and then provide a Redirect URI that is of type Web and has a value of http://localhost.
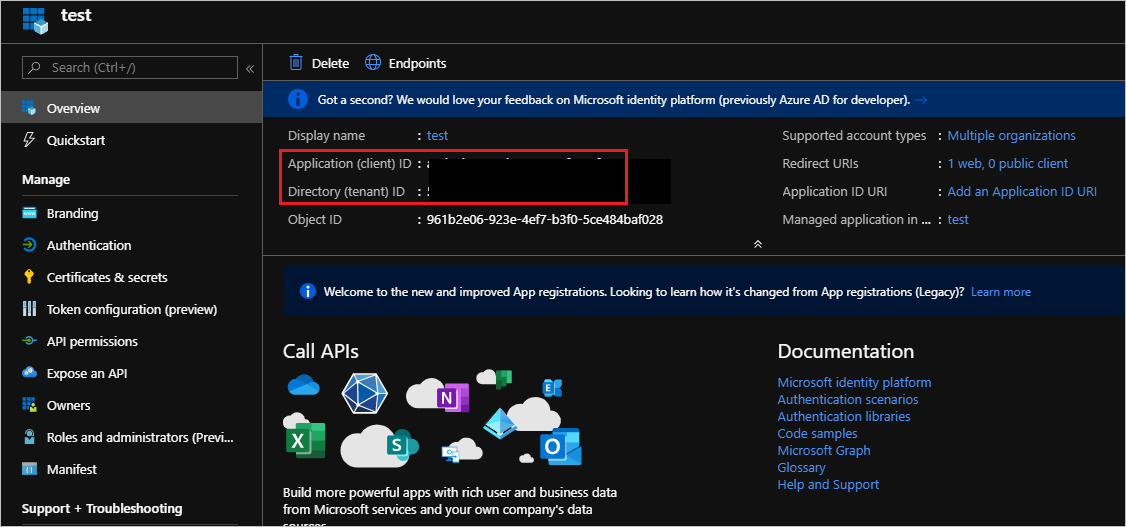
- We will be transitioned over to the Overview screen where we will need to retrieve a few values and store them in a text editor (like Notepad). The values we need include Application (client) ID and Directory (tenant) ID.
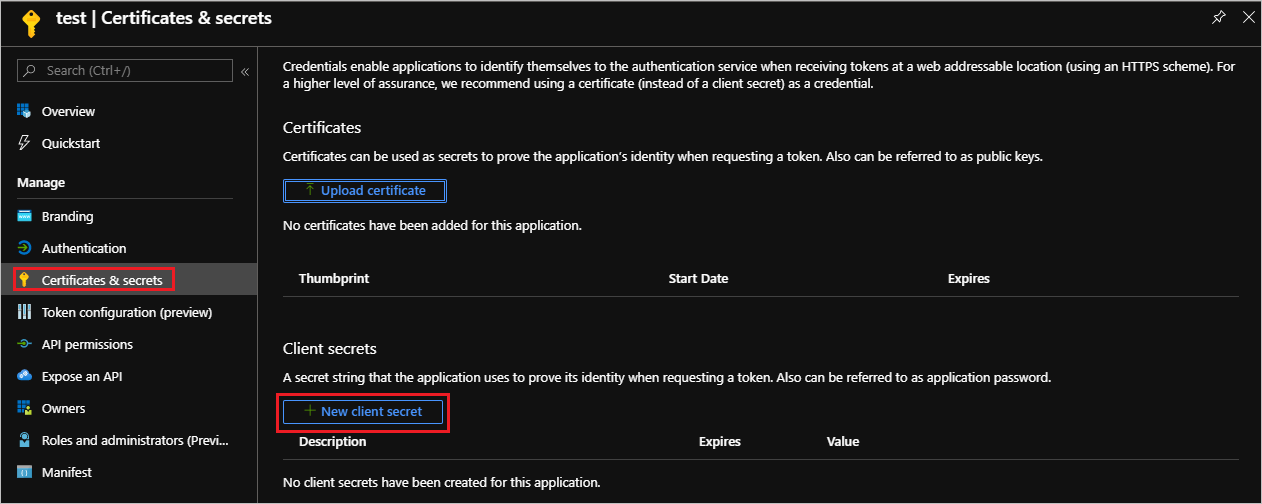
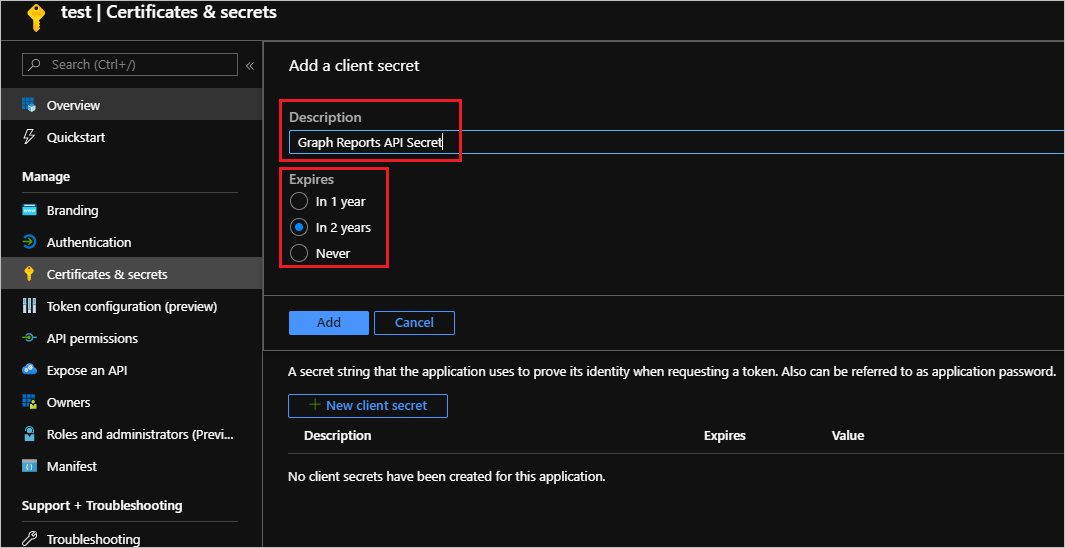
- Next up, we need to generate a secret and can do so by clicking on Certificates & secrets and then click on New client secret.
- Provide an appropriate Description, Expires duration and then click on Add button.
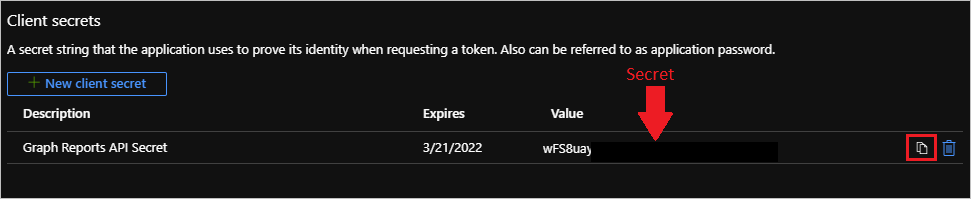
- Click on the Copy icon. This is the only opportunity you will have to save this secret so also store this in your text editor.
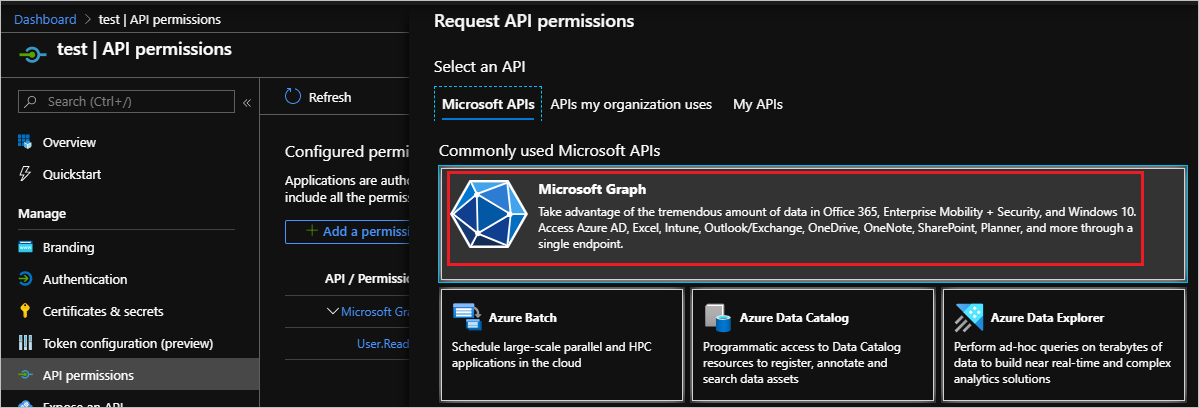
- The next thing we need to address is providing the Azure App Registration, that we previously created, with the appropriate access to the Graph Reports data. To do this we need to click on API permissions and then click on Add a permission.

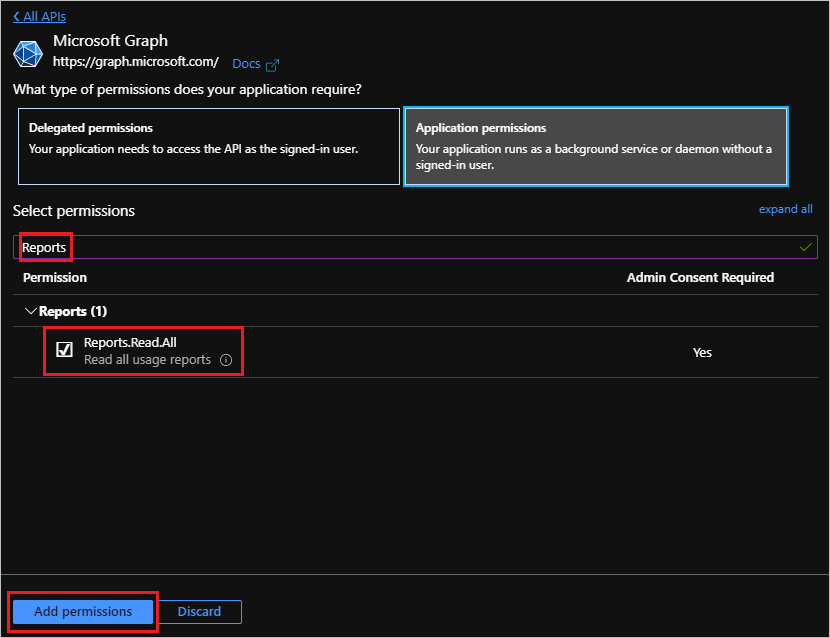
- Select Microsoft Graph.
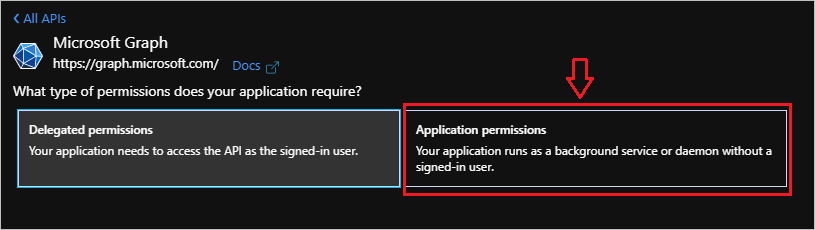
- Select Application permissions since Power Automate will not be functioning as a signed-in user.
- Search for Reports and then check Reports.Read.All, followed by clicking Add permissions.
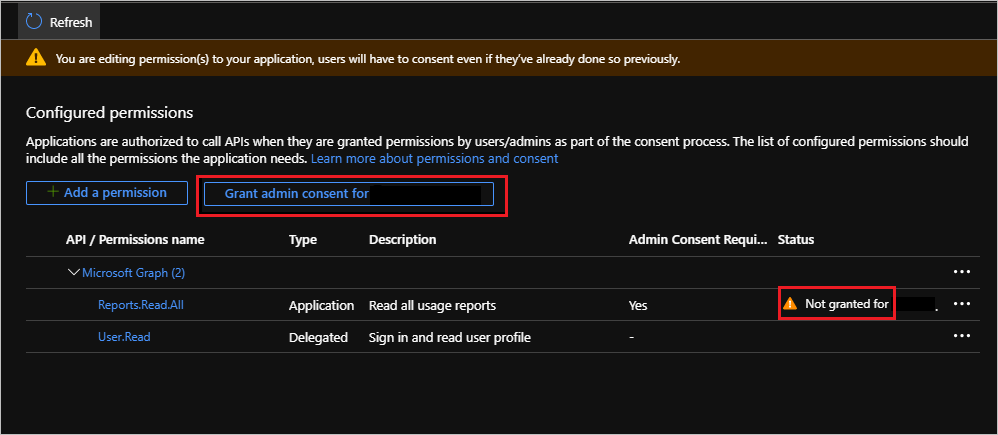
- Since the Graph Reports will provide access to individual’s Office 365 consumption, an administrator needs to click on the Grant admin consent button. If you are not an administrator, you will require an administrator do this step.
Building our Flow
The purpose of this post is not to build all the various reporting use cases that are possible, but rather focusing on the HTTP action as this often creates challenges.
- To keep this simple, let’s create a new flow and use the Manually trigger a flow trigger.
- Next add an HTTP action and provide the following configurations:
a. Method - Get
b. URI - https://graph.microsoft.com/beta/reports/getTeamsUserActivityUserDetail(period='D7')?$format=application/json
c. Authentication provider of Active Directory OAuth.
d. Authority - https://login.windows.net
e. Tenant - < your tenant value from Azure Portal >
f. Audience - https://graph.microsoft.com/
g. Client ID - < your Client ID from Azure Portal >
h. Credential Type – Secret
i. Secret - < your secret from Azure portal >
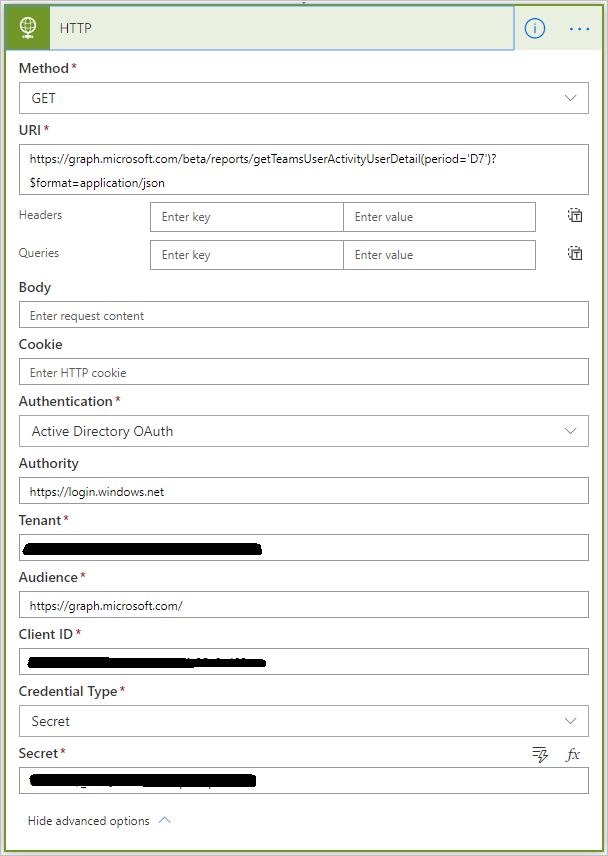
Note: There are many different Graph Report APIs that can be called. In this case, we are calling the getTeamsUserActivityUserDetail API operation and are looking for data for the prior 7 days. We also want the response to be rendered in JSON. For additional details on all the different API operations that are available, please review Microsoft’s documentation.
Testing
Let’s now run our flow by clicking on the Test button. When we run our flow, we will receive our output that includes an array of users and their Microsoft Teams User Activity for the past 7 days. As part of each record we will see what products they have been assigned and how many chat sessions, calls, and meetings they have had.

Conclusion
In this post, we discussed how we can create an Azure AD App registration that can be used to authenticate against the Graph Reports API. From there we can call an operation that allows us to return data from Graph. In our example, we retrieved user details from Graph. Once we have this data, we can store it in a data store like the Common Data Service or Azure SQL where we can build out reports.
Was this article helpful?