Configuring incremental data updates using Azure Data Factory
- Print
- DarkLight
- Download PDF
Configuring incremental data updates using Azure Data Factory
- Print
- DarkLight
- Download PDF
Article summary
Did you find this summary helpful?
Thank you for your feedback!
#ServerlessTips - Azure Data Factory
Author: Dave McCollough Technical Consultant
In this article, we will incrementally move data from an Azure SQL Database to Azure Blob storage using Azure Data Factory.
Prerequisites
- Active Azure Subscription. If you don’t have a subscription, you can sign up for a free one here.
- Azure Data Factory
- Azure SQL Database
- Azure Blob Storage Account
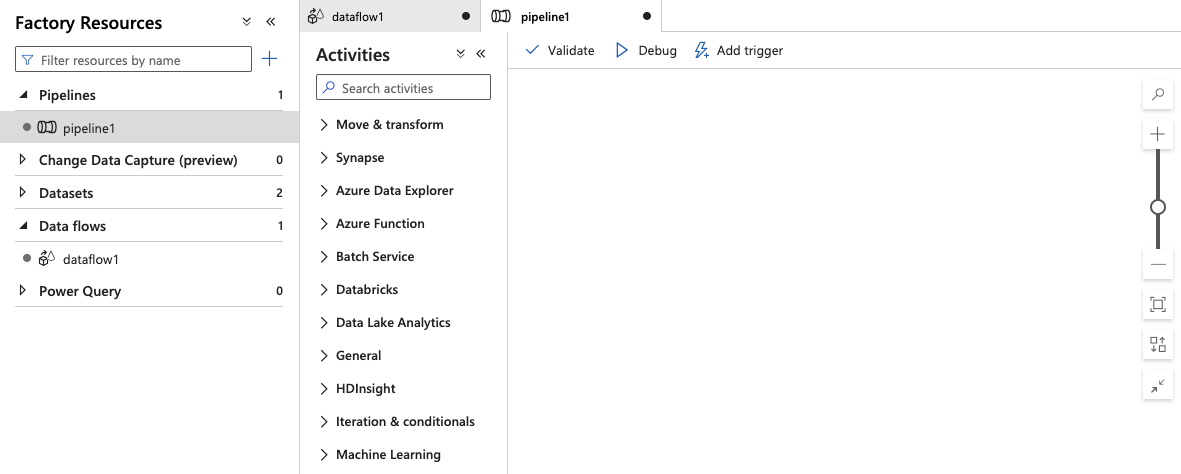
Configure the Pipeline
- Open Azure Data Factory Studio
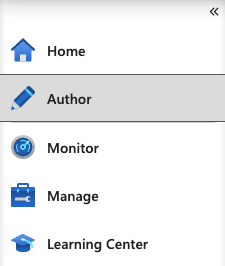
- Select Author from the side navigation bar
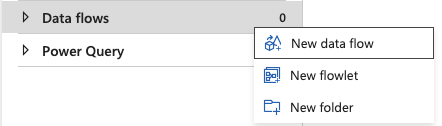
3.Click the ellipsis next to Data Flows and select New Data Flow
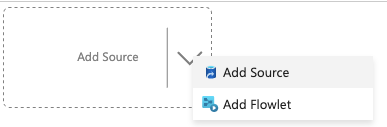
4.Click Add Source
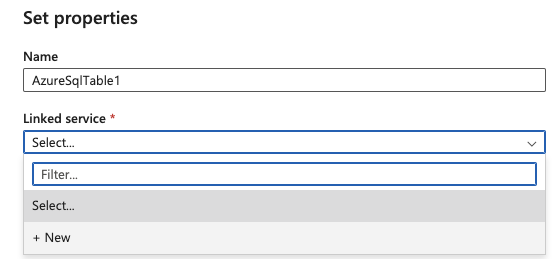
5.Click + New to create a new Dataset
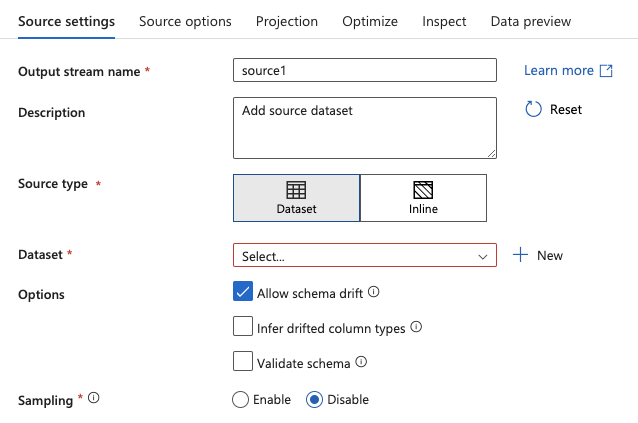
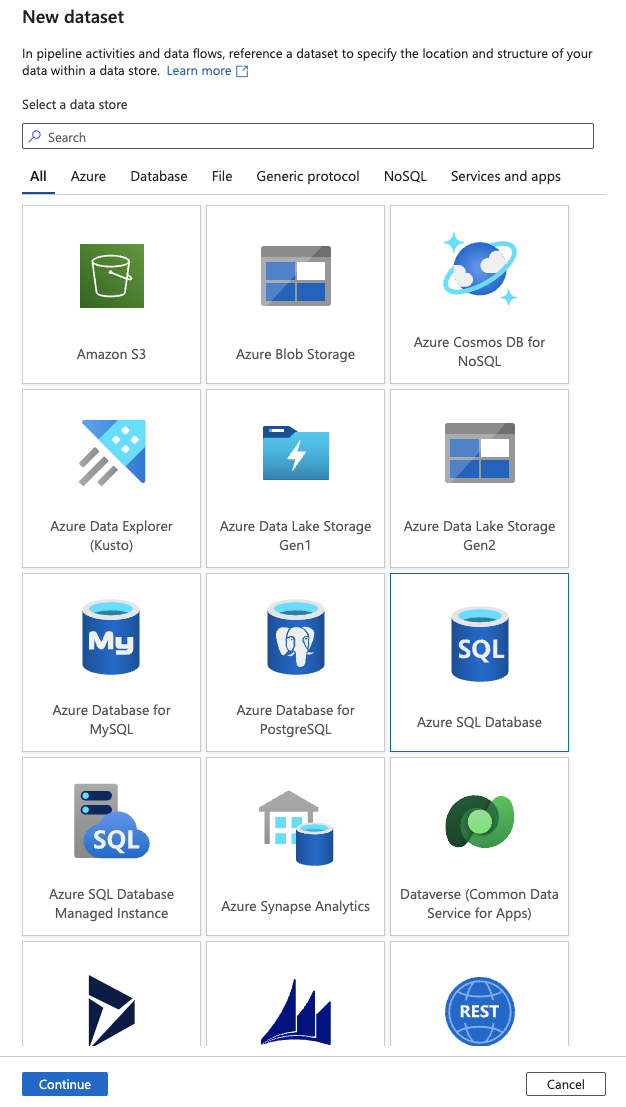
6.Select Azure SQL Database and click Continue
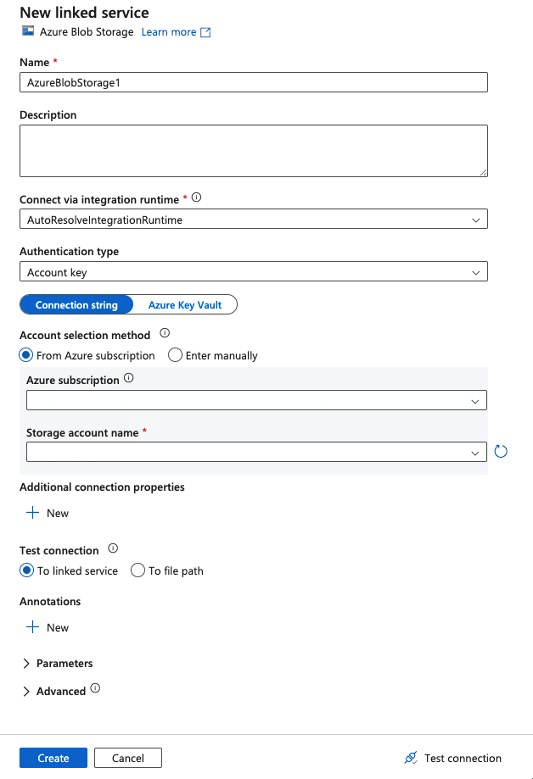
7.Click on + New Linked service
8.Ensure the following fields are populated:
Azure subscription
Server name
Database name
Authentication type
User name/password (depending on selected authentication type)
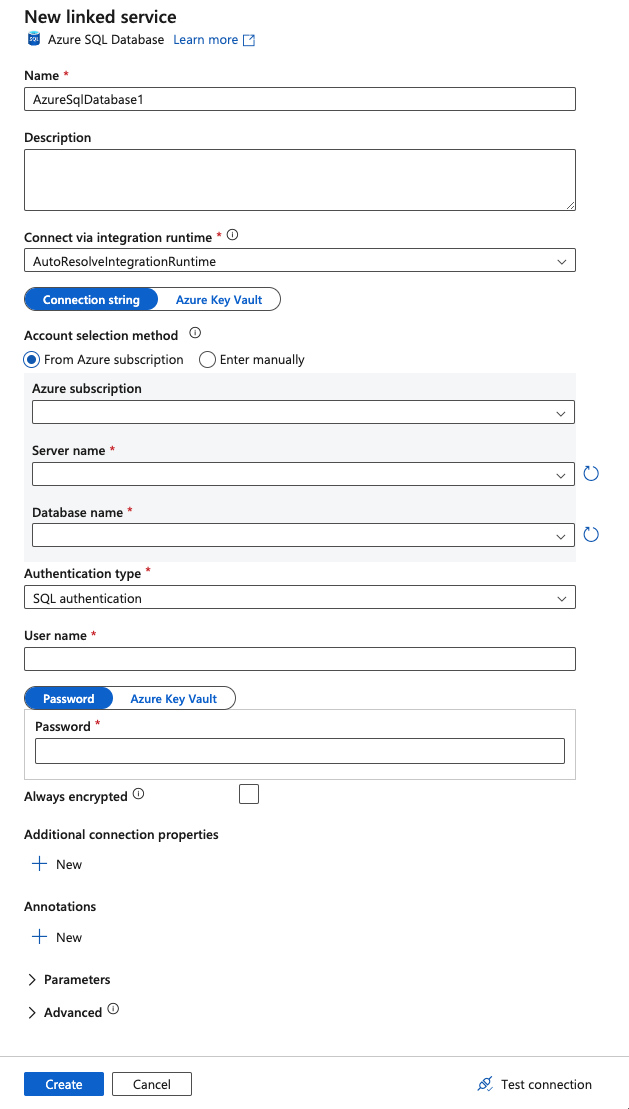
9.Click Create
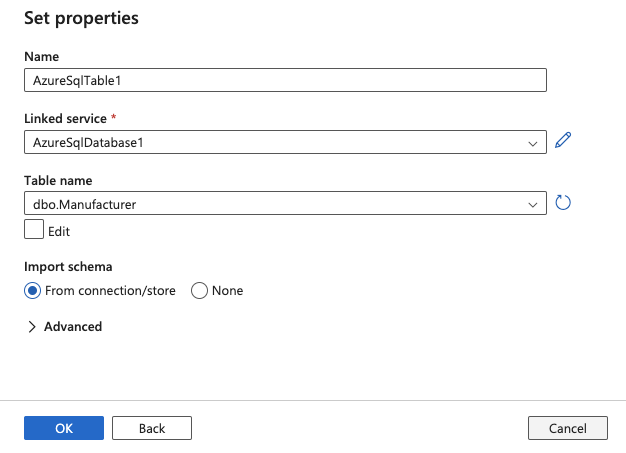
10.Select your Table name and click OK
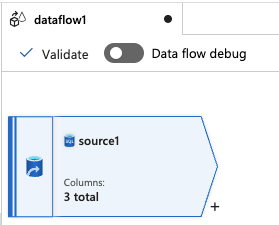
11.Your data source has now been configured
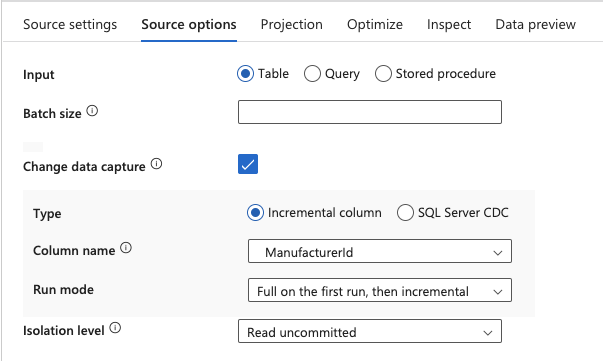
12.In this step, we will configure the incremental load. Select the Source options tab from the bottom panel.

13.Check the Change data capture checkbox
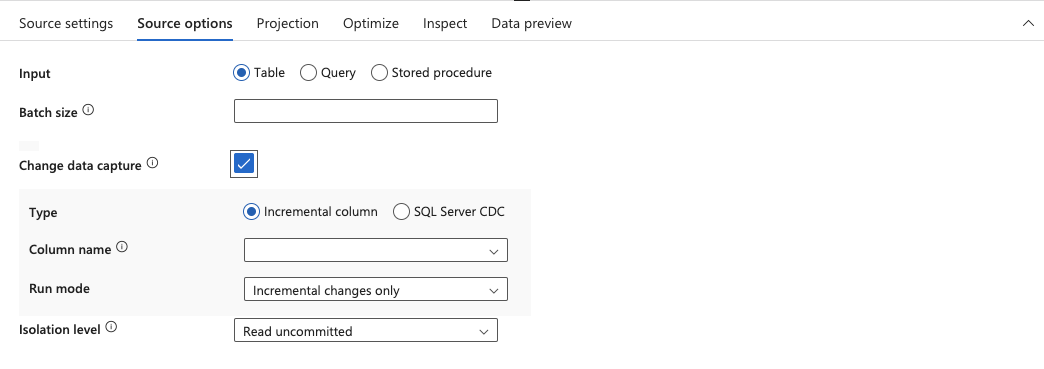
14.Select the column from the Column name dropdown you want to use to determine new data added since the previous run and select Full on the first run, then incremental from the Run mode dropdown
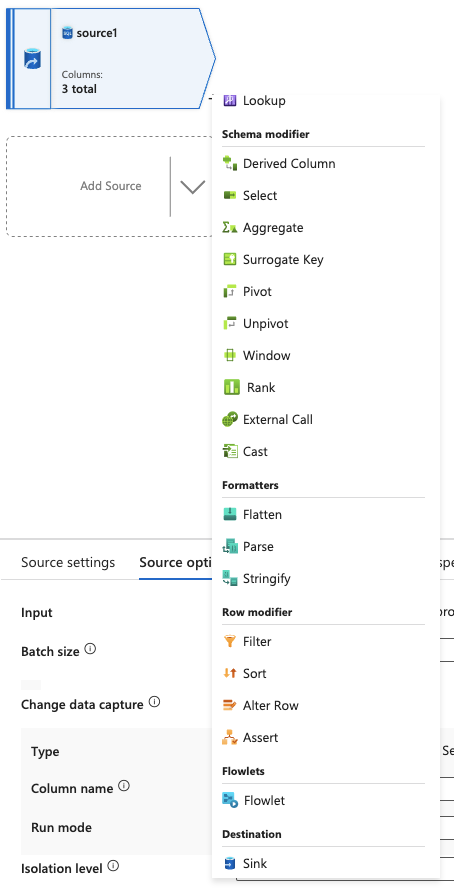
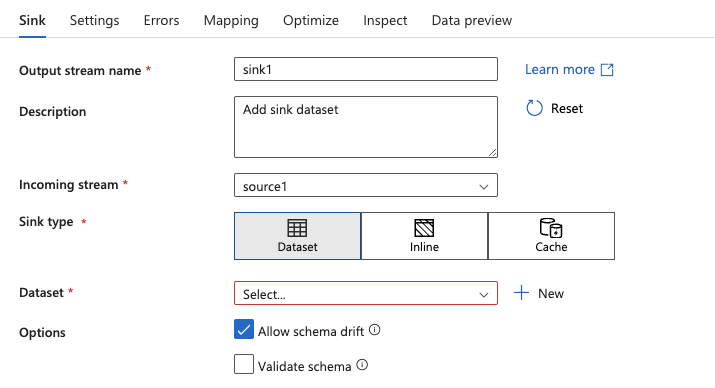
15.Click the + next to the source dataflow and select Sink from the dropdown
16.The next step is to create a new dataset for the Sink. Click + New
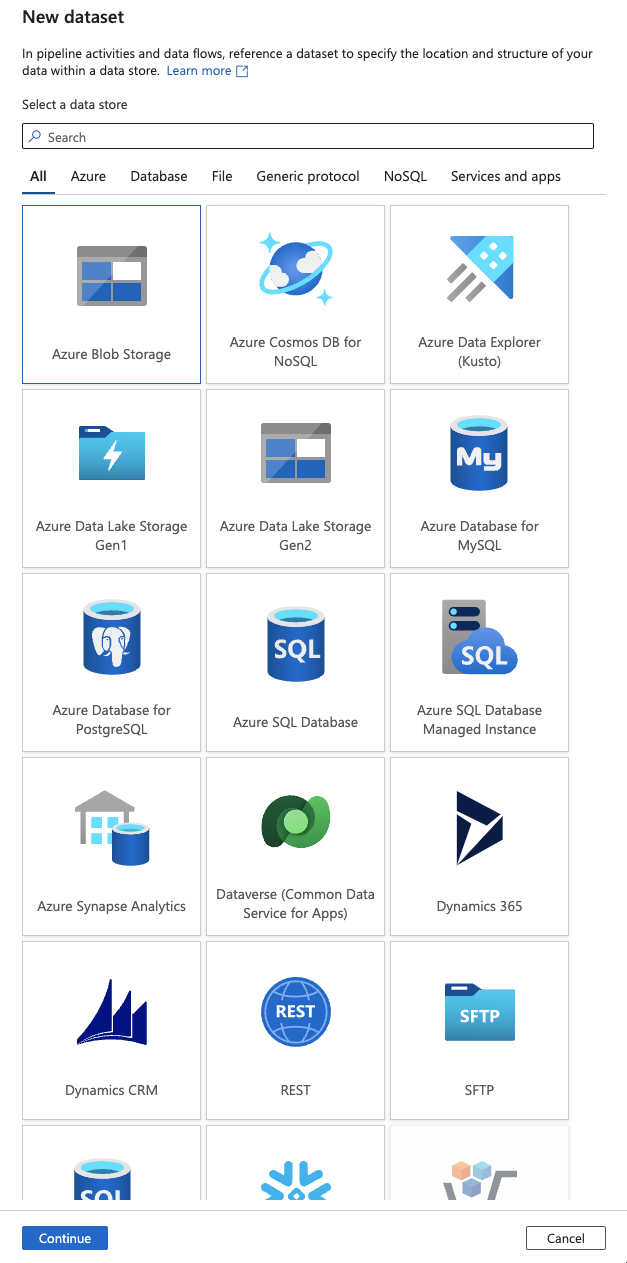
17.Select Azure Blob Storage and click Continue
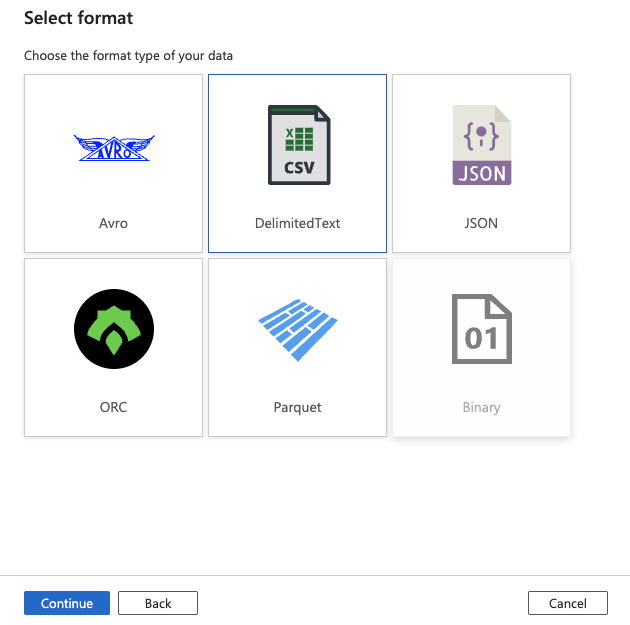
18.Select DelimitedText and click Continue
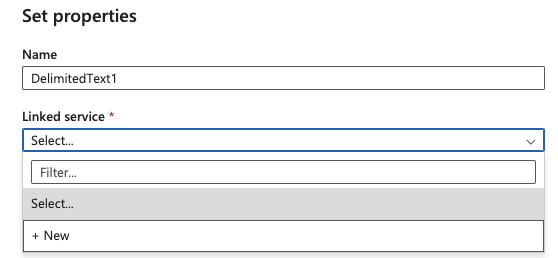
19.Select + New from the Linked service dropdown
20.Select your Azure subscription, Storage account name and click Create
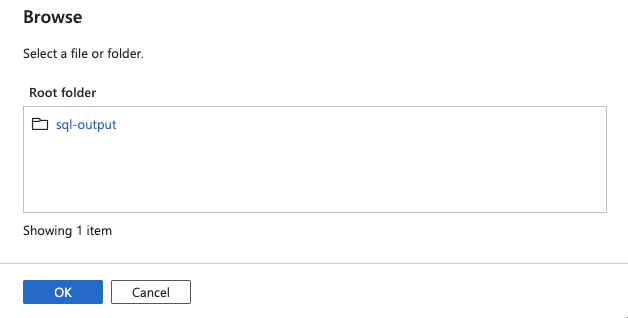
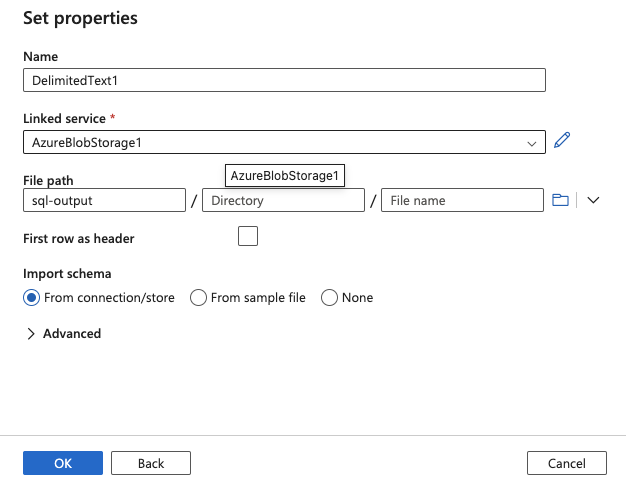
21.Select From root from the File path dropdown
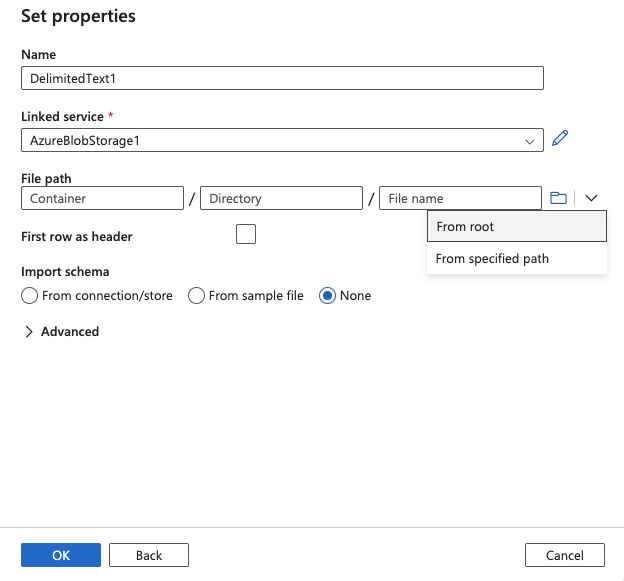
22.Select Root folder and click OK
23.Click OK on Set Properties screen
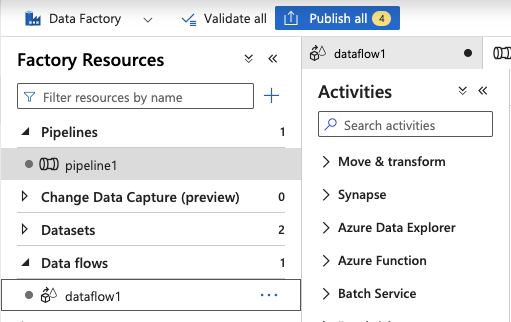
24.Click on Pipelines and New pipeline

25.Drag your Dataflow into the pipeline
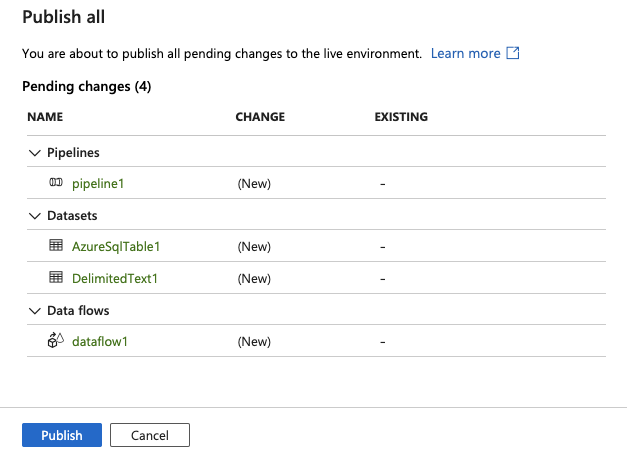
26.Click Publish all
27.Click Publish
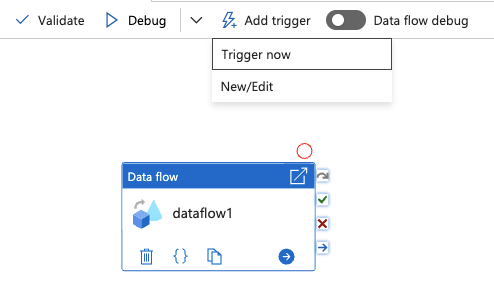
28.When publishing is complete, click Add trigger and select Trigger now

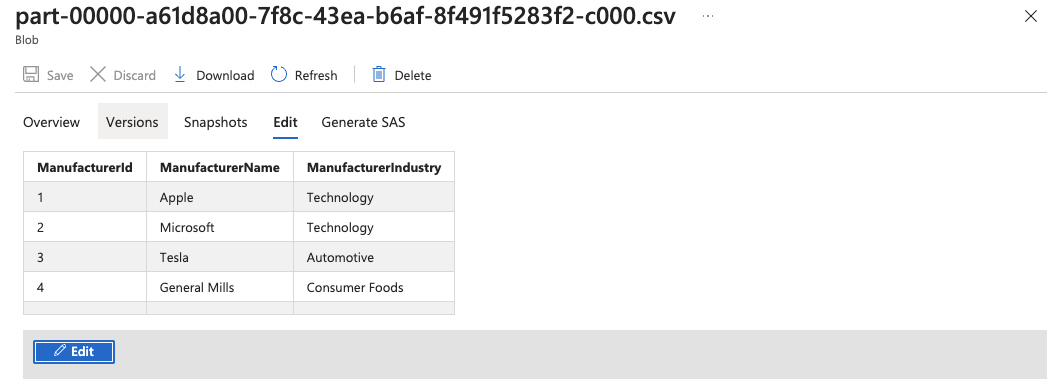
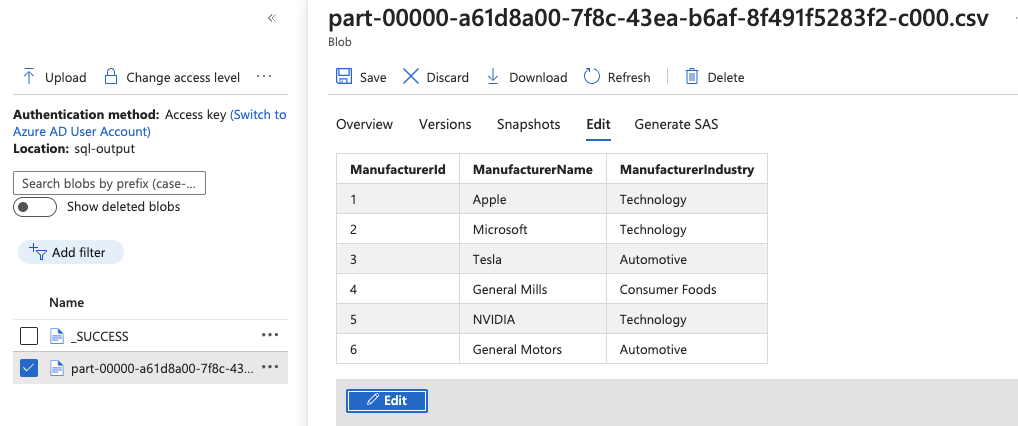
29.Browse to your Storage account to validate the pipeline successfully triggered and the .csv file has been created in your storage account

30.In this next step, update your Azure SQL database with additional records
31.Navigate back to Azure Data Factory Studio and run your trigger again
31.After the pipeline has successfully ran, browse to your Storage account to validate the pipeline successfully triggered
Summary
In this article, we used Azure Data Factory to incrementally update data from an Azure SQL database to a Azure Storage account.
Was this article helpful?