How to copy data between Azure data stores with Azure Data Factory?
- Print
- DarkLight
- PDF
How to copy data between Azure data stores with Azure Data Factory?
- Print
- DarkLight
- PDF
Article summary
Did you find this summary helpful?
Thank you for your feedback!
#ServerlessTips - Azure Data Factory
Author: Ahmad Yaseen Microsoft
Azure Data Factory is a cloud-based ETL service that can be used to orchestrate and automate the Extract, Transform and Load of your data between different data sources, that are in the cloud storages or locally in on-premises data centers, in a way that meets the business requirements.
In this article, we will use the Copy activity in Azure Data Factory to copy data between two Azure data stores. Behind the scenes, Azure Data Factory will use an Integration Runtime (IR) as a computing infrastructure to run that copy activity.
Of the three Integration Runtimes that are supported in Azure Data Factory; Azure Integration Runtime is used when your data sources are accessed via the internet publicly, Self-Hosted Integration Runtime that you need to used when the data source or sink is in the on-premises data center, and the Azure SSIS Integration Runtime that you will use to execute an SSIS package in Azure Data Factory, you can guess that today we will use the Azure Integration Runtime!
Prerequisites
Azure Subscription.
Azure Data Factory.
Azure Storage Account with two blob containers; one acts as a source, and one acts as a destination.
Using Copy Activity
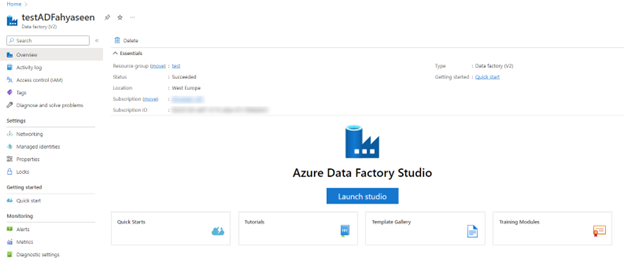
Open the Azure Portal using your Internet Browser and search for your Azure Data Factory service.
In the Azure Data Factory, click Launch Studio to open the Azure Data Factory Studio:
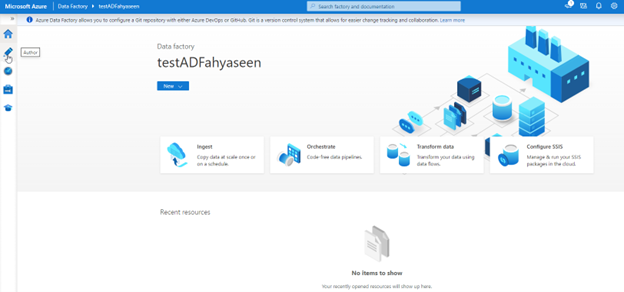
- In the Azure Data Factory Studio, click on the pencil icon to start designing the pipeline:
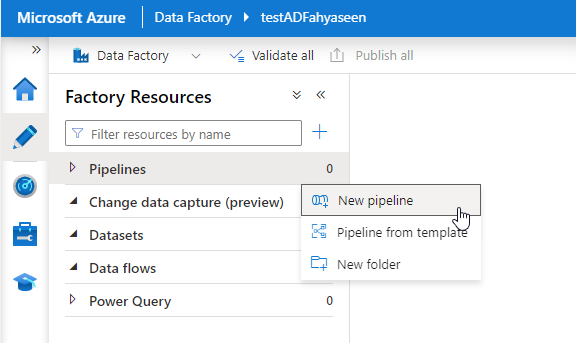
- In the Author window, click beside the Pipelines list and choose to create a New Pipeline:
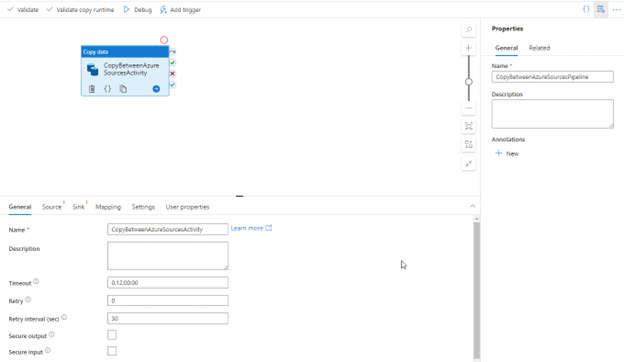
- From the list of activities, drag the Copy Data activity to the design pane:
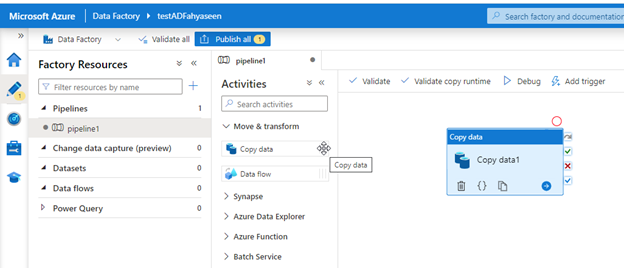
- You can start by providing a name for the Pipeline and the Copy activity as below:
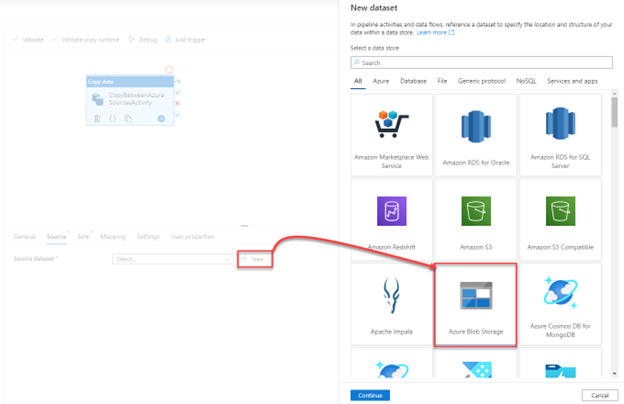
- After that, click on the Source tab to create a new dataset and linked the service to the source container, by clicking on the + beside the Source dataset, choose the Azure Blob Storage as the type of data store, then click Continue:
- Now, you need to select the format type of your data that is stored in the storage account, which is Excel in our demo here:

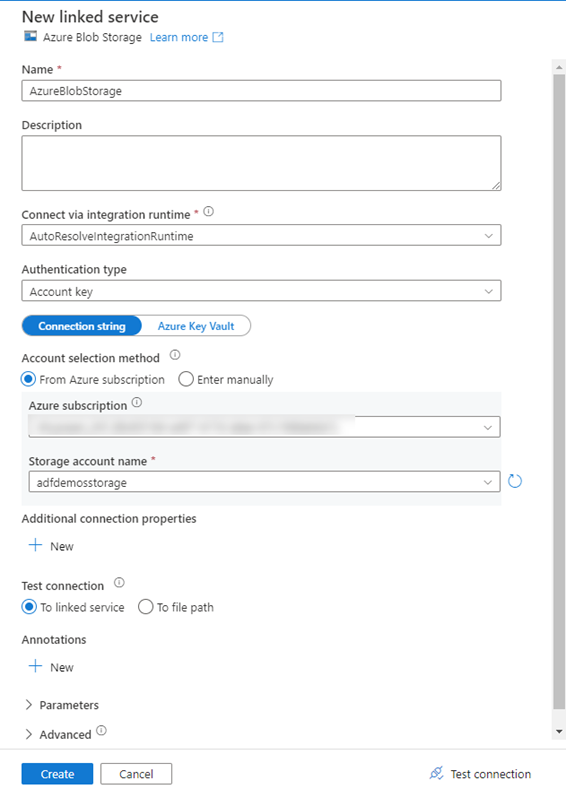
- In the Source dataset properties, you need to select an existing Linked service that points to the Azure Storage account or create a new one:
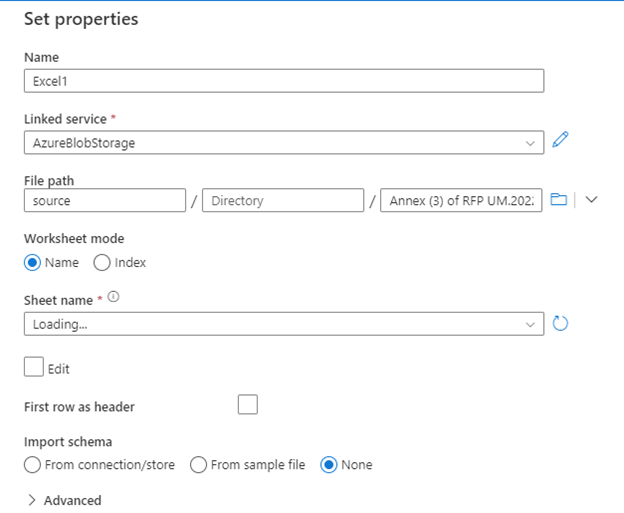
- Once created, you need to specify the path to the file(s) in the storage account that you plan to copy:
You need also to follow the same steps to create a linked service and data set those points to the destination container.\
Now, the copy activity is ready to start. Click on the Debug button to start the pipeline execution and monitor the progress of the copy activity within the same window:


- Now you can see that the file is copied successfully from the source container to the destination container:

Was this article helpful?