Copy data from an AWS S3 Bucket to Azure Blob Storage using Azure Data Factory Pipelines
- Print
- DarkLight
- Download PDF
Copy data from an AWS S3 Bucket to Azure Blob Storage using Azure Data Factory Pipelines
- Print
- DarkLight
- Download PDF
Article summary
Did you find this summary helpful?
Thank you for your feedback!
#ServerlessTips - Azure Data Factory
Author: Dave McCollough, CTO, Geokey
This article will move data from an AWS S3 Bucket to Azure Blob Storage using Azure Data Factory Pipelines.
Prerequisites
- Active Azure Subscription. If you don’t have a subscription, you can sign up for a free one here.
- Data that resides in an AWS S3 Bucket.
- Azure Data Factory Instance. You can learn how if you’ve never created an Azure Data Factory instance
Configure the Pipeline
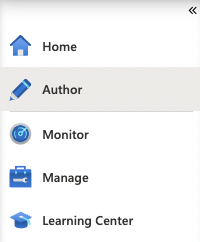
1. Open Azure Data Factory Studio
2. Select Author from the side navigation bar
3. Click the ellipsis next to Pipelines and select New Pipeline

4. Expand the Move & transform section

5. Click and drag Copy data into the visual editor
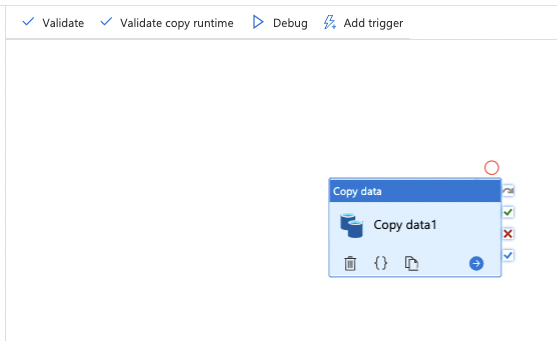
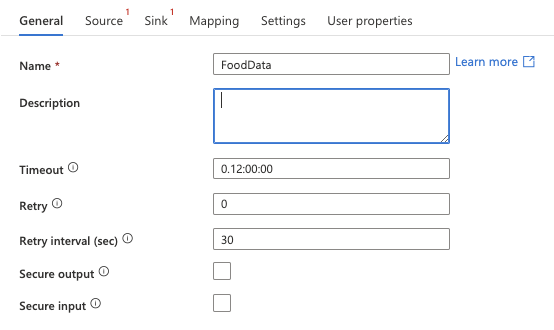
6. Rename the pipeline. For this example, we’re importing food data.
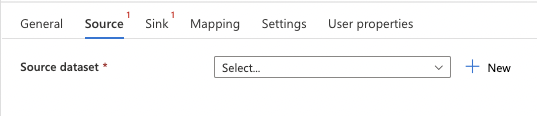
7. Select Source and click + New.
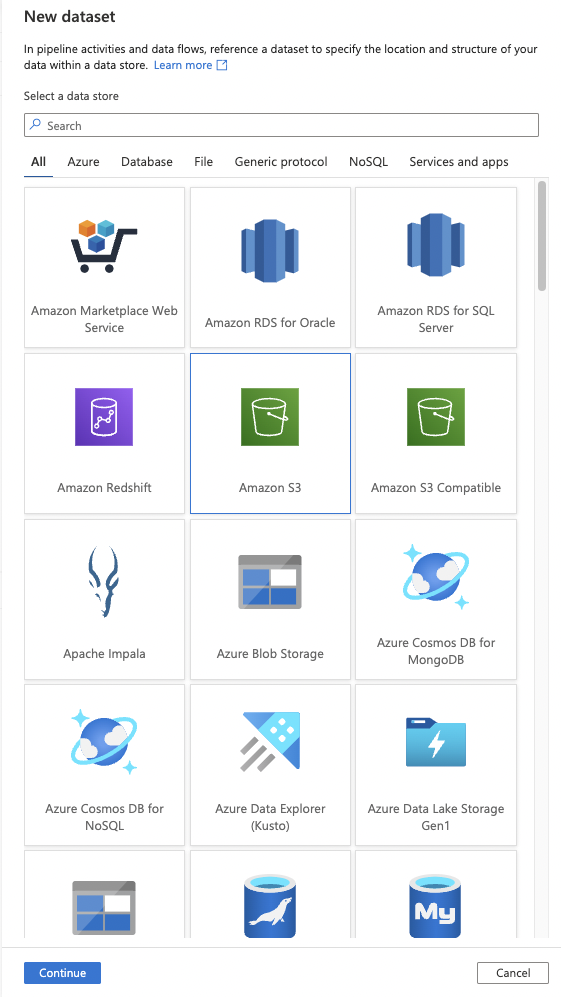
8. Select Amazon S3 and click the Continue button.
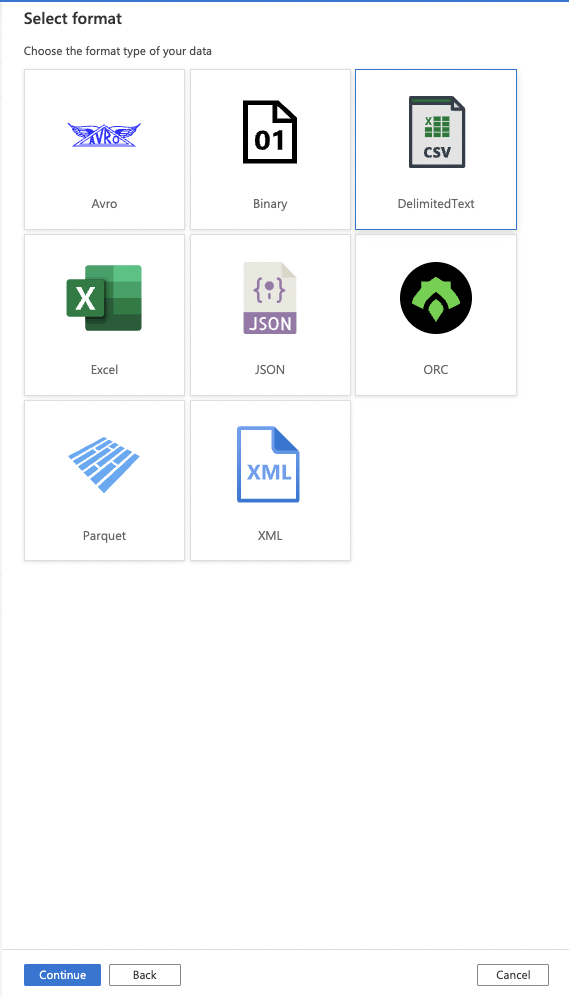
9. Select the format of the data you are ingesting and click the Continue button.
For this example, we are using CSV/DelimitedText.
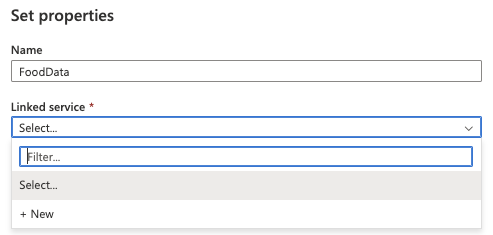
10. Enter a Name and click the Linked service dropdown.
Select New.
11. Enter the Name of your linked service
Enter the Access key ID of your AWS user.
Enter the Secret access key of your AWS user.
Click Test connection to verify the successful connection.
Click the Create button.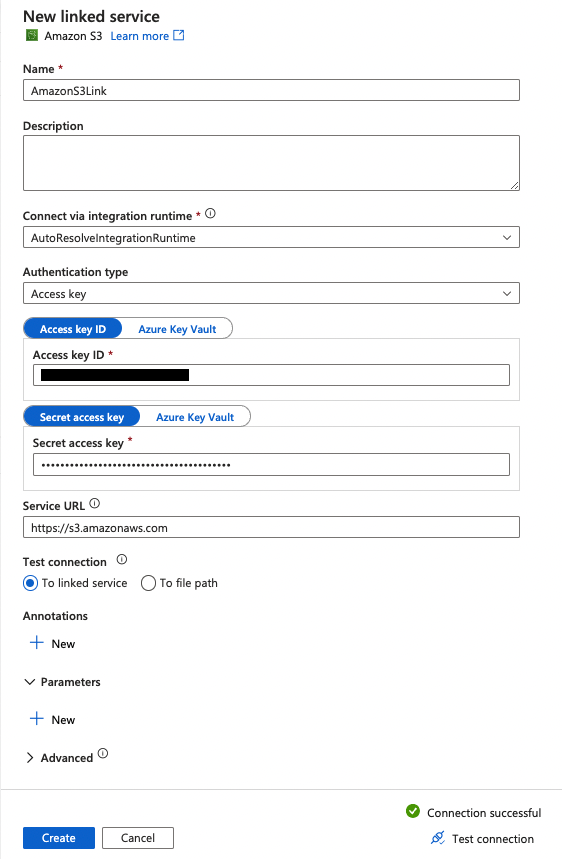
12. Your linked service will be created.
13. Click the icon to browse your AWS S3 Bucket file.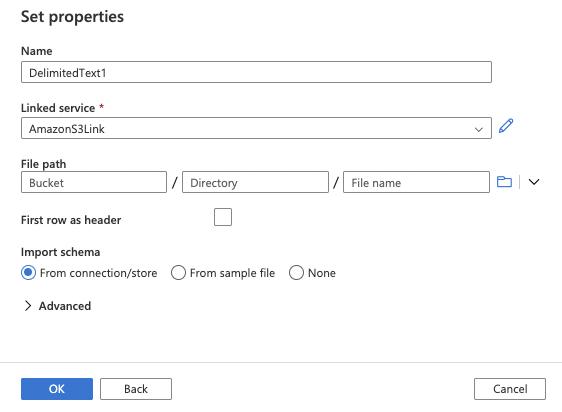
14. Select the file and click the OK button.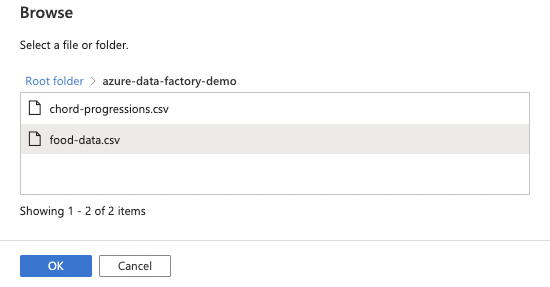
15. If the first row of your file is the header row, click the checkbox for the First row as the header
Click the OK button.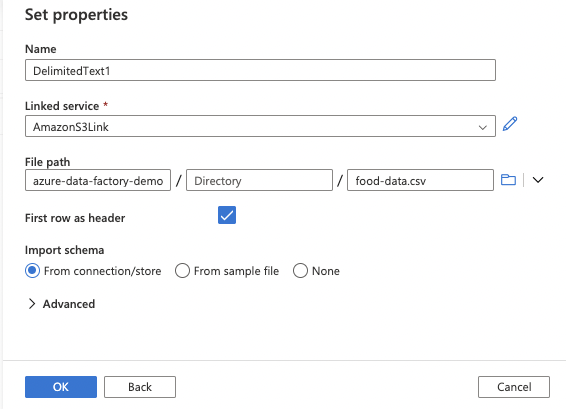
16. Select Sink and click + New
17. In this step, we define where the data is copied. For this example, we are using Azure Blob Storage.
Click the Continue button.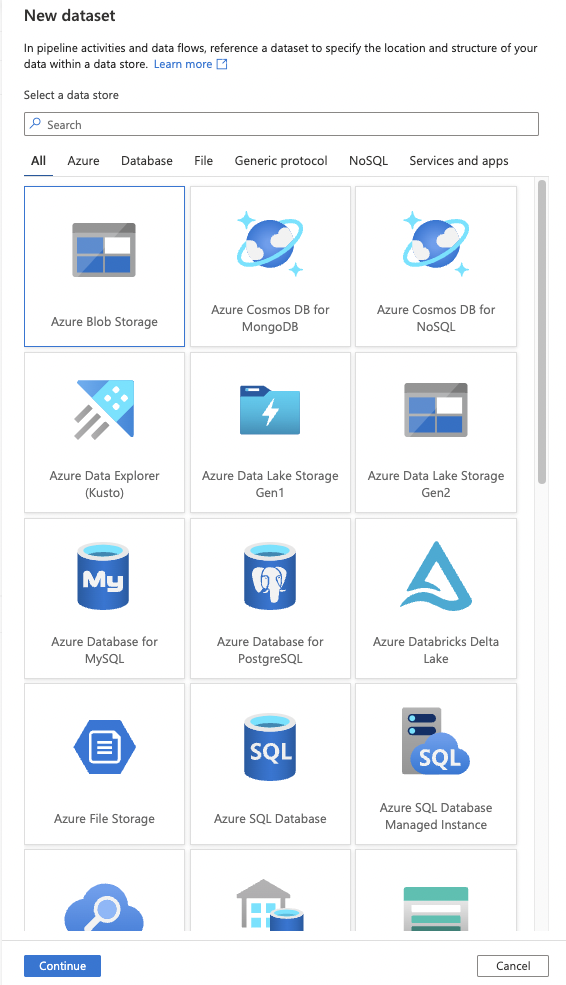
18. Select the format type of your data. For this example, we will use CSV/DelimitedText.
Click the Continue button.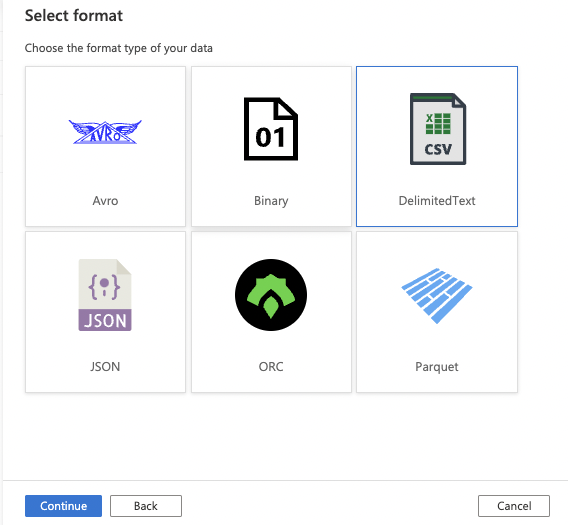
19. Enter a Name and click the Linked service dropdown.
Select New if you do not have an existing linked service.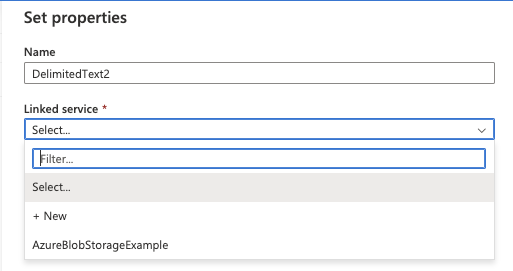
20. Enter the appropriate Azure Storage Account information
Click Test connection to verify the successful connection.
Click the Create button.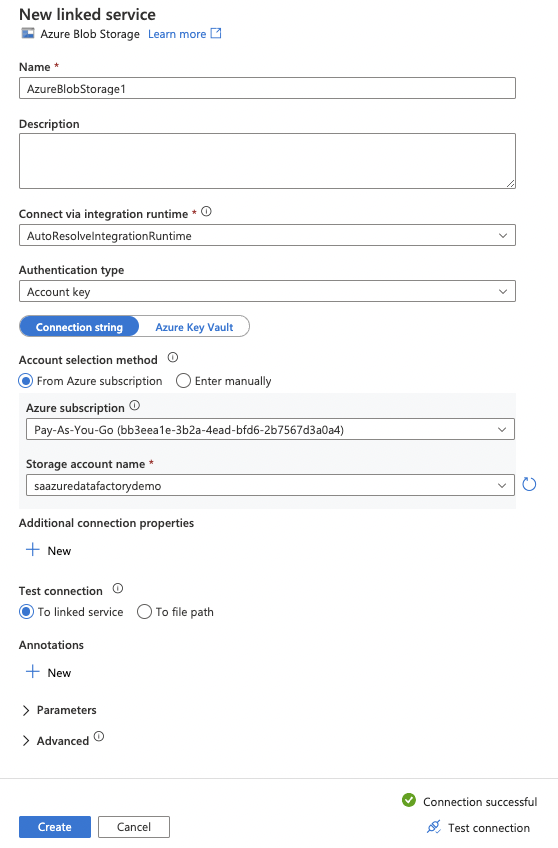
21. Your linked service will be created.
22. Click the browse icon to browse to the appropriate folder.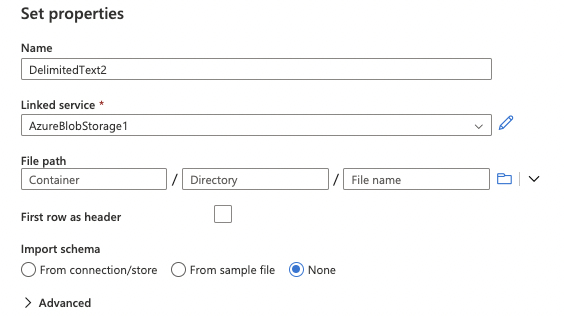
23. Select the appropriate location and click the OK button.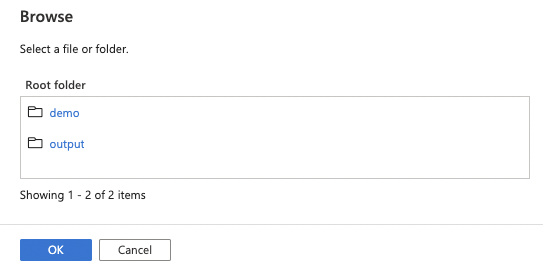
24. If the first row of your file is the header row, click the checkbox for the First row as the header
Click the OK button.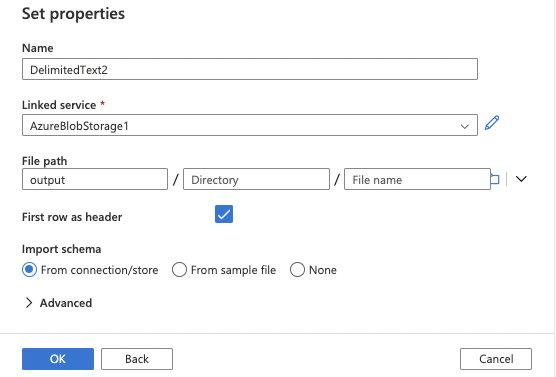
25. Once the Source and Sink are configured, click the Publish all button.
26. Click the Publish button.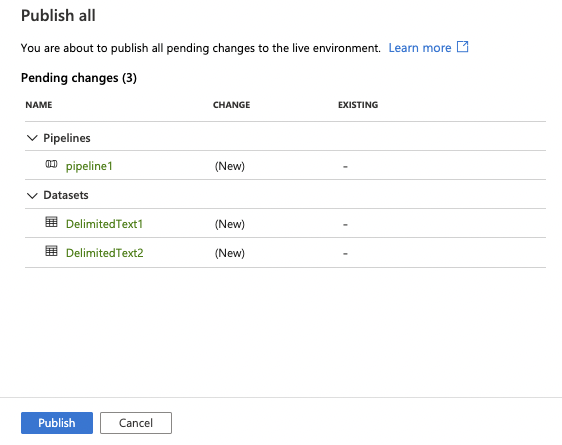
27. When publishing is completed, you will receive a notification.
28. To manually run your pipeline, Add a trigger and select Trigger now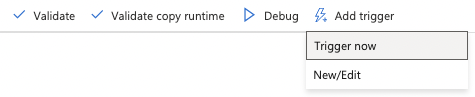
29. You will be notified when the pipeline has been completed.
30. You can browse your blog storage account and view the file copied from your AWS S3 Bucket.
31. Click Add trigger and New/Edit to schedule this pipeline.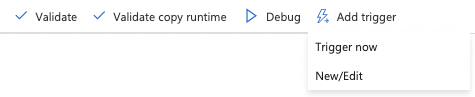
32. Select + New from the Choose trigger dropdown.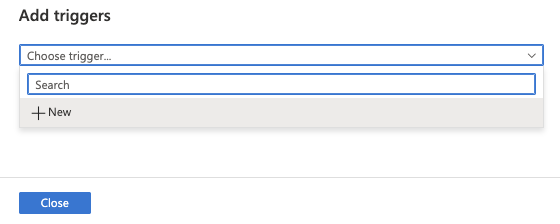
33. Configure the options for your new trigger, including:
Name
Type
Start Date
Time zone
Recurrence
Click the OK button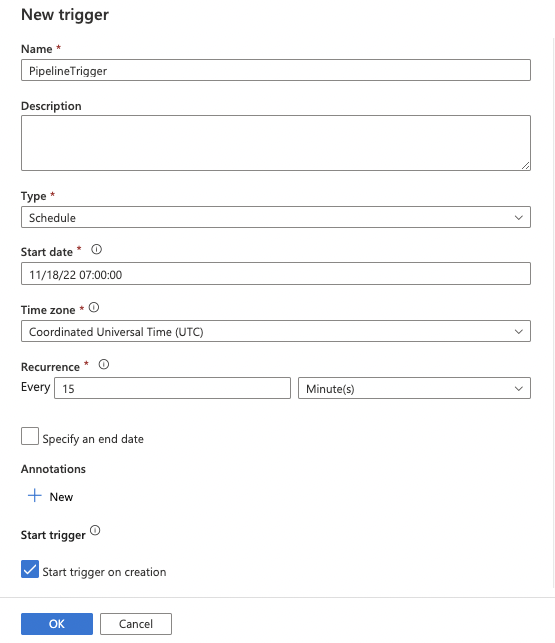
34. Click the Publish all button to start your scheduled trigger.
35. Click the Publish button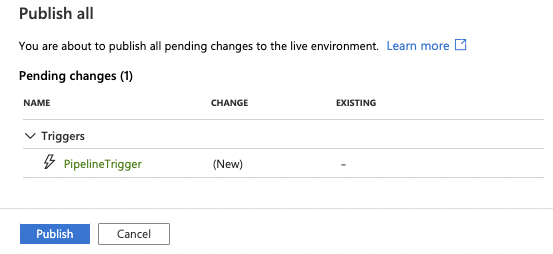
36. This will schedule your pipeline based on the parameters configured in step 33.
Summary
In this article, we configured Azure Data Factory pipelines to copy data from an AWS S3 Bucket to Azure Blob Storage, triggered manually and via a schedule.
Was this article helpful?