Create an Azure Data Lake Storage Account
- Print
- DarkLight
- PDF
Create an Azure Data Lake Storage Account
- Print
- DarkLight
- PDF
Article summary
Did you find this summary helpful?
Thank you for your feedback!
#ServerlessTips - Azure Data Factory
Author: Dave McCollough Technical Consultant
In the previous post of this series on Azure Data Factory, we created an Azure Data Factory. In this post, we are going to create an Azure Data Lake storage account to allow us to copy data into our Azure Data Factory instance.
Prerequisites
• Active Azure Subscription. If you don’t have a subscription, you can sign up for a free one here.
Create the Azure Data Lake
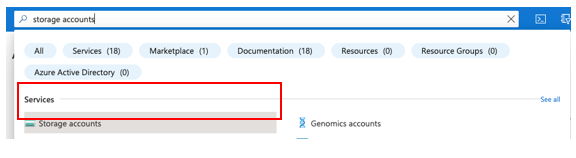
- Search for and select Storage Accounts from the search bar.
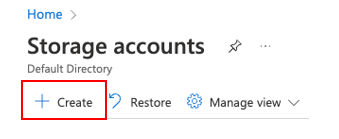
- Click the + Create button
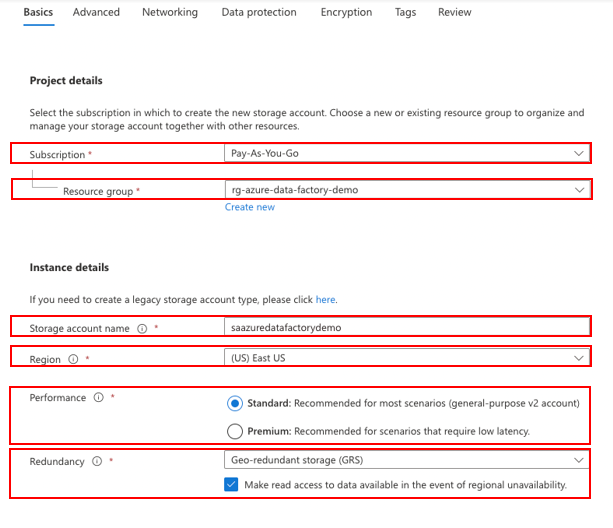
- Basics tab
Fill out the following fields:
a. Subscription
b. Select an existing, or create a new Resource group
c. Enter a Name for your Storage Account
i. Note, this name is unique across all of Azure, 3-24 characters long and can only contain lowercase letters or numbers.
d. Select a Region
e. Select Performance
i. Note: General is sufficient for this example.
f. Select Redundancy
i. Note: GRS is sufficient for this demo.
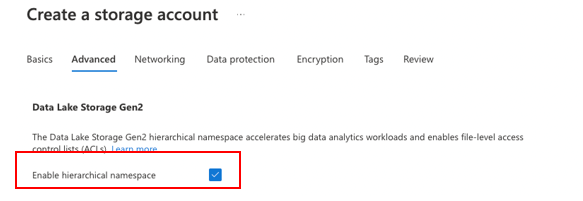
Advanced Tab
Check Enable hierarchical namespace checkbox under Data Lake Storage Gen2 heading
Networking Tab
a. Leave the defaultsData Protection Tab
a. Leave the defaultsEncryption Tab
a. Leave the defaultsTags tab
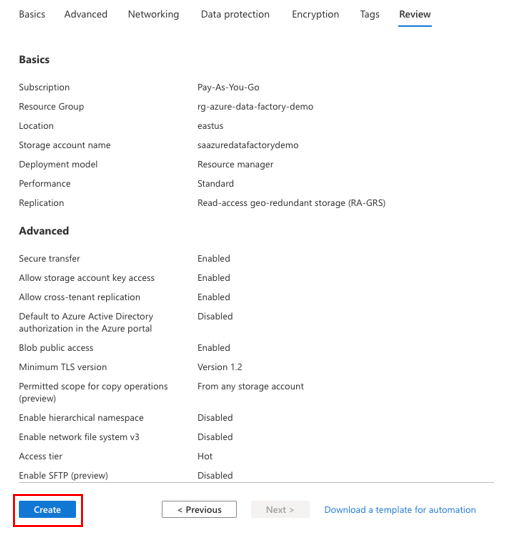
a. Leave the defaultsReview + create tab
a. Verify the information and click the Create button
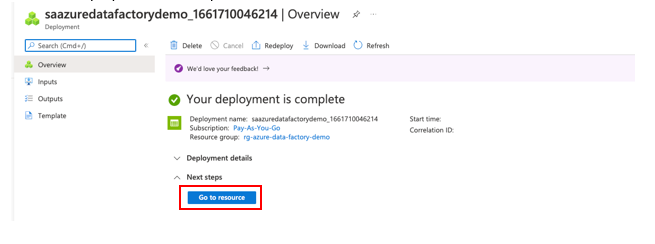
- Once the deployment has completed, click the Go to resource button.
- Storage Account homepage

Summary
In this article, we created an Azure Data Lake Storage Account to allow us to copy data into our Azure Data Factory instance.
Was this article helpful?