Create an Azure Function .NET in the isolated worker model
- Print
- DarkLight
- Download PDF
Create an Azure Function .NET in the isolated worker model
- Print
- DarkLight
- Download PDF
Article summary
Did you find this summary helpful?
Thank you for your feedback!
#ServerlessTips - Azure Functions
Author: Dave Rendon Microsoft MVP
This article will review how to create your first Azure Function .Net isolated.
Introduction
The .NET Worker provides .NET 5 support in Azure Functions, introducing an Isolated Model, running as an out-of-process language worker separate from the Azure Functions runtime. It gives you complete control over your application's dependencies and new features like a middleware pipeline.
A .NET, Isolated function app works differently than a .NET Core 3.1 function app. For .NET Isolated, you build an executable that imports the .NET Isolated language worker as a NuGet package. Your app includes a Program.cs that starts the worker.
Prerequisites:
- Download .NET 6.0 from here (https://dotnet.microsoft.com/en-us/download/dotnet/6.0)
- Visual Studio Code
- Azure Functions Core Tools (https://github.com/Azure/azure-functions-core-tools)
1. Create a .NET Isolated project
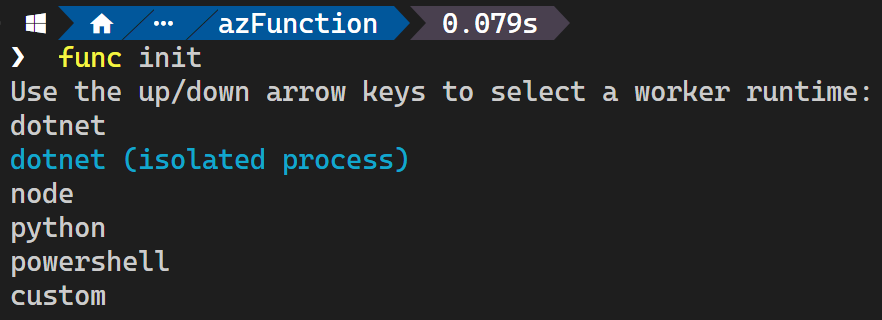
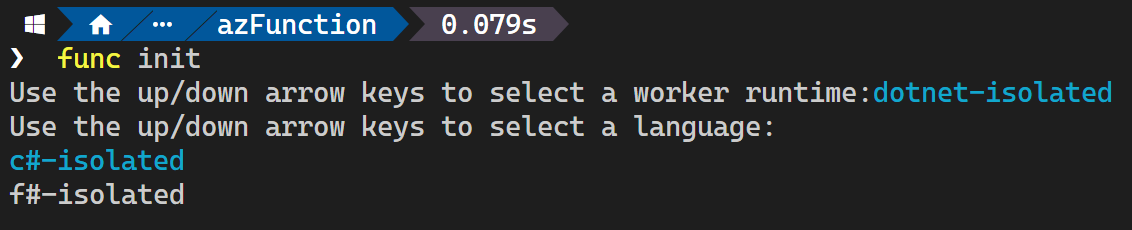
In your local machine, create an empty directory. Then, open VS Code in your new directory and open a new terminal. Then, run the following command to create a new Function project and select dotnet (Isolated Process)
func init
2. Add a function
Now, run the command func new and select the HttpTrigger example:

Then, provide a name for the function as shown below:

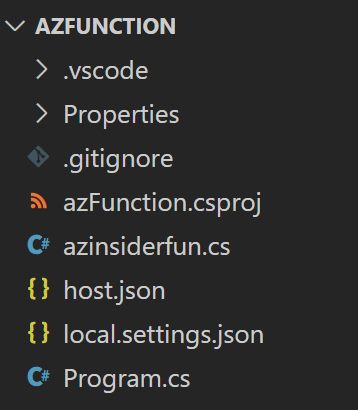
After your function is created, you should see the following folder structure in your working space:
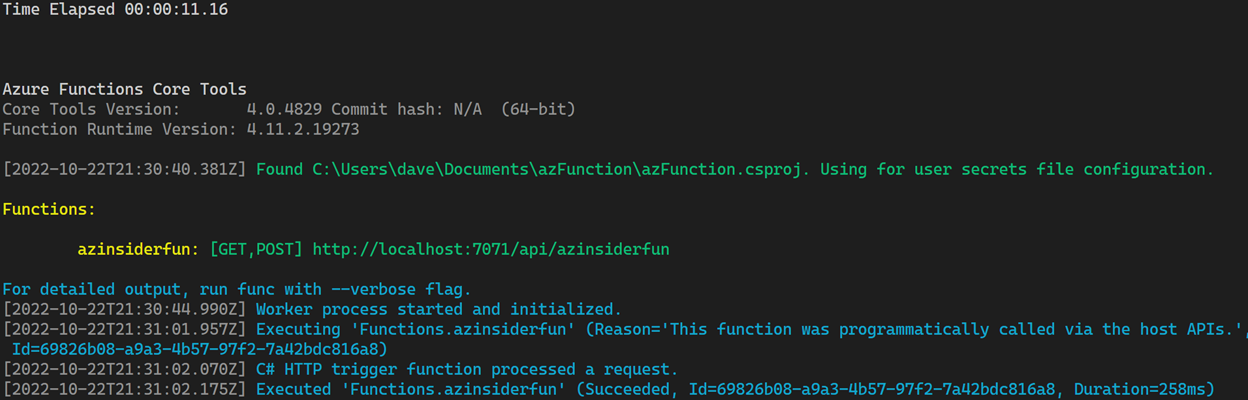
Let's run the function locally and use the command below in the sample app directory.
func host start
Once you run the function, you should see the build output, as shown below.
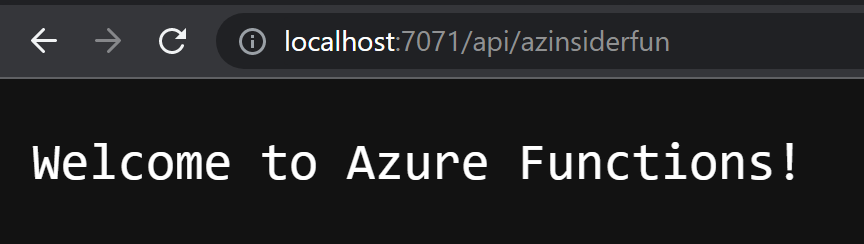
3. Testing your Azure Function
You can navigate to and review the output in your browser:
You can find more information in the following URL:
Conclusion
Along this article, we have reviewed how you can get started with Azure Functions Isolated Model, running as an out-of-process language worker separate from the Azure Functions runtime.

Was this article helpful?