Build Azure Functions with Visual Code
- Print
- DarkLight
- Download PDF
Build Azure Functions with Visual Code
- Print
- DarkLight
- Download PDF
Article summary
Did you find this summary helpful?
Thank you for your feedback!
#ServerlessTips - Azure Functions
Author: Steef-Jan Wiggers Azure MVP
Developers can build Azure Functions with various tools such as Visual Code, Browser (Azure Portal), and Visual Studio, With Integrated Developer Environments (IDE) Visual Code, and Visual Studio you will benefit from IntelliSense (code-completion), test, and debugging capabilities. In a previous tip, we explained building Azure Functions leveraging Visual Studio 2019. Now we will explain how to use Visual Code.
In case you do not have Visual Code on your machine you can download it. The benefit of Visual Code is you do not need a license, built upon open-source, and can run other platforms (Linux and Mac).
When you open Visual Code, you can click on extensions and search for Azure Functions. Next, you install the extension. Once installed you need to reload the extension – the IDE will hint you on this.
Subsequently, you click the Azure icon, and you can start adding a function. Note that you need to connect to your Azure subscription from Visual Code.
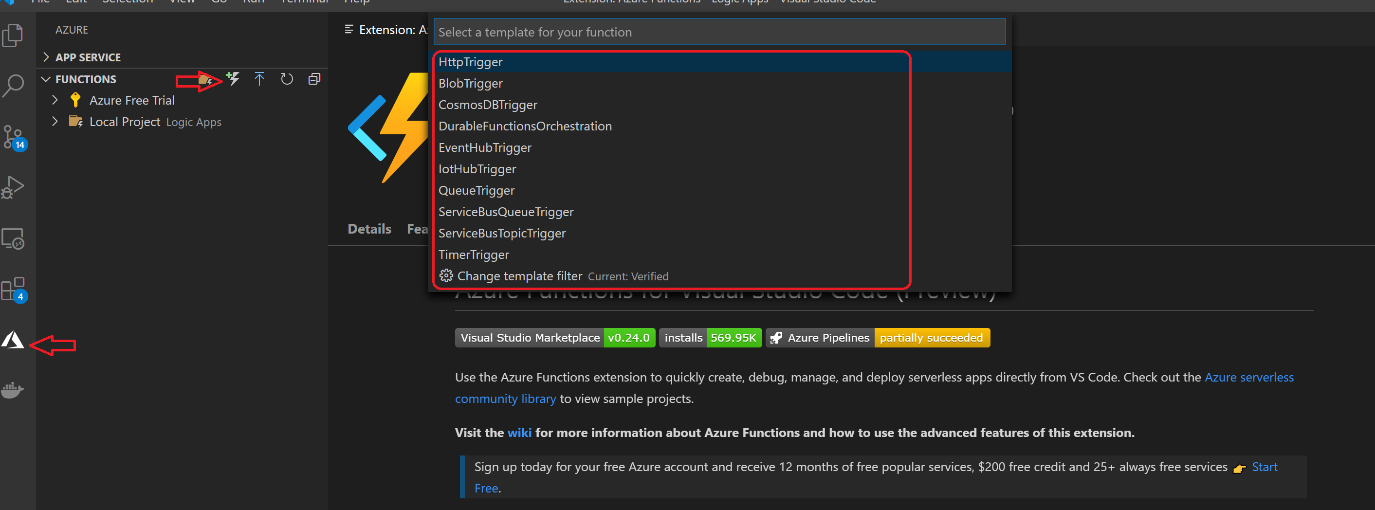
In the screenshot above when click the create function you can select one of the triggers and hit enter (or change the name first and then enter), specify namespace (enter), and then access level and hit enter. You will then see the sample code depending on the trigger you choose. If it’s HTTP trigger, then you’ll see code like below (similar when choosing the HTTP Trigger template in the Browser or Visual Studio).
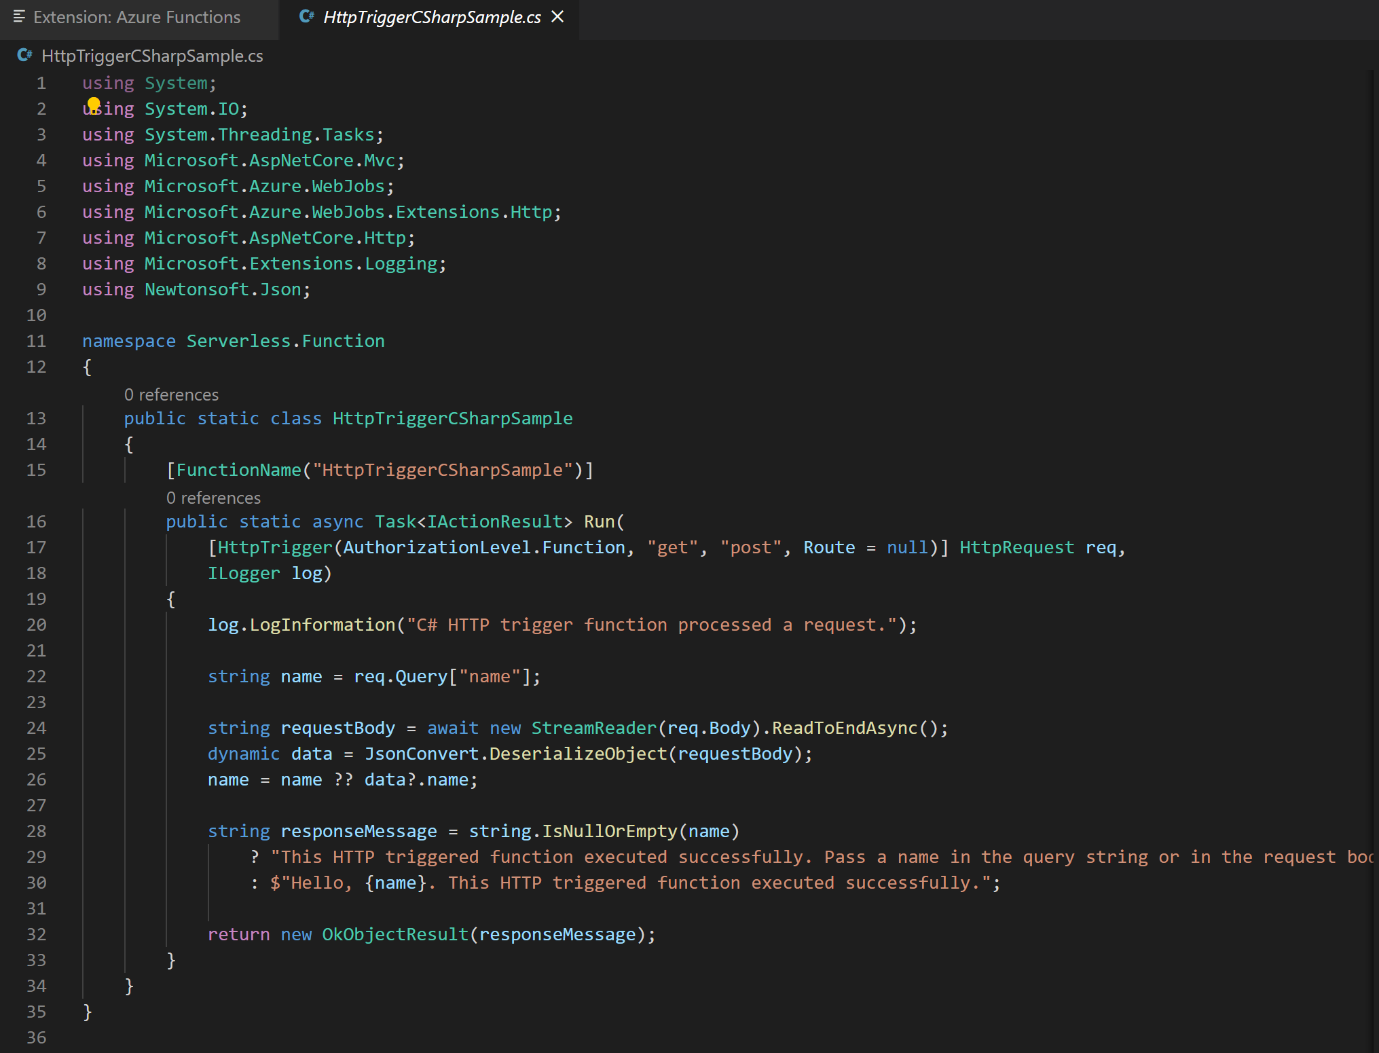
You can change the code to your requirement, and then in the Run menu item choose if you like to Start and debug or Start without debugging. Basically, you now run your function locally, and you can test and debug it similar as with Visual Studio.
Was this article helpful?