Implementing Authentication in Power Virtual Agents using Power Automate
- Print
- DarkLight
- Download PDF
Implementing Authentication in Power Virtual Agents using Power Automate
- Print
- DarkLight
- Download PDF
Article summary
Did you find this summary helpful?
Thank you for your feedback!
In a previous tip, we talked about extending a Power Virtual Agents bot using Power Automate due to the vast amount of connectors that are available in Power Automate. When calling downstream systems in Power Automate, you want to ensure that the user that has requested data is an authenticated user. You wouldn’t want to expose sensitive data to a bot because you didn’t know who that user was.
When a chat session starts, Power Virtual Agents can prompt the user to authenticate themselves. This occurs by using the Call an action operation.
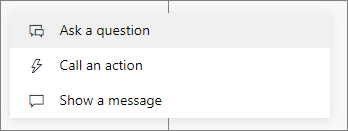
However, when we first call this operation, we won’t find an Authenticate operation. The reason for this is that we need to configure our authentication settings first. We can do so by clicking on Manage – Authentication from the left navigation.

Within this experience, we will be prompted with a bunch of configuration values that we need to provide.

These settings will come from a couple different locations. When it comes to Client ID, Client Secret and Scopes, these settings will come from Azure Active Directory by creating a new App registration.
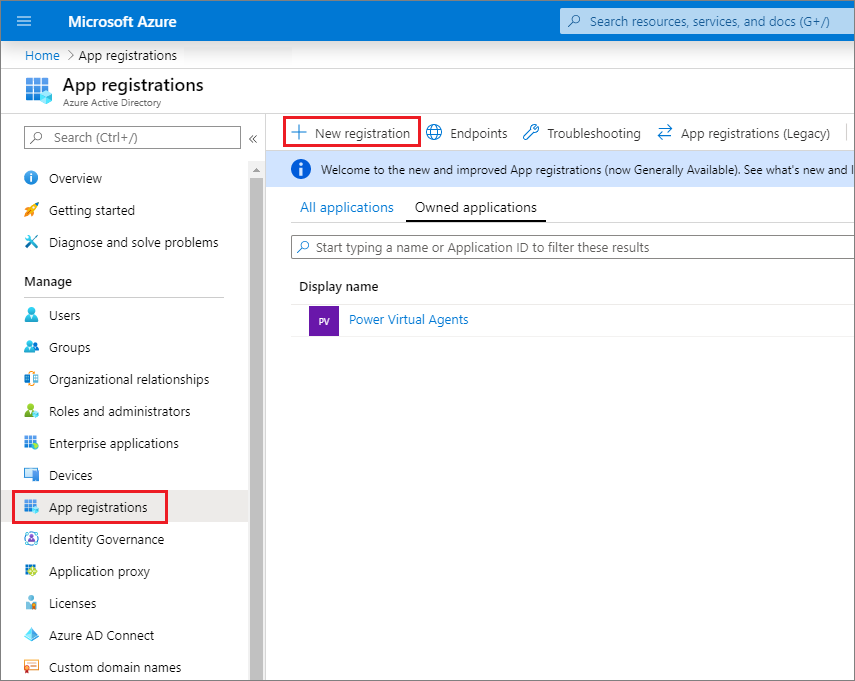
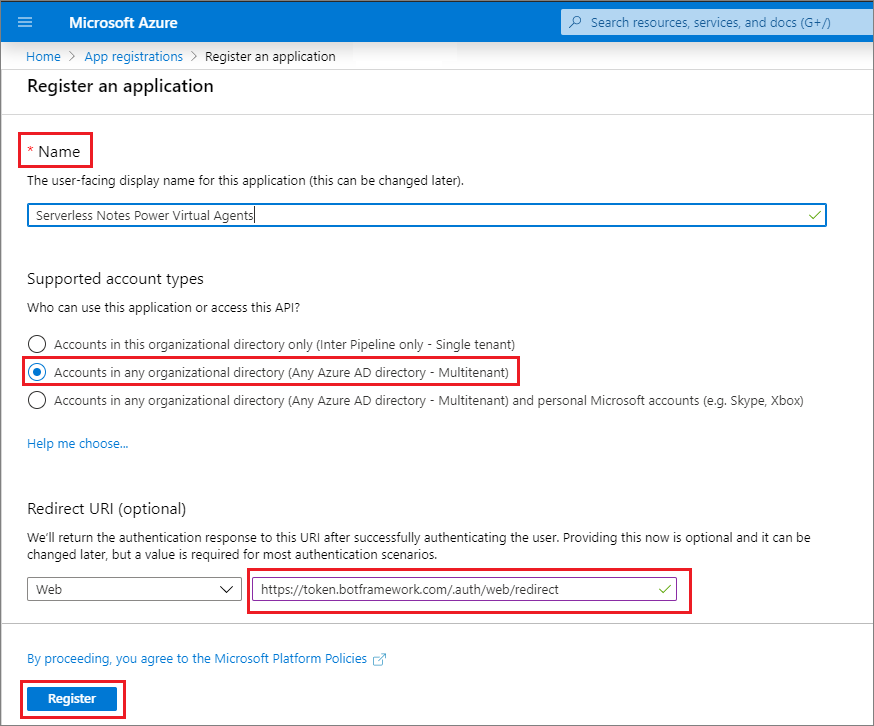
When creating an App registration, we need to provide a Name, ensure that Multitenant support is enabled and that we provide a Redirect URI of https://token.botframework.com/.auth/web/redirect. Once these values have been populated, we can click on the Register button.
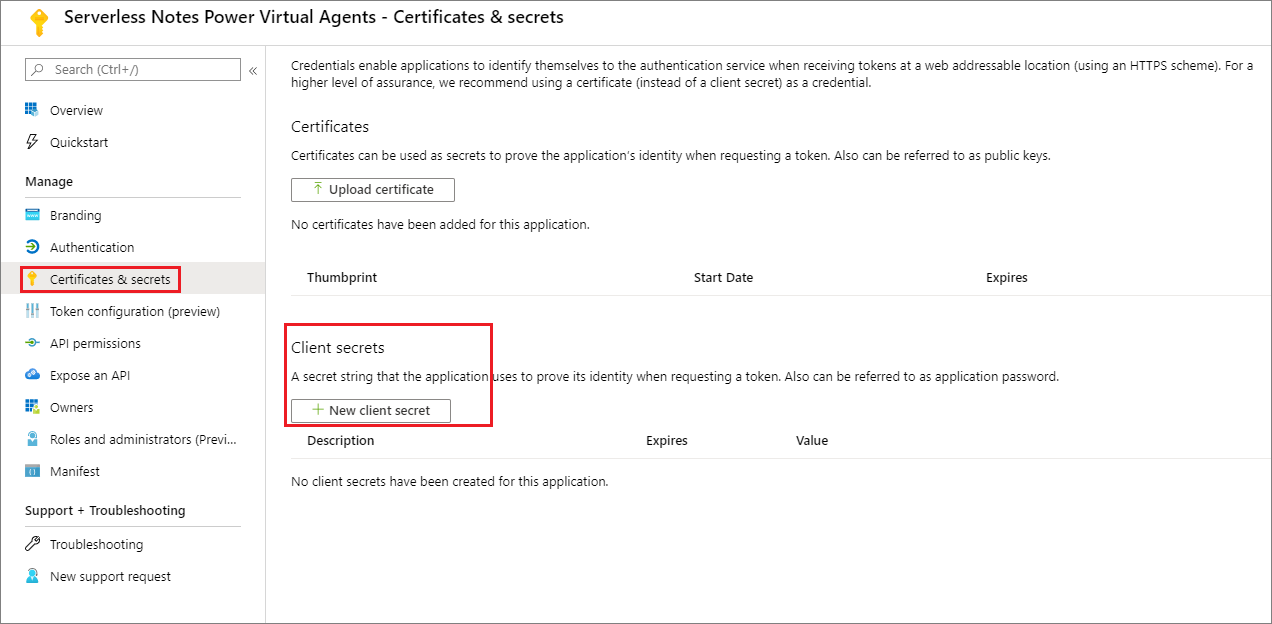
Next up, we need to generate a secret from the Certificates & secrets experience. When creating a secret, ensure that you store this secret in a safe place. You will only have access to it when you create it. But, you can always recreate a new secret if you need to.
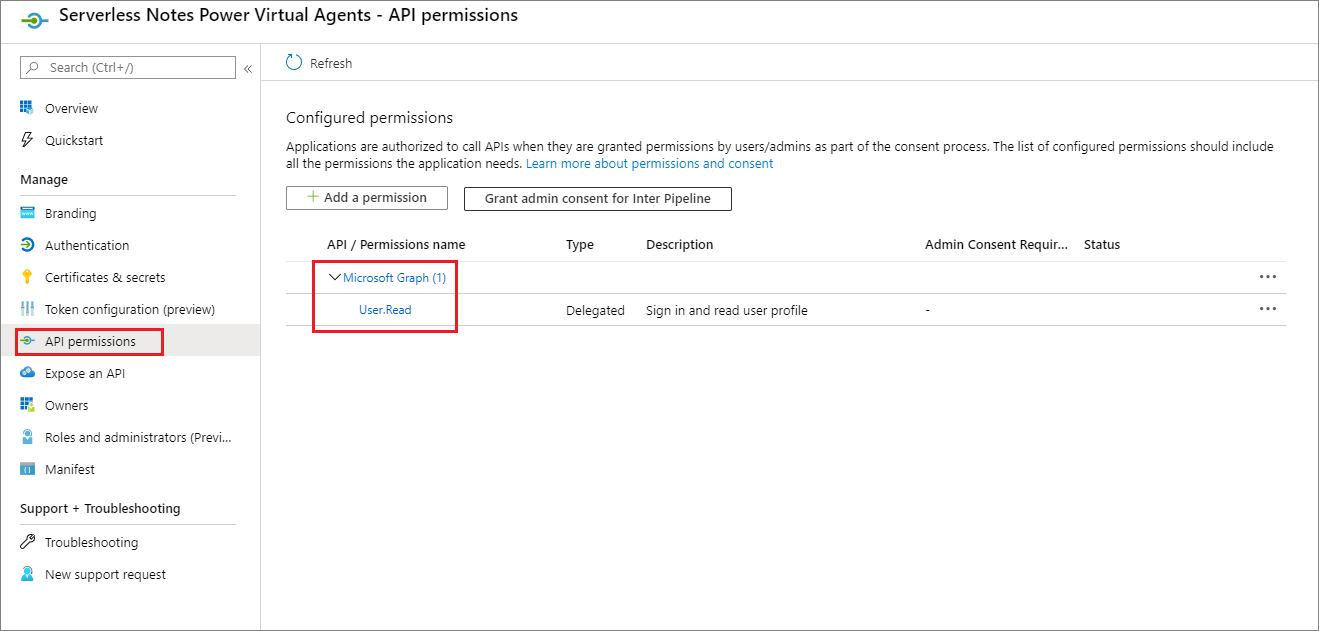
In order to call the Graph API in Power Automate, we need to have API Permissions that allow us to do so. This is configured from the API permissions experience. By default, the User.Read scope is created for us which is sufficient when identifying our user.
The last value that we need to retrieve from Azure Active Directory is the Application (client) ID which is available to us from the Overview screen. Note, this value will be unique so you must copy it from your configuration.
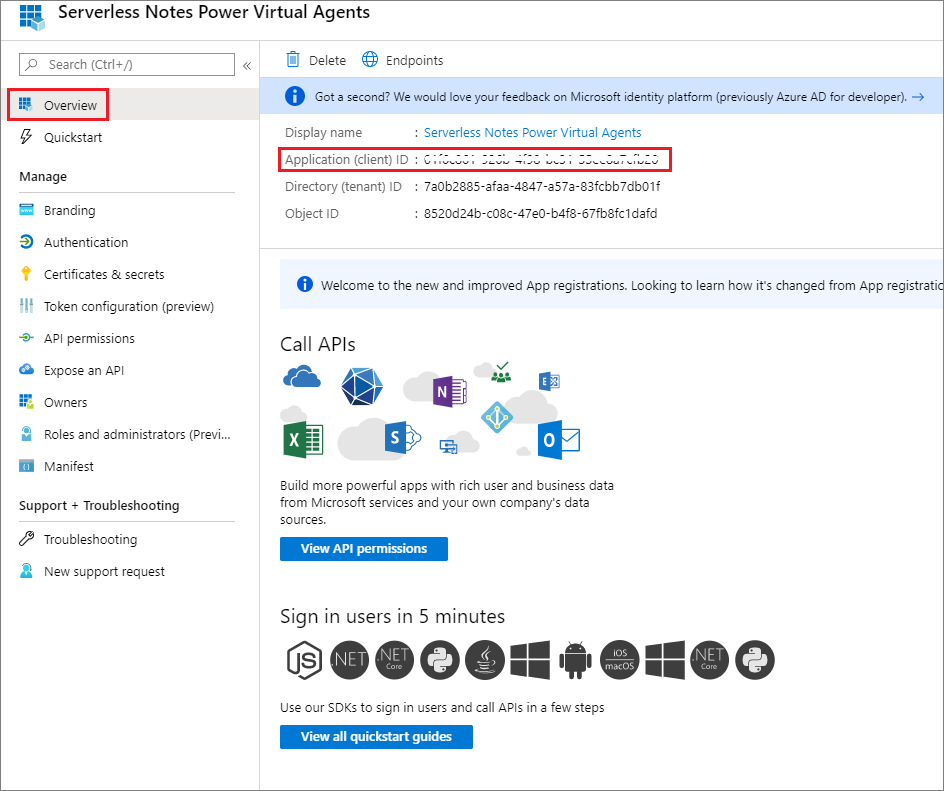
To summarize, from Azure Active Directory we need to copy the following values:
• Application (client) ID
• Secret
• Graph Scope (User.Read)
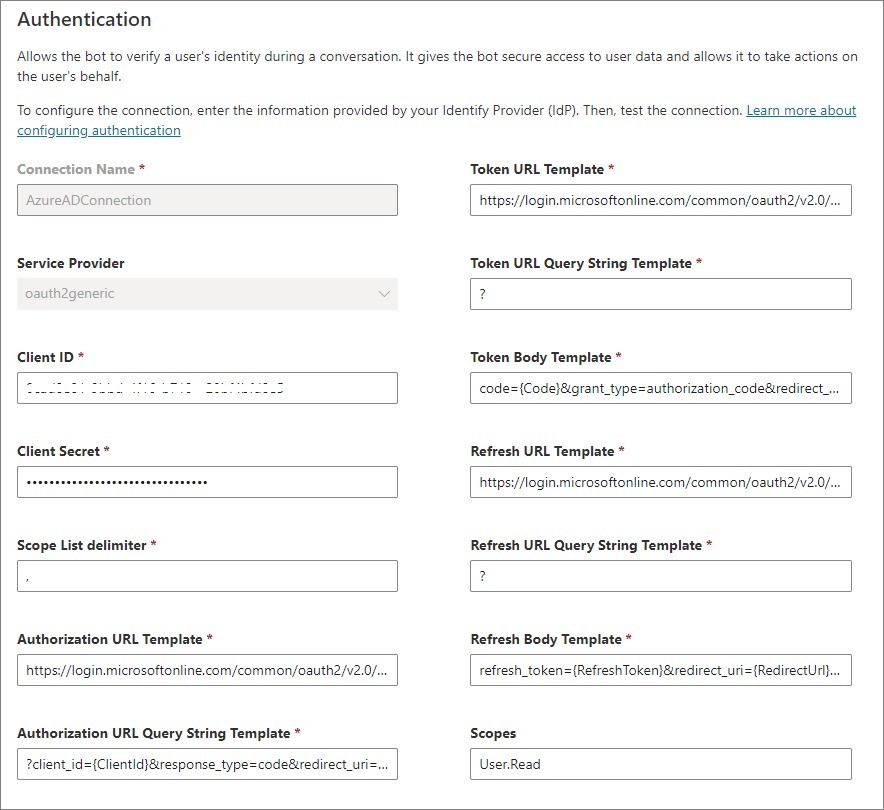
We can now populate these values into the Power Virtual Agents Authentication configuration that we previously discussed. The remaining values can be retrieved from the Microsoft documentation. Our result should look like the following:
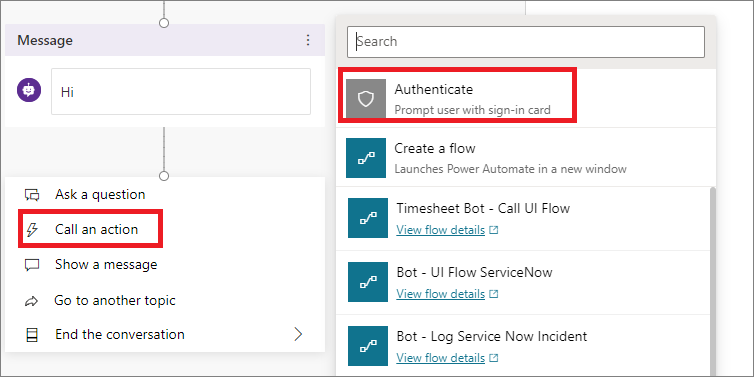
At this point, we can authenticate our users in our bot by clicking on Call an action and will be prompted with an Authenticate operation.
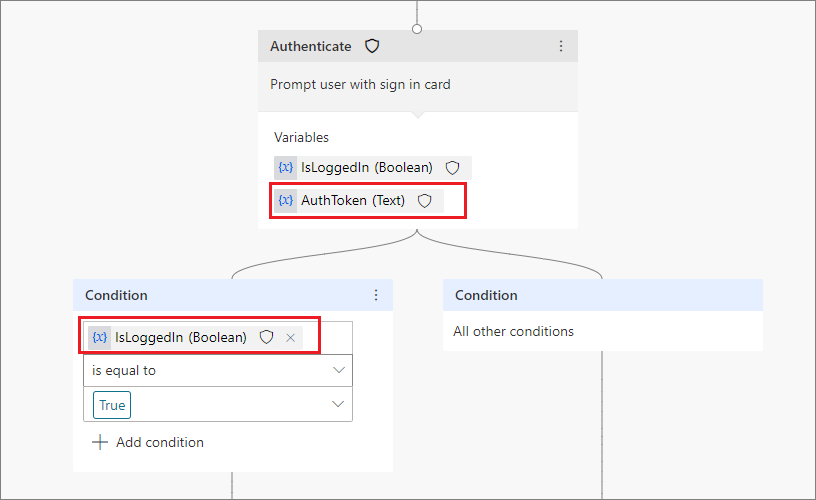
Microsoft will automatically add a condition and some actions that allows us to determine if the user is logged in or not. In addition, the user’s AuthToken will be stored in a variable that we can pass to a flow.
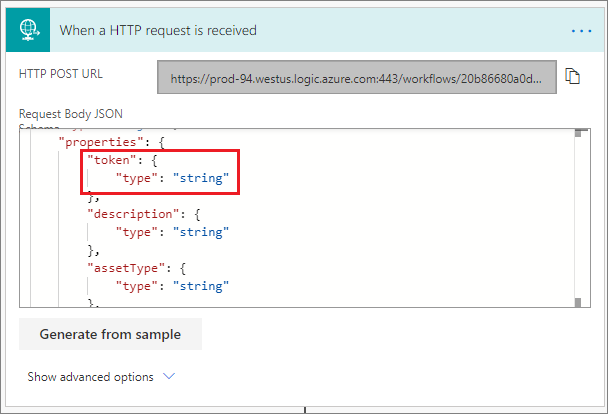
In order to pass the AuthToken to our flow, we need to ensure that we create a JSON schema that can receive this value (and any other parameters that we want to include). Within our HTTP Trigger we can include this information.
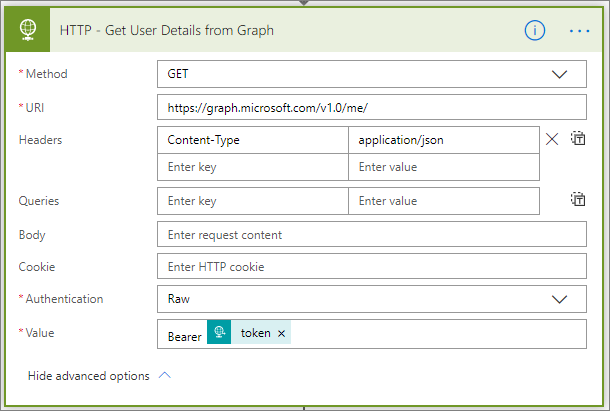
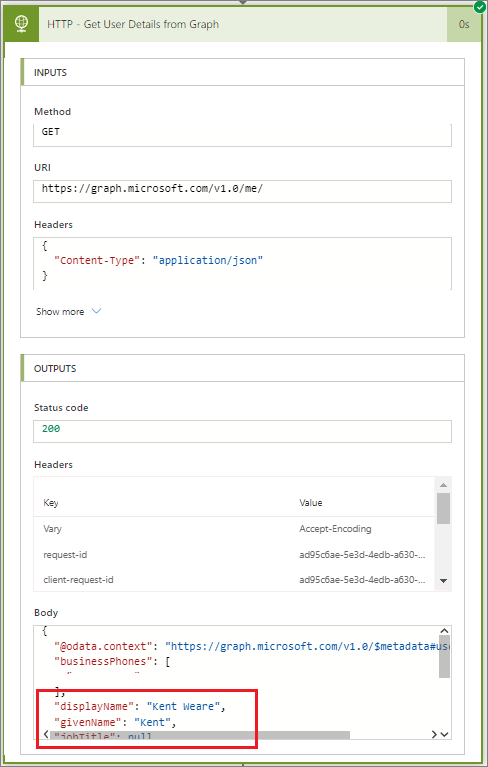
At this point, we have a user token, but we don’t know who this token belongs to. We can determine this by calling the Graph endpoint on behalf of the user by providing their token. As part of this call, we need to ensure we are using an Authentication type of Raw and that we include a Value of Bearer
Provide any additional logic in your flow as required.
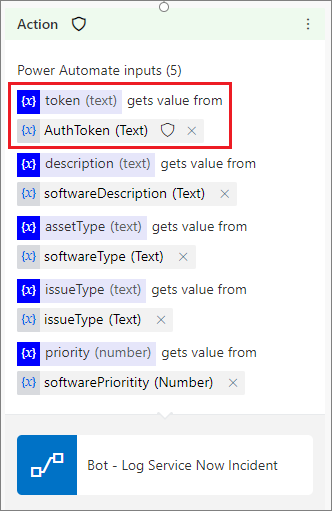
When we go back to Power Virtual Agents and try to call this flow, we will now get prompted to provide our AuthToken (and any other parameters that are required by our flow).
Testing
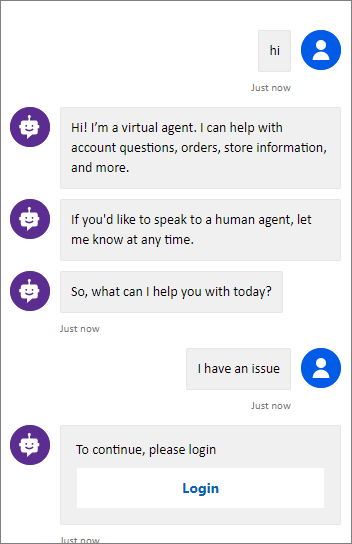
Let’s now call our flow from our chatbot and determine the information found in Graph API. When we begin our conversation, we will be prompted, from the bot, to Login.
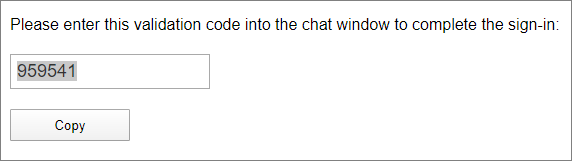
After we enter our username/password, we will be provided with a code that we need to copy and paste into our chat session.
If we flip over to our flow, view our run history and explore our output from our Graph call, we can see information about the user who initiated our chat session.
Conclusion
When it comes to interacting with users through chat sessions, we certainly do not want to leak sensitive data. By using the authentication capabilities found in Power Virtual Agents and then using their token in Power Automate, we know who the user is that has called our service. To learn more about this scenario, please check out this companion video which provides a detailed walk-through of these concepts in action.
Was this article helpful?