Getting started with the Azure Data Factory Copy Tool
- Print
- DarkLight
- PDF
Getting started with the Azure Data Factory Copy Tool
- Print
- DarkLight
- PDF
Article summary
Did you find this summary helpful?
Thank you for your feedback!
#ServerlessTips - Azure Data Factory
Author: Dave McCollough Technical Consultant
In the previous post of this series on Azure Data Factory, we created our Azure Data Lake storage account. In this post, we are going to use the Copy Data tool to create a copy of data from a source location to a target folder using a data pipeline
Prerequisites
• Active Azure Subscription. If you don’t have a subscription, you can sign up for a free one here.
Dataset
You can upload a .csv dataset into the Azure Data Lake storage account you created.
Using the Azure Data Copy Tool
Browse to the Azure Data Factory page.
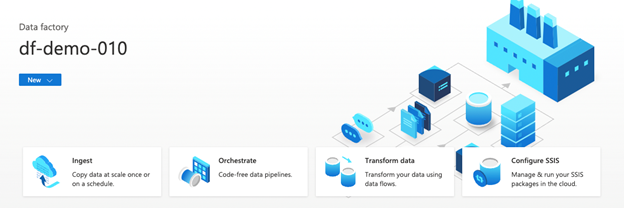
Click Open Azure Data Factory Studio to navigate the Azure Data Factory homepage.
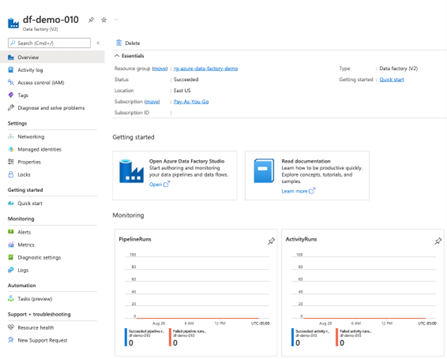
- Click Ingest.
- Properties Tab
a. Click Build-in copy task.
b. Click the Run once now radio button.
c. Click the Next button.

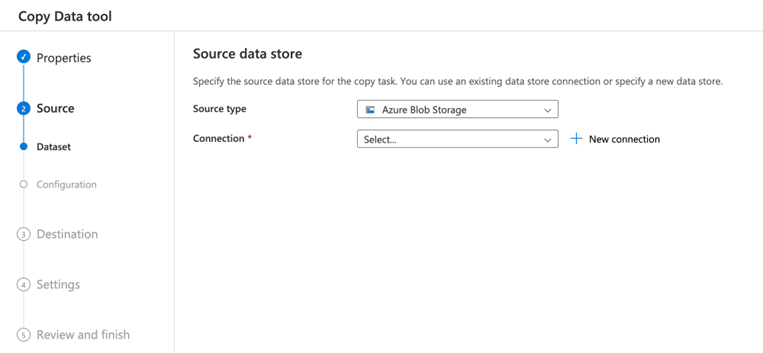
- Source Tab
a. Select Azure Blob Storage from the Source type dropdown.
b. Click + New connection
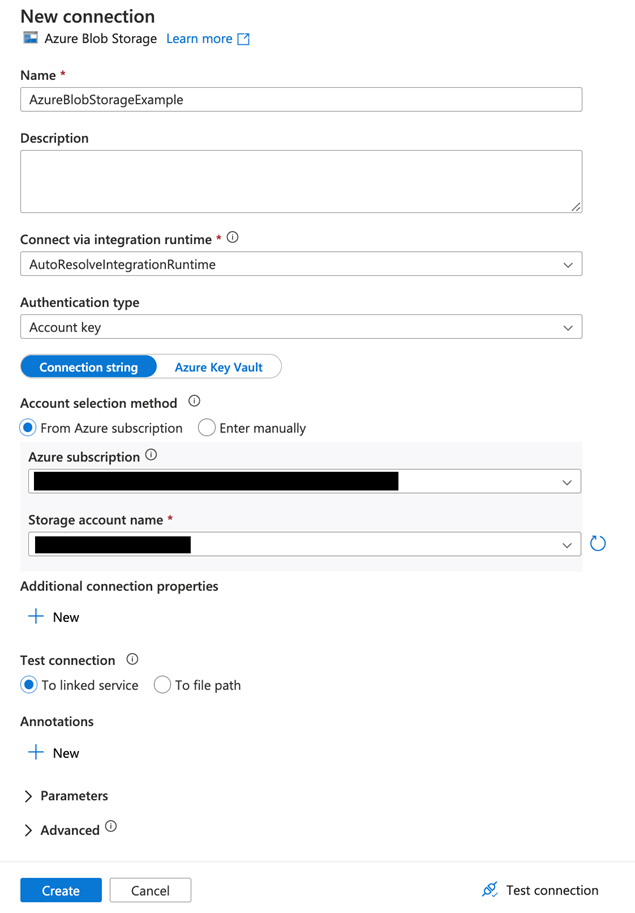
On the New Connection page, configure the following:
a. Name
b. Connect via integration runtime (you can leave the defaulted value)
c. Select your Azure subscription from the dropdown
d. Select your Storage Account name from the dropdown
e. Click the Create button
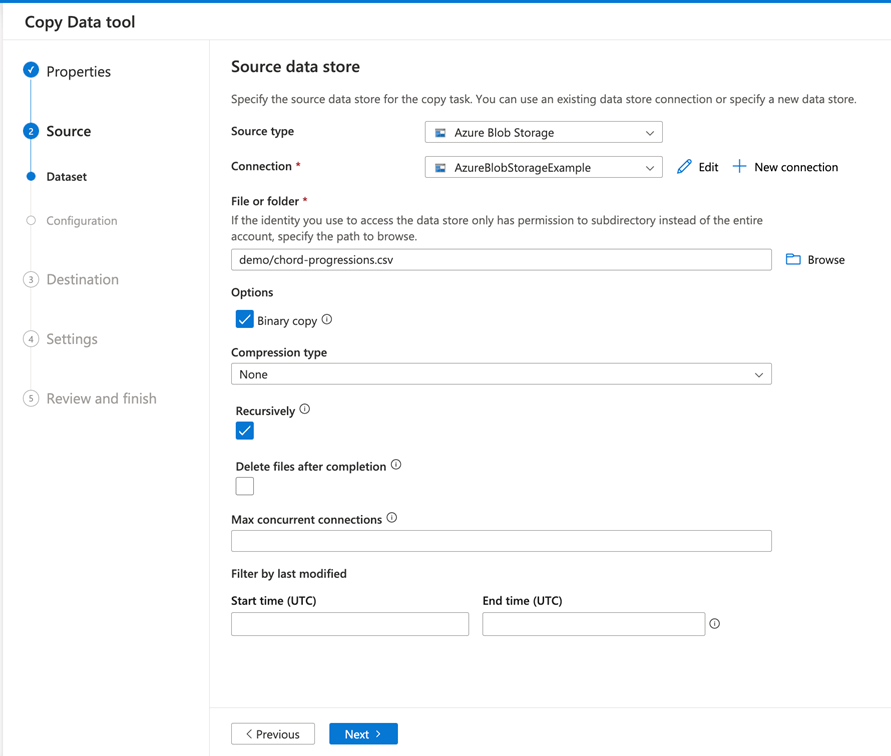
On the Specify Data Source page, configure the following:
a. Select Source type (for this example, we are using Azure Blob Storage)
b. Select Connection (this should be the Connection configured in step 6)
c. Browse to a file stored in Azure Blob Storage
d. Check Binary copy
e. Click Next
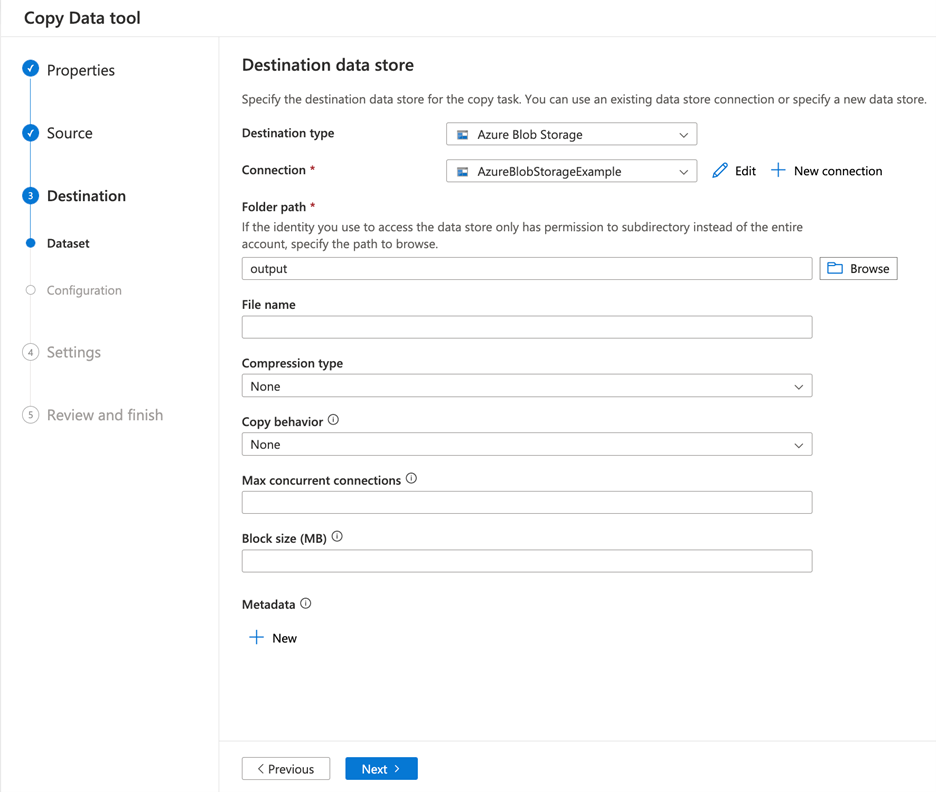
On the Destination data store page, configure the following:
a. Select Destination Type
b. Select Connection
c. Browse to a File or Folder
d. Click Next
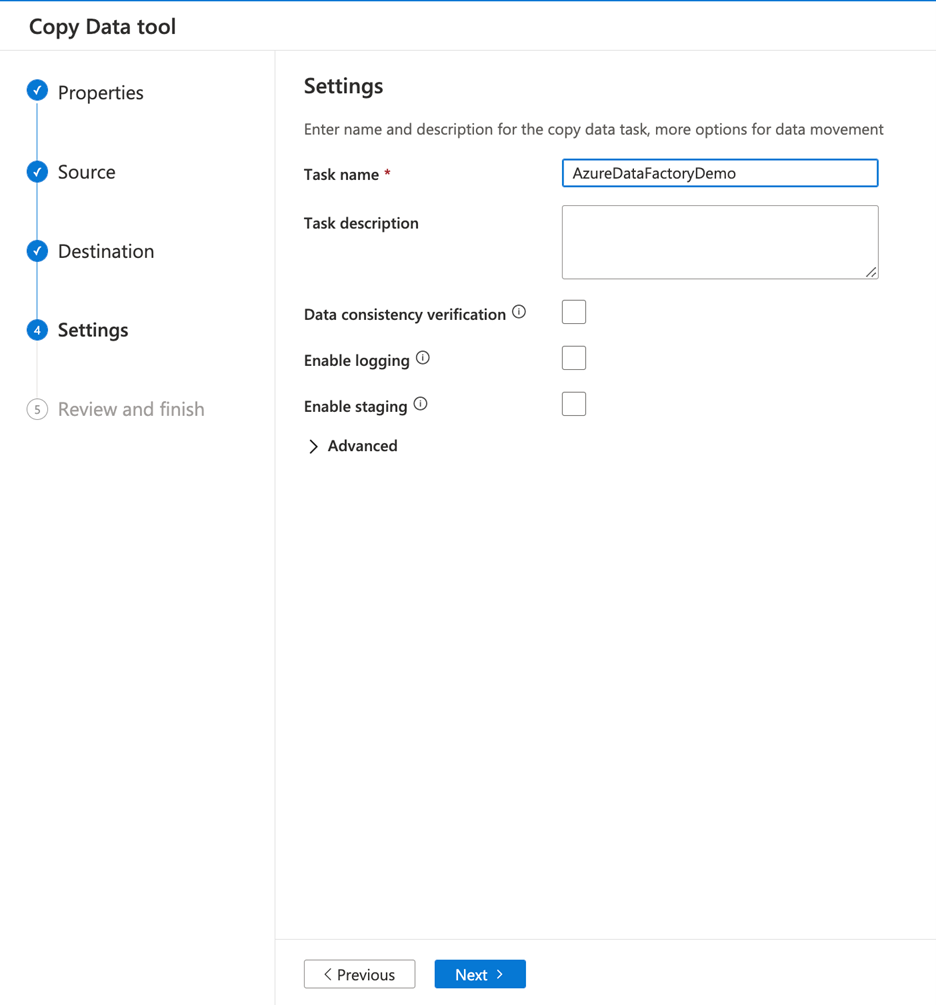
On the Settings screen, configure the following:
a. Enter a Task name
b. Click the Next button
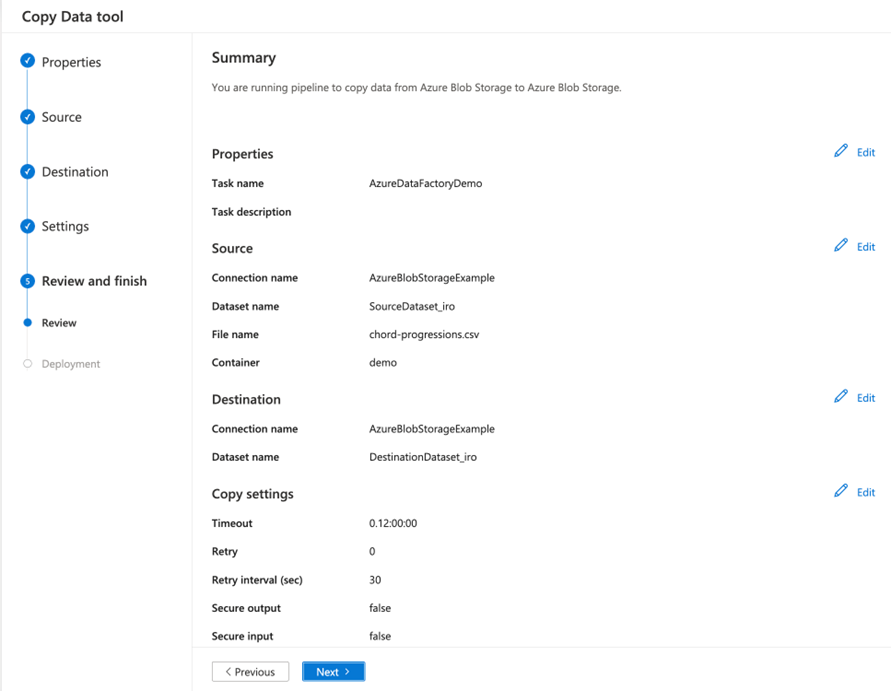
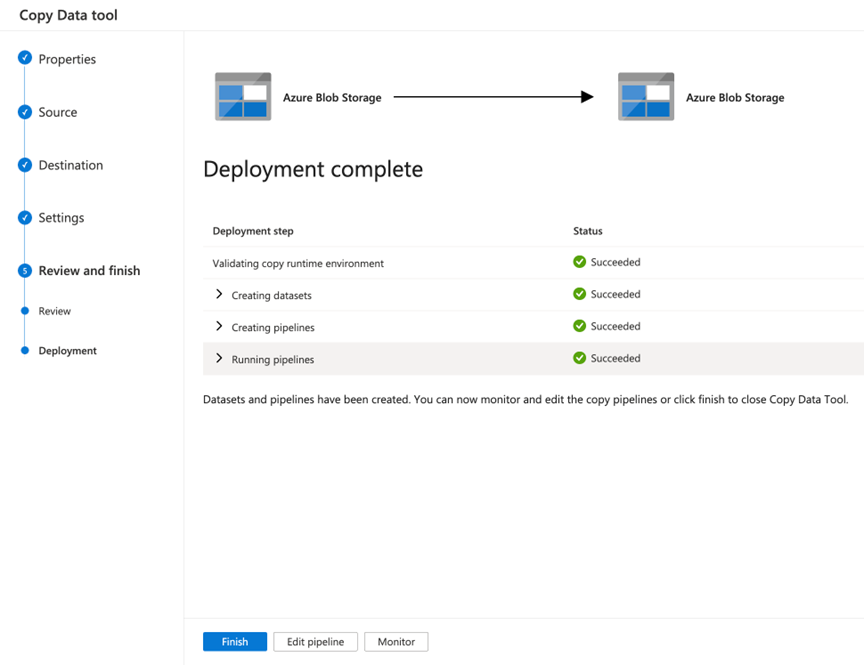
- Review the Summary screen and click the Next button
- If you want to view your data pipeline details, click the Monitor button.

- The Pipeline runs screen will provide details on the pipeline run

- Alternatively, you can click the Finish button to return to the Azure Data Factory home page.
Summary
In this article, we used the Azure Data Factory Copy Tool to create a data pipeline to move data from one location to another.
Was this article helpful?