How to use iterations and conditions activities in Azure Data Factory?
- Print
- DarkLight
- Download PDF
How to use iterations and conditions activities in Azure Data Factory?
- Print
- DarkLight
- Download PDF
Article summary
Did you find this summary helpful?
Thank you for your feedback!
#ServerlessTips - Azure Data Factory
Author: Ahmad Yaseen Microsoft
Iteration activities in Azure Data Factory are used to iterate over a collection and perform a specific functionality. On the other hand, the condition activities are used to execute set of activities when the defined condition evaluates to true and other activities when the condition evaluates to false.
In this article, we will see how to iterate over a set of data files stored in an Azure Blob Storage container and pick only the files with CSV extension and size larger than or equal to 10 KB. Whatever files match this criterion, the pipeline will copy it to another Azure Blob Storage container.
Prerequisites
Azure Subscription.
Azure Data Factory.
Azure Storage account with source and destination containers.

Scheduling the Pipeline Execution
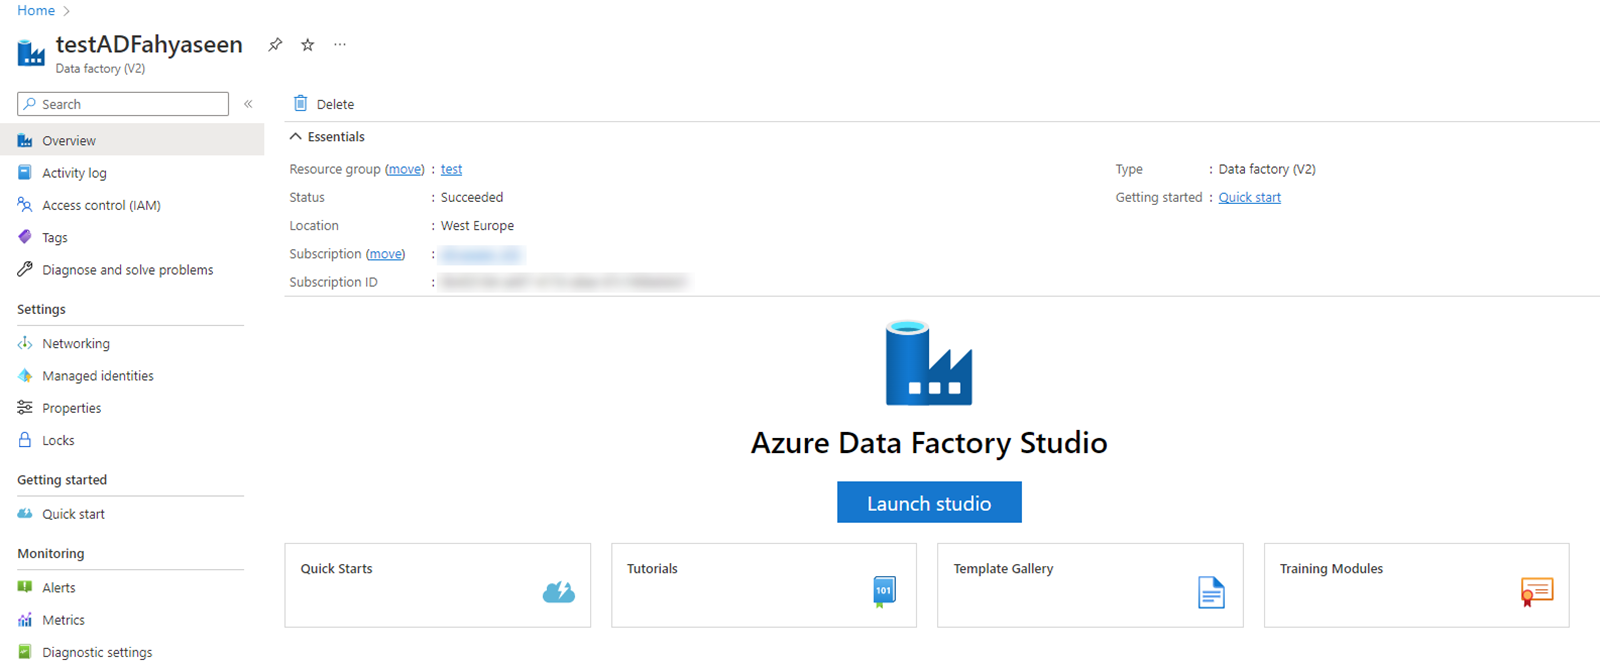
Open the Azure Portal using your Internet Browser and search for your Azure Data Factory service.
In the Azure Data Factory, click Launch Studio to open the Azure Data Factory Studio:
- In the Azure Data Factory Studio, click in the pencil icon to start designing the pipeline:
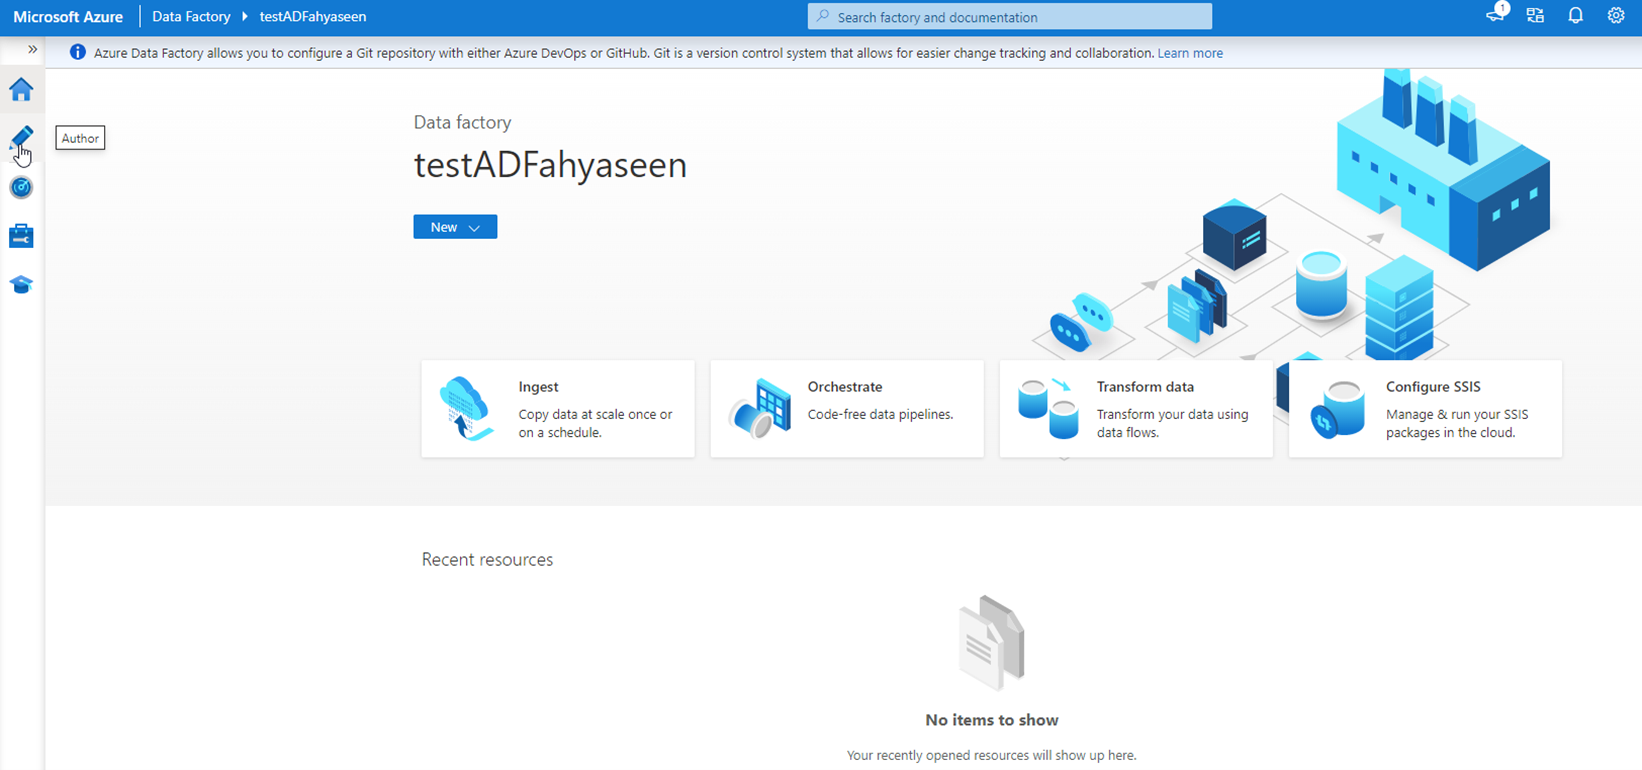
- In the Author window, click New pipeline option:
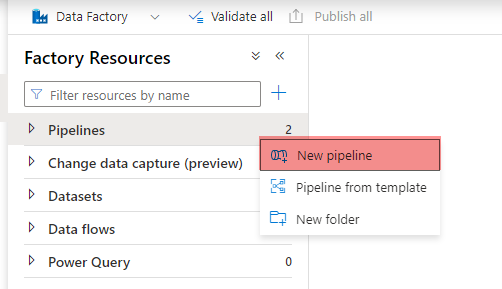
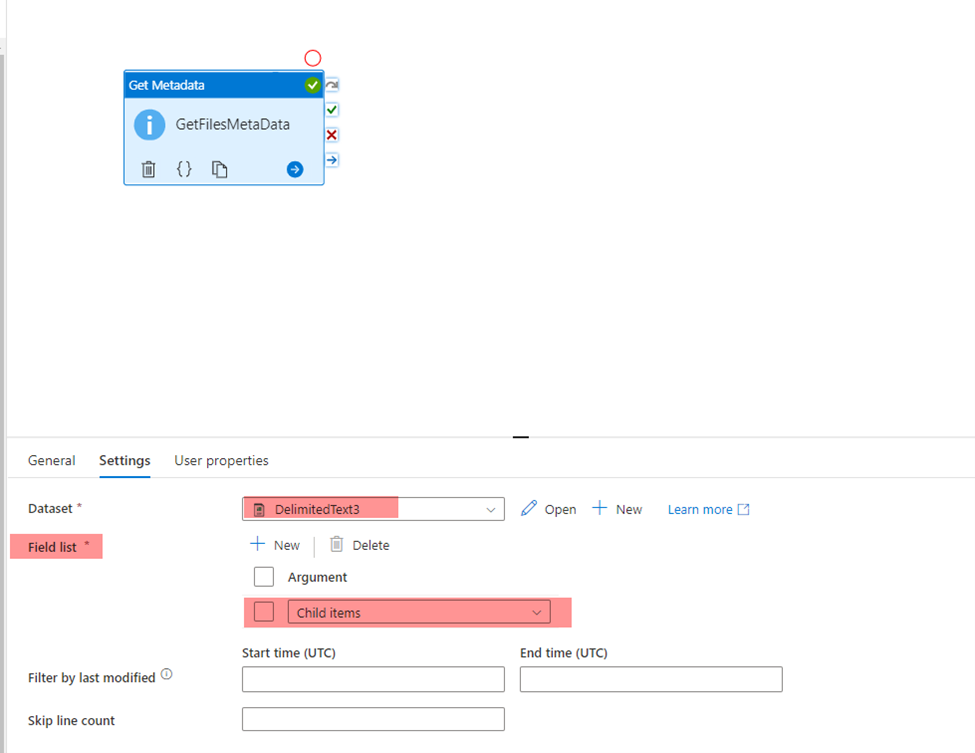
From the pipeline design window, expand the General Activities then drag and drop the Get Metadata activity to the design area. This activity will help us to retrieve the properties of the list of files in the storage account.
Configure the Get Metadata activity to connect to the source container in the Azure Storage account, making sure to add the Child Items as an argument within the Field List to return the names of the files in the source container.
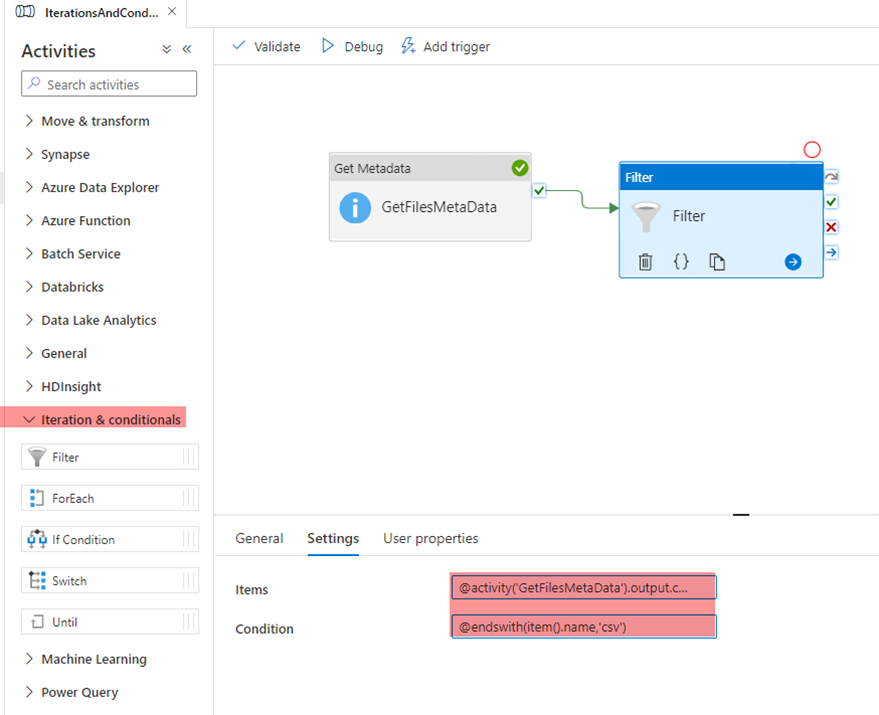
- Under the Iterations & Conditions activities group, drag the Filter activity and drop it in the pipeline design area and connect the output of the Get Metadata activity to the filter activity. This filter activity will be used to get only the files with CSV extension that are returned from the previous activity, by providing the proper condition shown below:
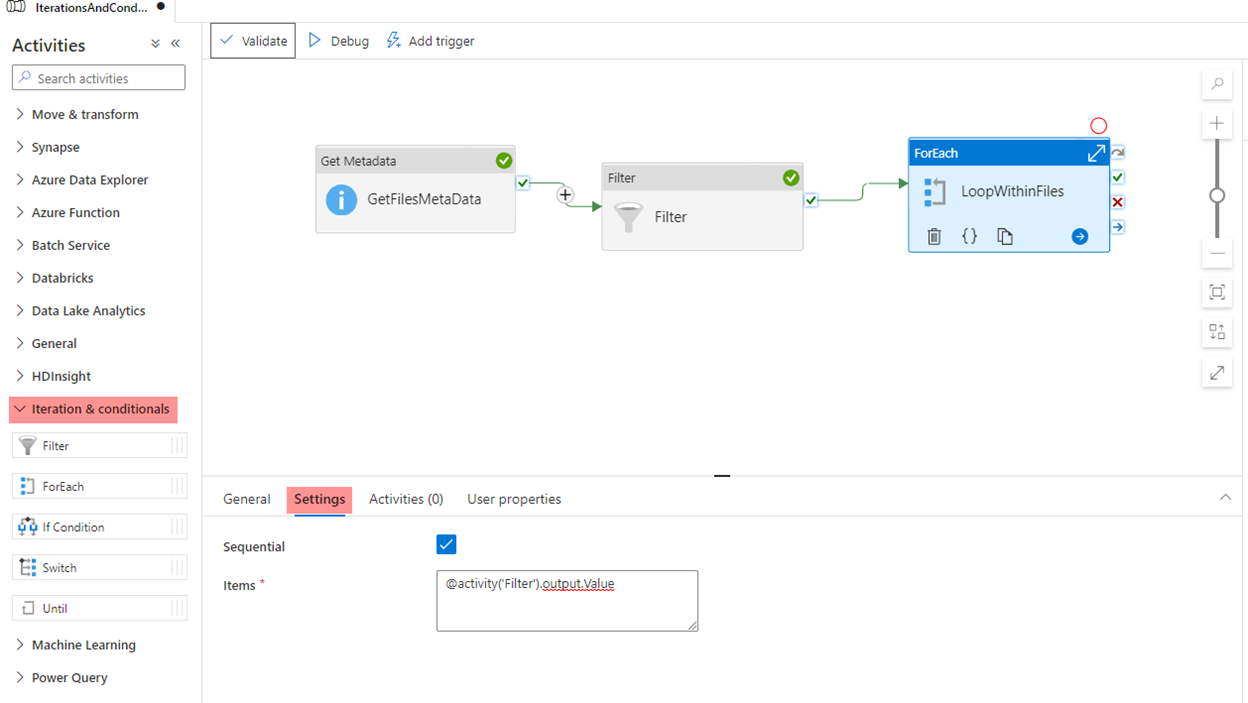
- Now, we will add the ForEach activity that will loop through the CSV files returned from the Filter activity. The Foreach will check if the file size exceeds 10KB, it will copy it to the destination container:
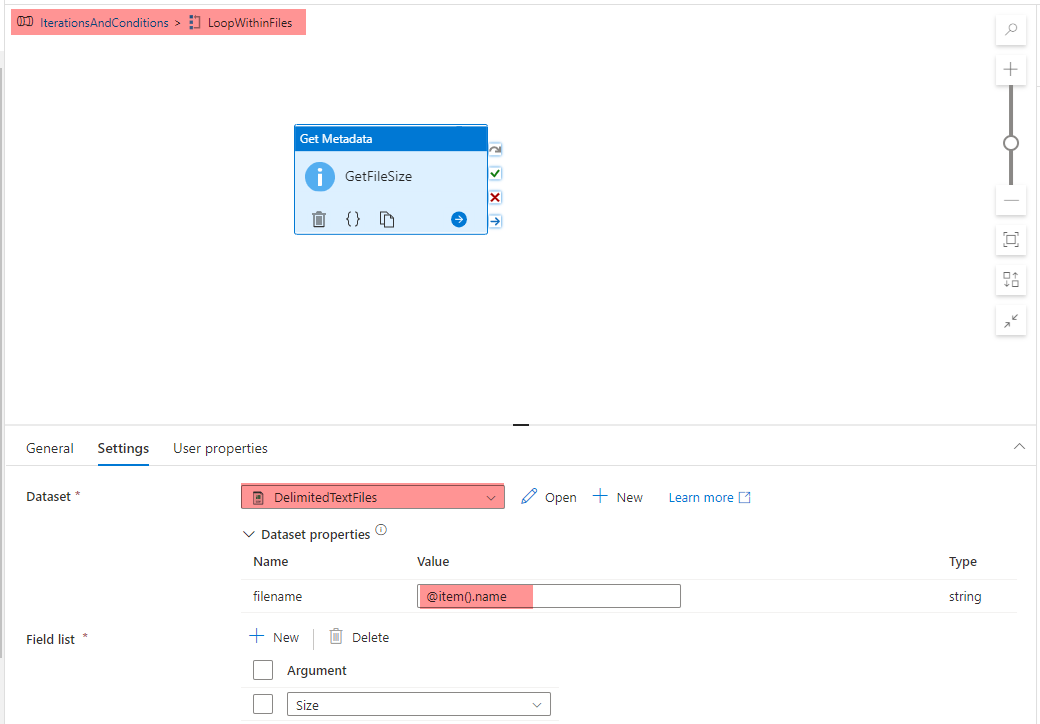
- In the ForEach activity, we will add also another Get Metadata activity to return the size of the files that are filtered by the previous activity. To do that, we will create a new dataset to point to the source data, with:
- Add a new dataset parameter of FileName with CSV as the default value.
- @dataset().filename as the file name in the dataset.
- Filename parameter value within the Get Metadata as @item().name.
- Add the Size as an argument within the Field List to get the files size.
- Now, we will add an If Condition activity within the ForEach activity to return only the files with size larger than or equal to 10 KB and copy it to the destination container:
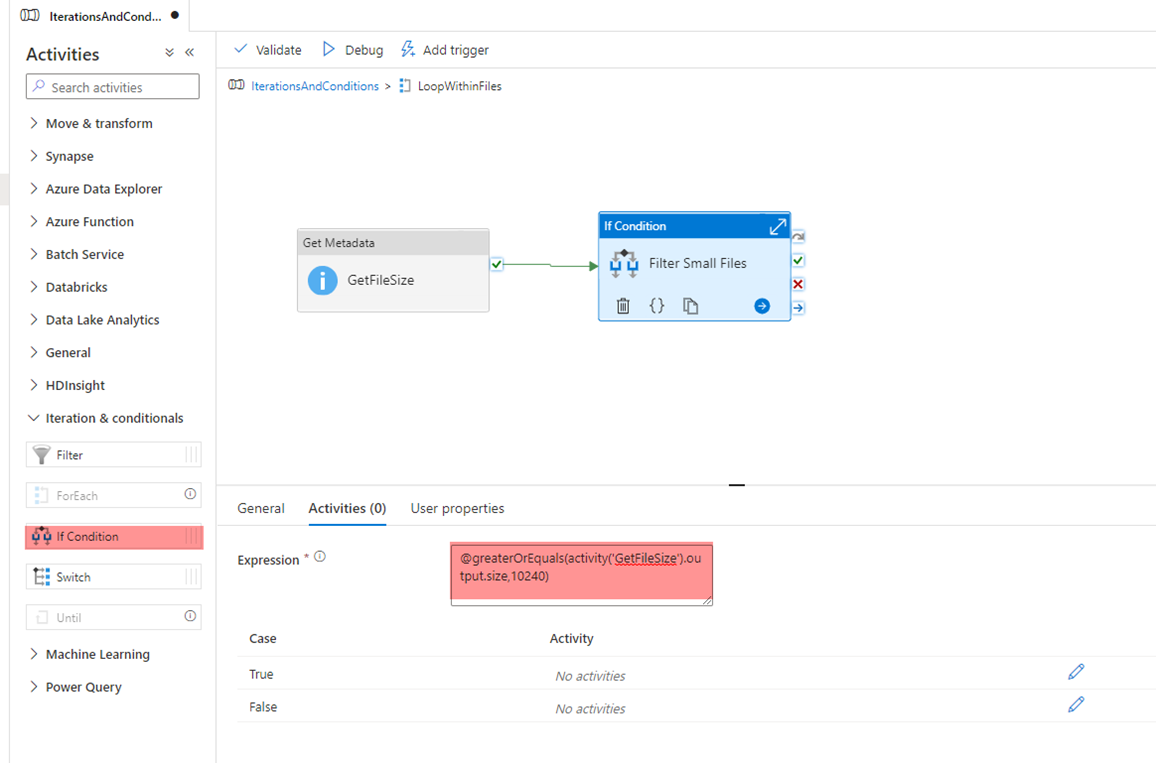
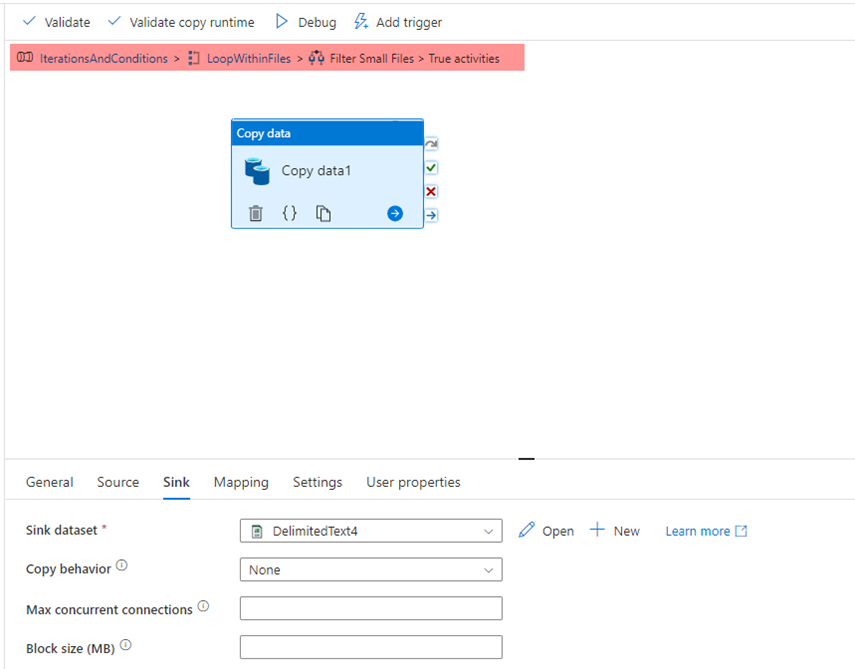
Where we will add a copy activity as an internal activity for the True case of the If condition to copy the passed files to the destination container:
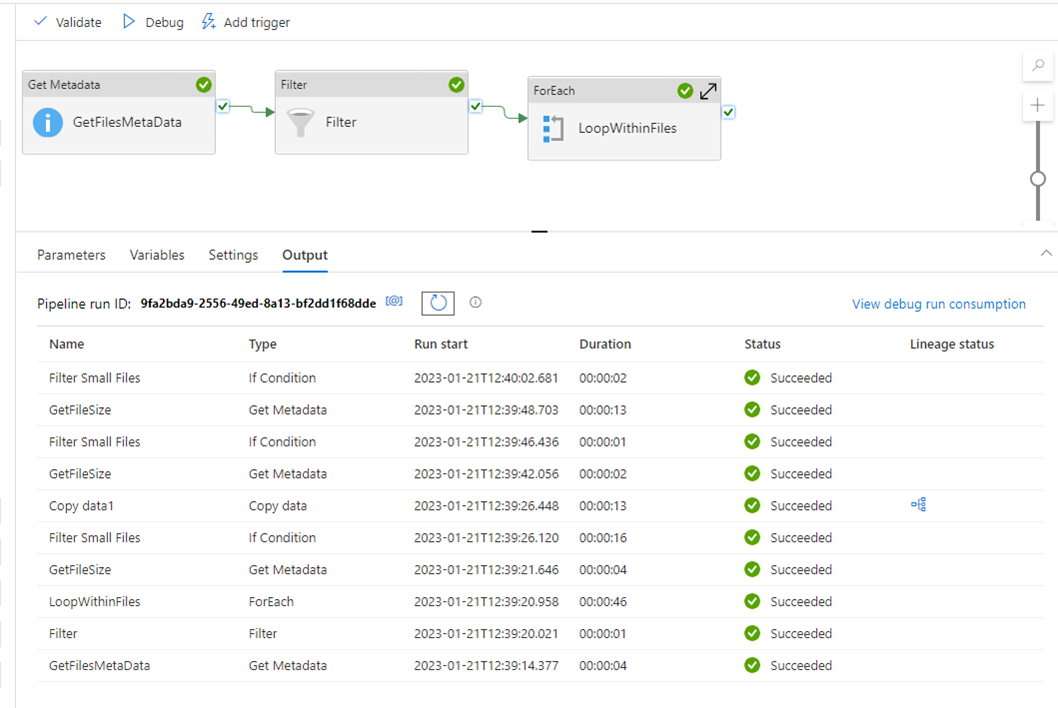
- Now the pipeline is designed completely. If you try to trigger the pipeline, you will see that the pipeline executed successfully, as below:
And only the CSV file that meets the condition is copied to the destination container:

Was this article helpful?