Replicate Service Bus Messages with Azure Logic Apps
- Print
- DarkLight
- PDF
Replicate Service Bus Messages with Azure Logic Apps
- Print
- DarkLight
- PDF
Article summary
Did you find this summary helpful?
Thank you for your feedback!
#ServerlessTips - Azure Logic Apps
Author: Kent Weare Integration MVP
In a previous Serverless Tip, we discussed how we can manage the starting and stopping of Azure VMs using Azure Logic Apps – Automation Tasks. In this post we are going to discuss how we can use Automation Tasks to replicate messages from Service Bus Messaging queue to another.
Why would I use this template? Perhaps you have a scenario where you want to replicate production traffic in a lower environment. Using this template will allow you to replicate these messages from one queue to another which could be used in other IT landscape environments.
By using an Automation Task, we can quickly implement this solution by executing the following steps:
Navigate to the Azure Portal and select your Service Bus messaging namespace. Scroll down on the left side and click
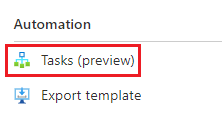
Click on Add a task

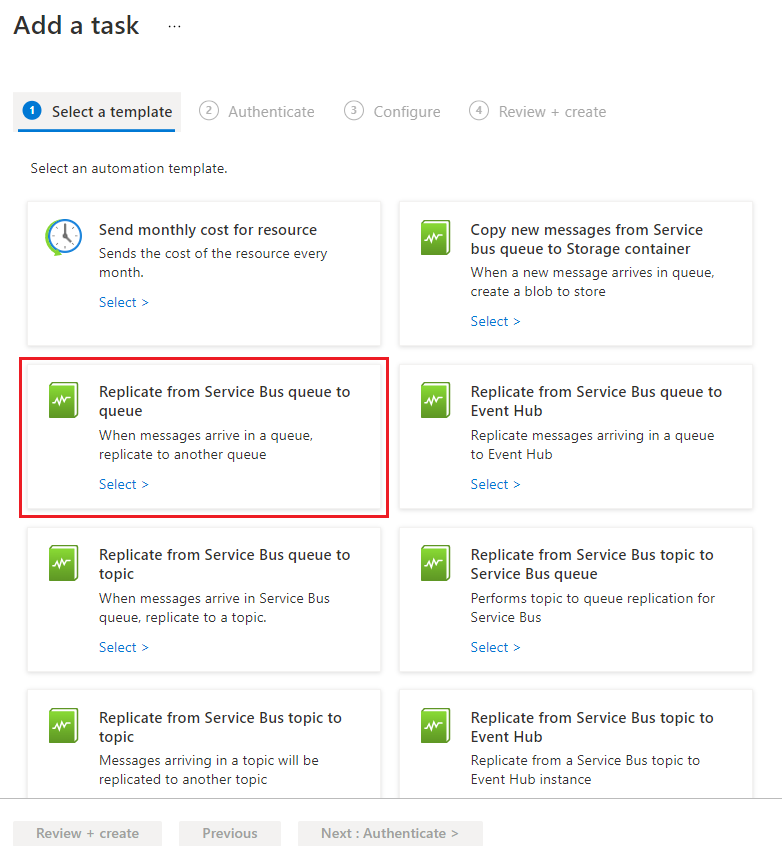
We now can select the template that we want to implement. In our case, we will select Replicate from Service Bus queue to queue and click the Next: Authenticate button.
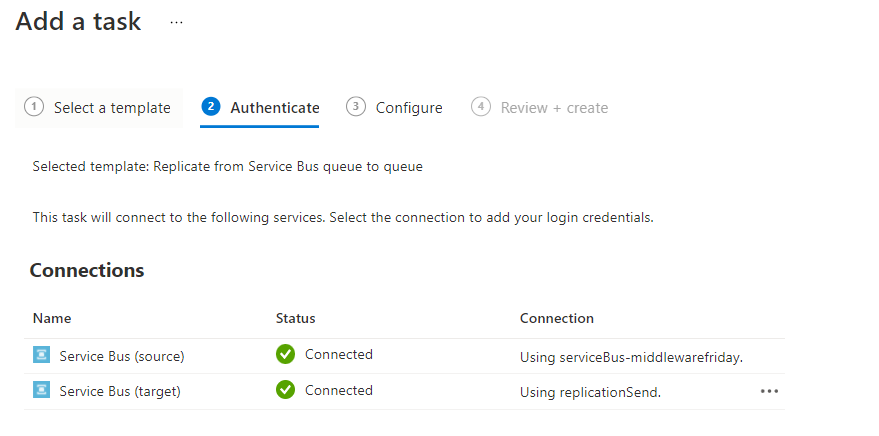
Establish your connections to your source and target queues. Click Next: Configure to proceed.
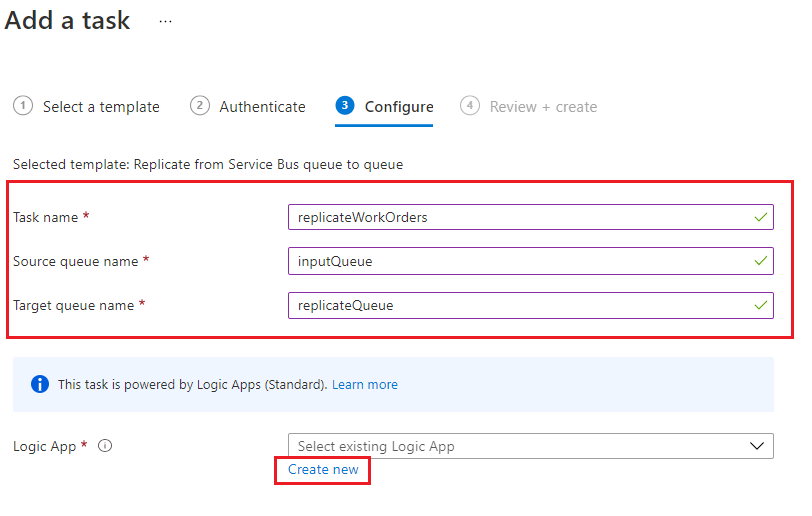
- We now need to configure our task by providing a Name, Source queue name, Target queue name and if we don’t have an existing Azure Logic App (Standard), we need to create one. To create one, we do need to click on the Create new link.
Note: Ensure that the queue names used here match those that exist within your Azure subscription.
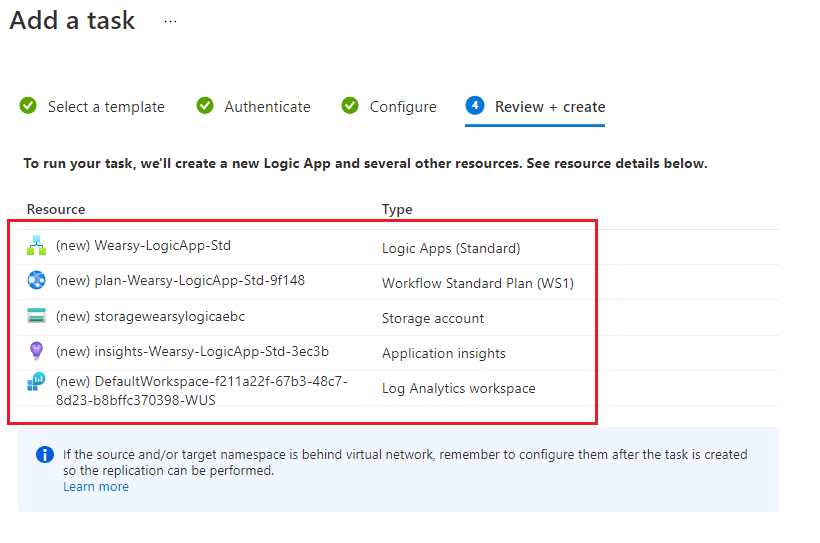
- We will now be presented with a summary of the resources that will be created. Click Create to proceed.
Note: Since this Automation Task requires the Standard SKU, we will see some additional resources being created for us including Workflow Standard Plan (WS1). This will result in some charges to your subscription. Please refer to Azure pricing calculator for more specific estimates.
- After about a minute, my Automation Task has been provisioned

- We can now manage this Automation Task by clicking on View or by Open(ing) in Logic Apps. View will open the Logic App’s Run History. Open in Logic Apps will allow you to modify the Logic App implementation.

Testing
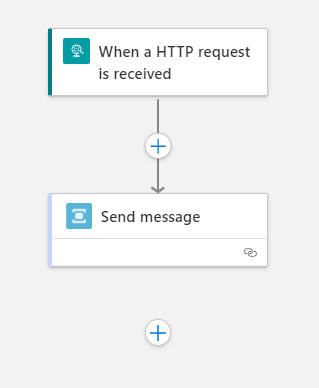
To validate that our process works, we can create a simple Logic App that will use an HTTP trigger and post a message to our inputQueue.
We can now go look at the Automation Task - Run Details (see point 8 above) where we can see if our Automation Task ran. Now, since the template uses a Stateless logic app, we won’t find any run history until we enable debugging mode. Once our debugging mode is enabled, we can send a message from our test logic app and then hit Refresh. Within a few seconds we should see that our Automation Task copied a message from our inputQueue and put it into our replicateQueue.
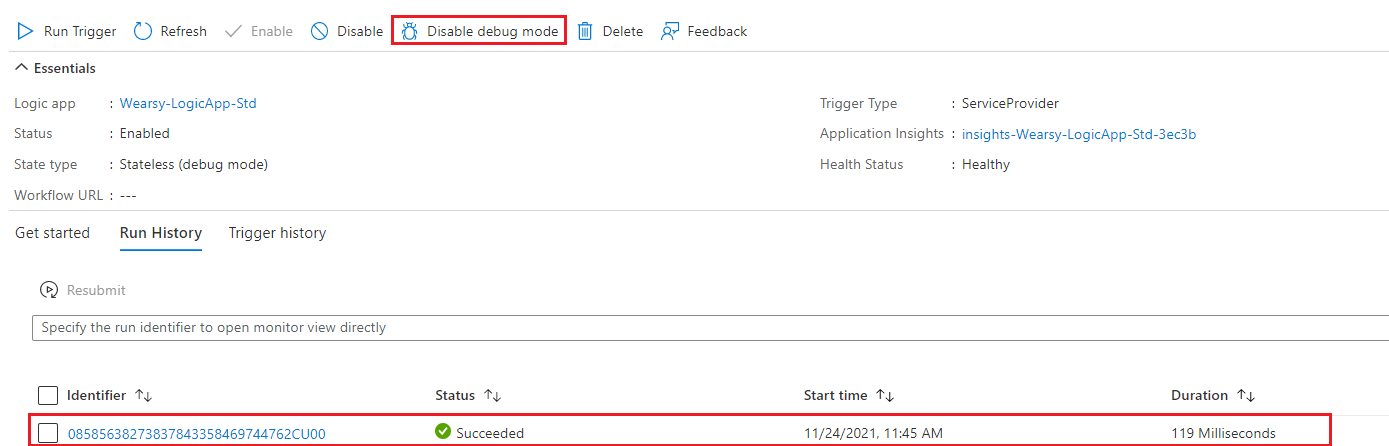
Don’t forget to disable debugging once you have finished validating the execution works properly.
Conclusion
Once again, we can see how Automation Tasks help us quickly address automation needs without having to write code to accomplish simple, but meaningful tasks.
Was this article helpful?