Scaling Out Azure Logic Apps ISE
- Print
- DarkLight
- Download PDF
Scaling Out Azure Logic Apps ISE
- Print
- DarkLight
- Download PDF
Article summary
Did you find this summary helpful?
Thank you for your feedback!
#ServerlessTips - Azure Logic Apps
Author: Kent Weare Integration MVP
Integration Service Environments provide customers with dedicated capacity in the Azure cloud for running integrations. Using this model provides more predictability for organizations as opposed to the Platform as a Service offering where compute resources are pooled across multiple customers. While Microsoft actively monitors the consumption in their data centers, it is impossible to predict when a customer may significantly increase their load.
For customers who have chosen to go the ISE route, the pricing model is different than the consumption model where you pay for use, which is metered on a per-action basis.
With ISE, you are paying for reserved capacity, regardless of whether you use it or not. In the ISE model, customers don’t want to “build for peak”, as it starts to erode the benefits of cloud computing.
However, Microsoft has provided another option that allows customers to subscribe to a Base unit where there is a per hour charge and then pay for up to 3 additional Scale units at an hourly rate that is roughly half of the Base unit. For more details about pricing, please refer to the Azure pricing page.
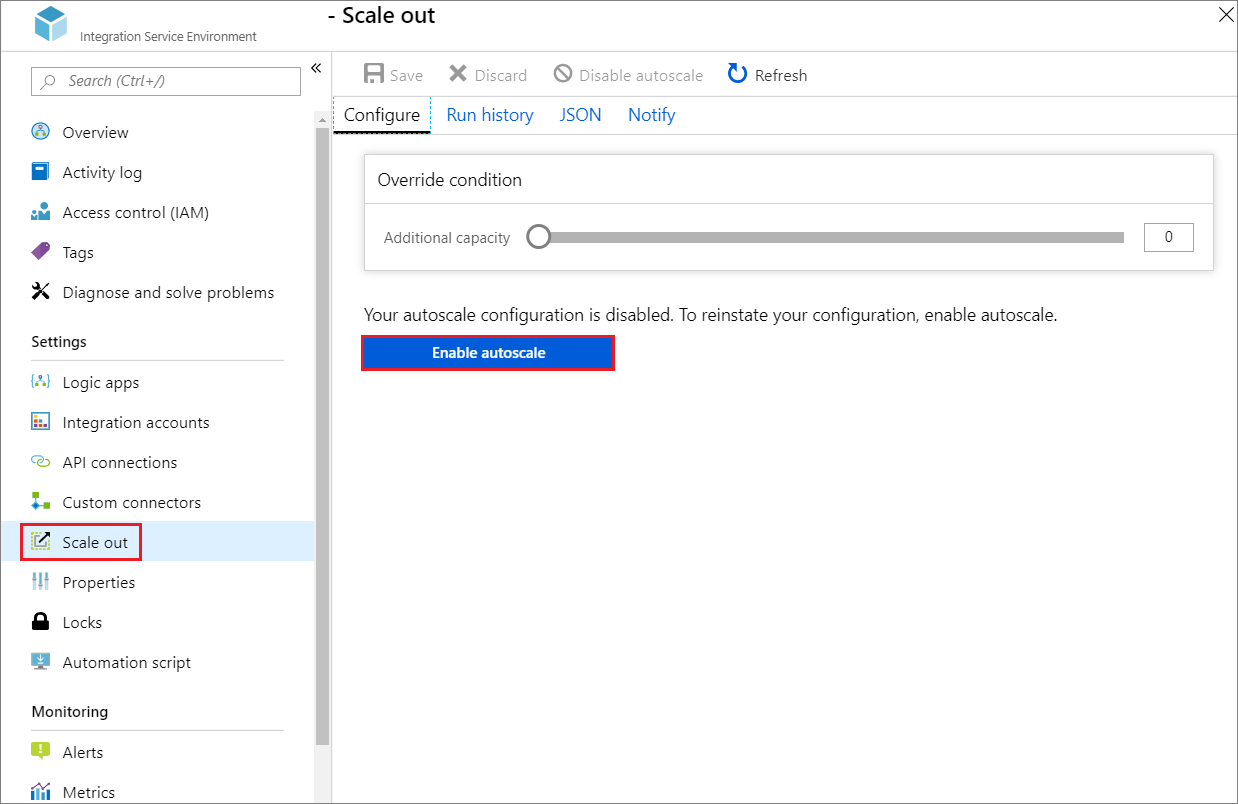
To enable Scale-out, click on your ISE and then click Scale-out and then Enable autoscale.
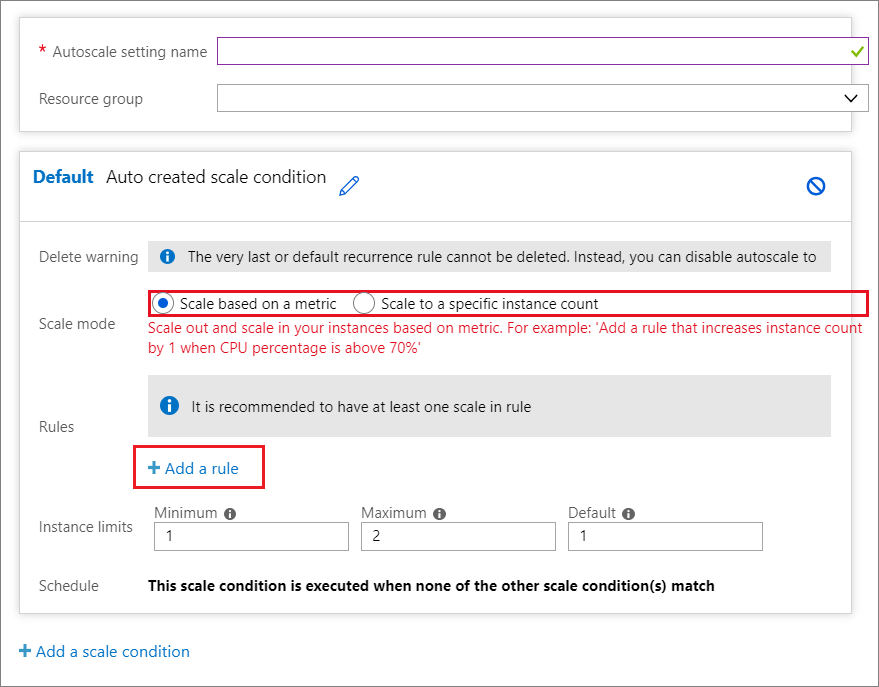
An autoscale configuration experience will emerge where we can set our autoscale strategy. We have two options: Scale based on a metric or Scale to a specific instance count. For this tip, we will use Scale based on a metric since we want our scale-out event to be more dynamic to reduce costs. In order to have a dynamic event, we need to create a rule by clicking on Add a rule.
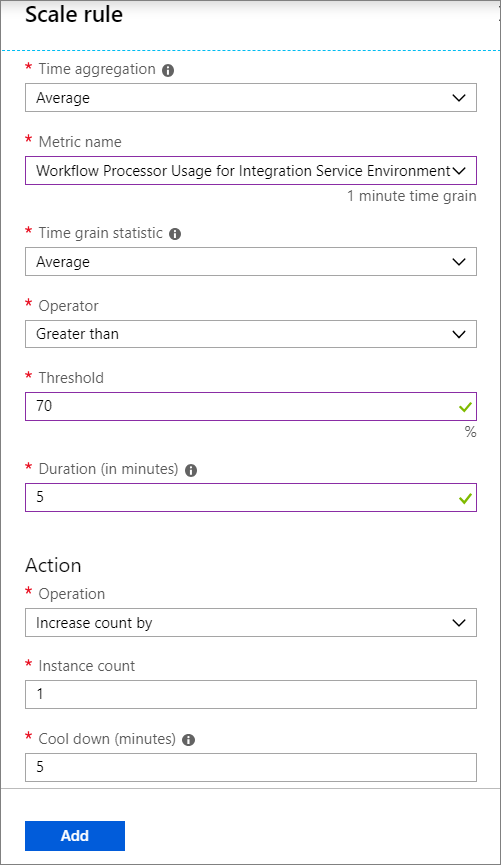
When we create a scale rule, we need to select a metric to base our rule on. There are many different metrics that we can consider including behaviors based upon runs, actions, triggers, throttling, and infrastructure events like processor and memory consumption for both workflow and connector engines.
For the purposes of this post, we will select to build a rule based upon Workflow Processor Usage. When our processor usage reaches an average of more than 70% for 5 minutes, we will add 1 more unit of capacity.
Another important value to be aware of is the Cool down minutes configuration which will wait for that period to expire before it will attempt further scale actions.
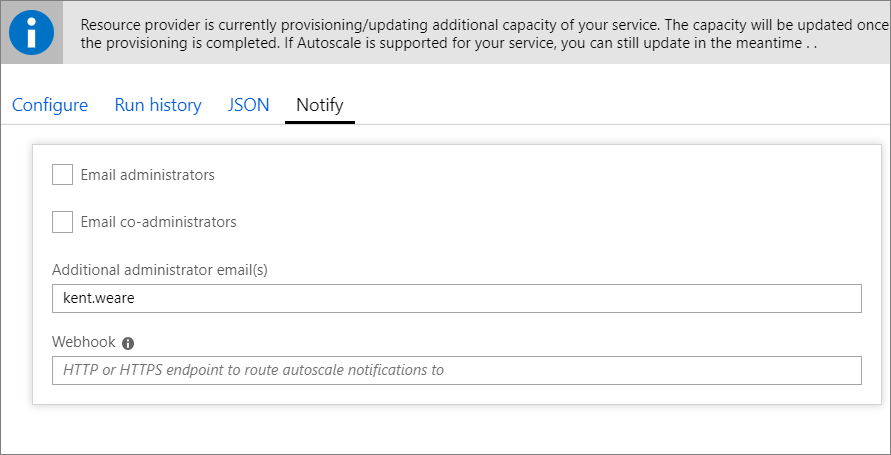
If you are running an operations team, you likely want to know when your platform is scaling. To address this communication need, we can provide email and/or webhook addresses that can be used to communicate scale events.
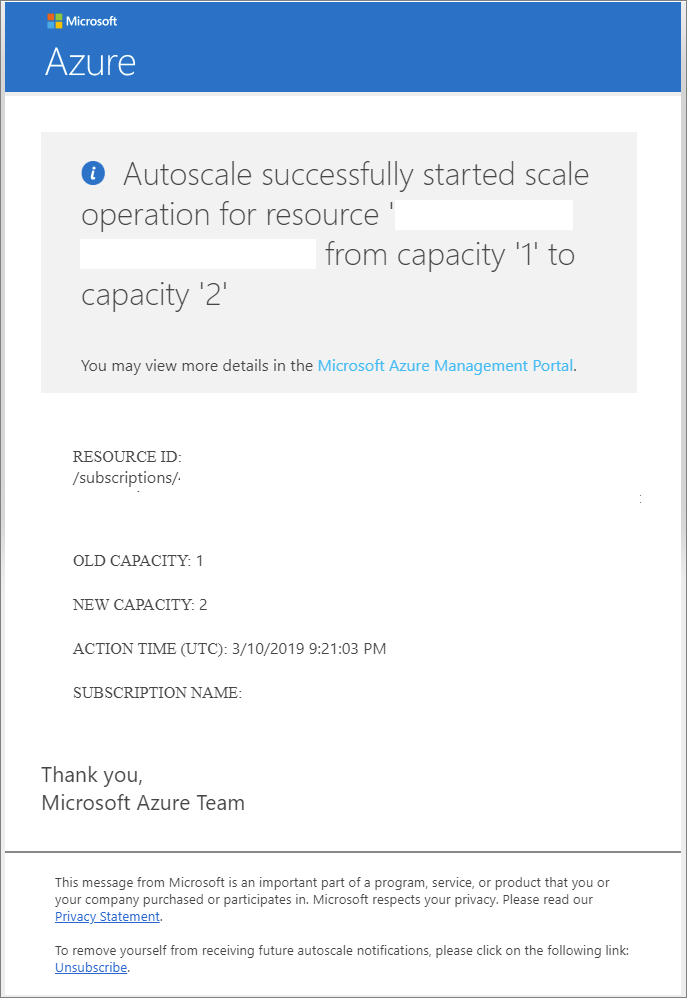
Once some load has been applied, and we have exceeded our scale event thresholds, we will discover that a scale event has occurred and we receive an email indicating our capacity has changed from 1 units to 2.
In our Integration Service Environment Overview page, we will discover that our ISE is in a Succeeded Provisioning state and we have 2 units of capacity.

The configuration that we have discussed so far will allow us to scale-out, but if our consumption decreases, we want to ensure that we are not unnecessarily paying for additional capacity. As a result, we can create a scale-in rule that will decrease our capacity when our processor usage average dips below 40% for more than 10 minutes.
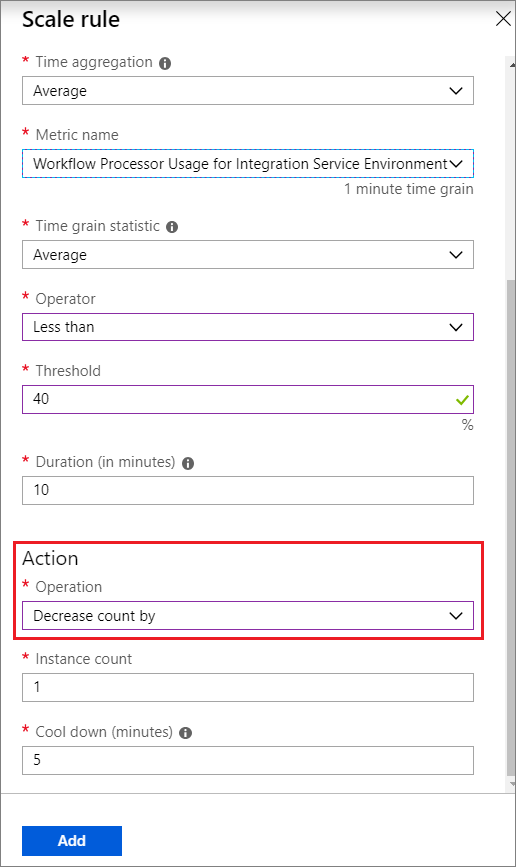
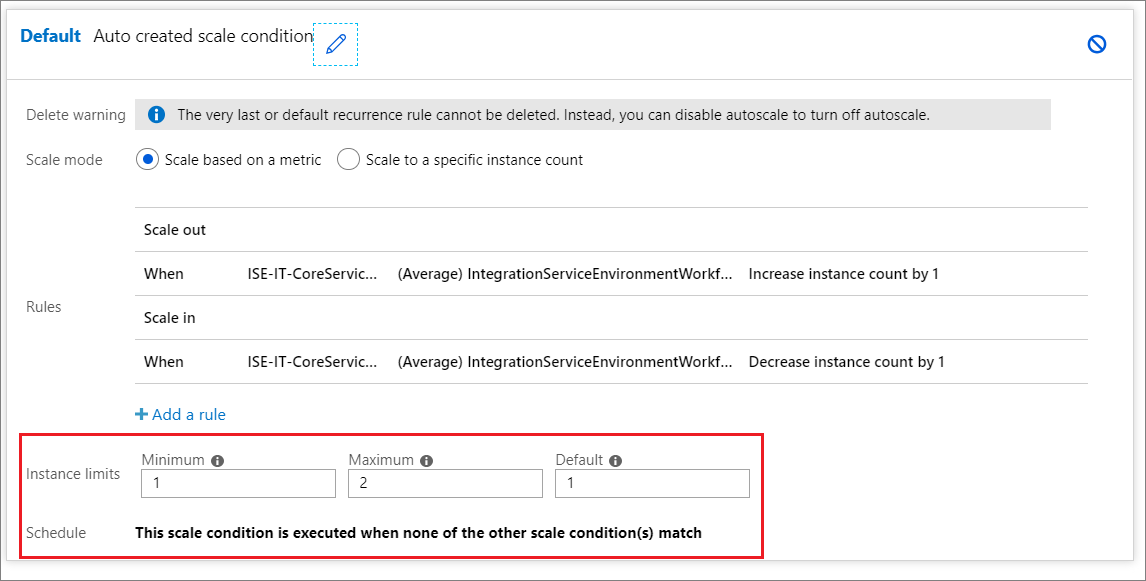
It is also important to pay attention to instance limits that will protect our environment over and under provisioning.
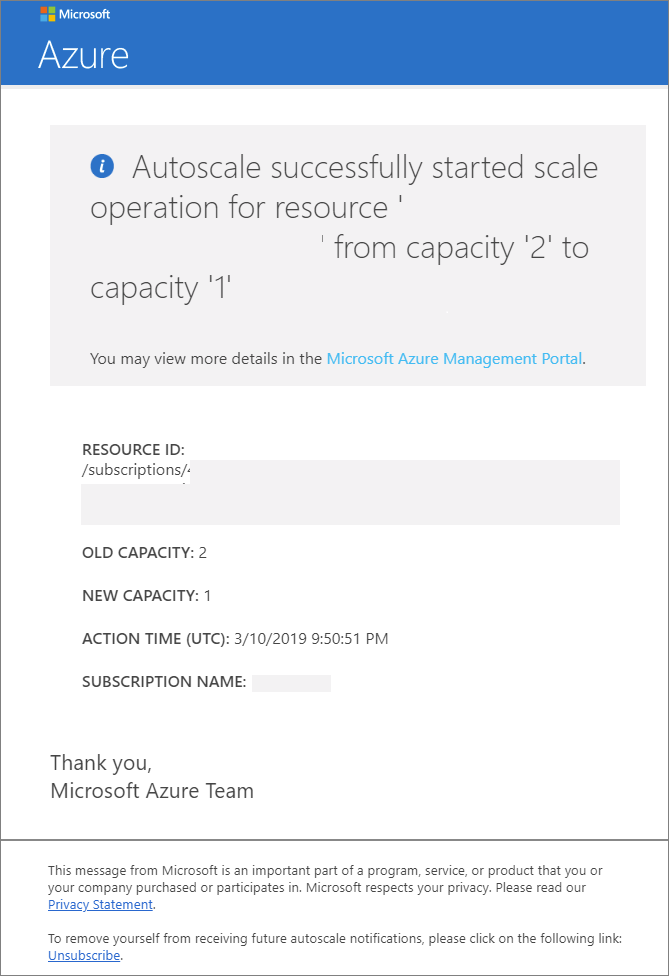
Once our load decreases, we receive another email indicating that our capacity has decreased from 2 units to 1 unit.

Was this article helpful?