How to schedule Azure Data Factory pipeline executions using Triggers?
- Print
- DarkLight
- Download PDF
How to schedule Azure Data Factory pipeline executions using Triggers?
- Print
- DarkLight
- Download PDF
Article summary
Did you find this summary helpful?
Thank you for your feedback!
#ServerlessTips - Azure Data Factory
Author: Dave McCollough Technical Consultant
In the previous articles, we used the manual or on-demand execution for the pipelines. But what if we want to execute a specific pipeline to perform a business process during the night? Should we ask one of the employees to stay awake and run it manually?
Azure Data Factory introduced the three types of Triggers that specify why the pipeline will be fired; The Schedule trigger that allows you specify the date and time when the pipeline will be executed, the Tumbling window trigger in which the pipeline will be executed on a periodic interval, with the ability to save the pipeline state, and the Event-based trigger that will execute the pipeline as a response to a blob related event.
In this article, we will see how to automate the pipeline execution using a scheduled trigger.
Prerequisites
Azure Subscription.
Azure Data Factory.
You went through the previous articles and created at least one of the pipelines.
Scheduling the Pipeline Execution
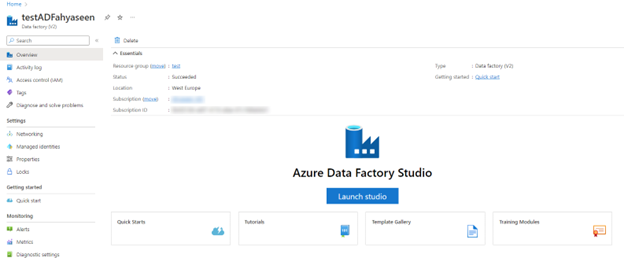
Open the Azure Portal using your Internet Browser and search for your Azure Data Factory service.
In the Azure Data Factory, click Launch Studio to open the Azure Data Factory Studio:
- In the Azure Data Factory Studio, click in the pencil icon to start scheduling the pipeline:
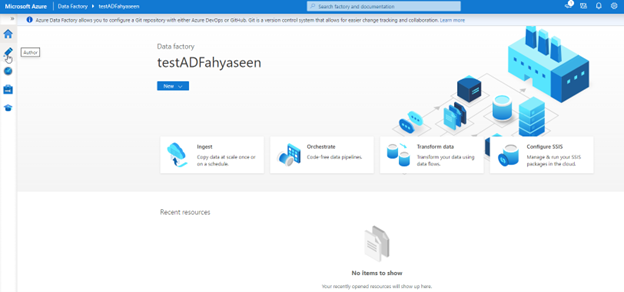
In the Author window, click on one of the Pipelines that we created in the previous demos.
From the pipeline design window, click on Add trigger option:
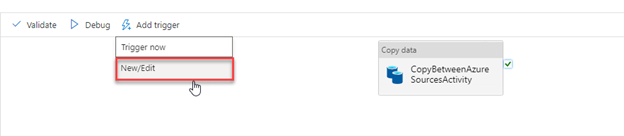
- In the New Trigger window, provide a meaningful name for the trigger and choose the type of the trigger as Schedule.
In the same window, provide when the pipeline execution will starts, the time zone of the selected time and the frequency of the pipeline execution, as below:

- In order for the pipeline to start executing based in the created trigger, you need to publish the changes using the Publish All option in the top of the design window:

Once published, you will see that the pipeline starts executing every 15 mins.
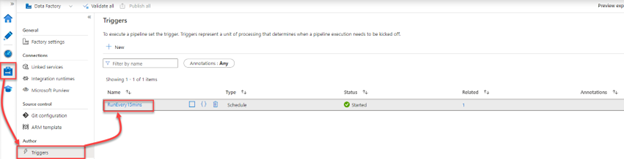
The same thing can be checked from the Manage tab, under triggers, that will show us all the available triggers and the related pipelines for each trigger, with the ability to create and edit these pipelines from that window:
Was this article helpful?