Use Wait for Image Action When Trying to Locate Objects
- Print
- DarkLight
- Download PDF
Use Wait for Image Action When Trying to Locate Objects
- Print
- DarkLight
- Download PDF
Article summary
Did you find this summary helpful?
Thank you for your feedback!
When building Robotic Process Automation (RPA) processes, it may be difficult to locate certain objects, depending upon the underlying technology and vintage of the application. This includes locating specific objects during recordings. When encountering situations where you can’t locate a specific object, you may defer to other strategies including hot keys (CTRL + S), sending keys like Tab/Enter or using computer vision.
Computer Vision will look for specific objects by examining a screen and comparing pixels to an image that you capture and store inside of a repository in Power Automate Desktop. Inside of Power Automate Desktop (PAD) we can use a computer vision strategy by using the Wait for Image action.
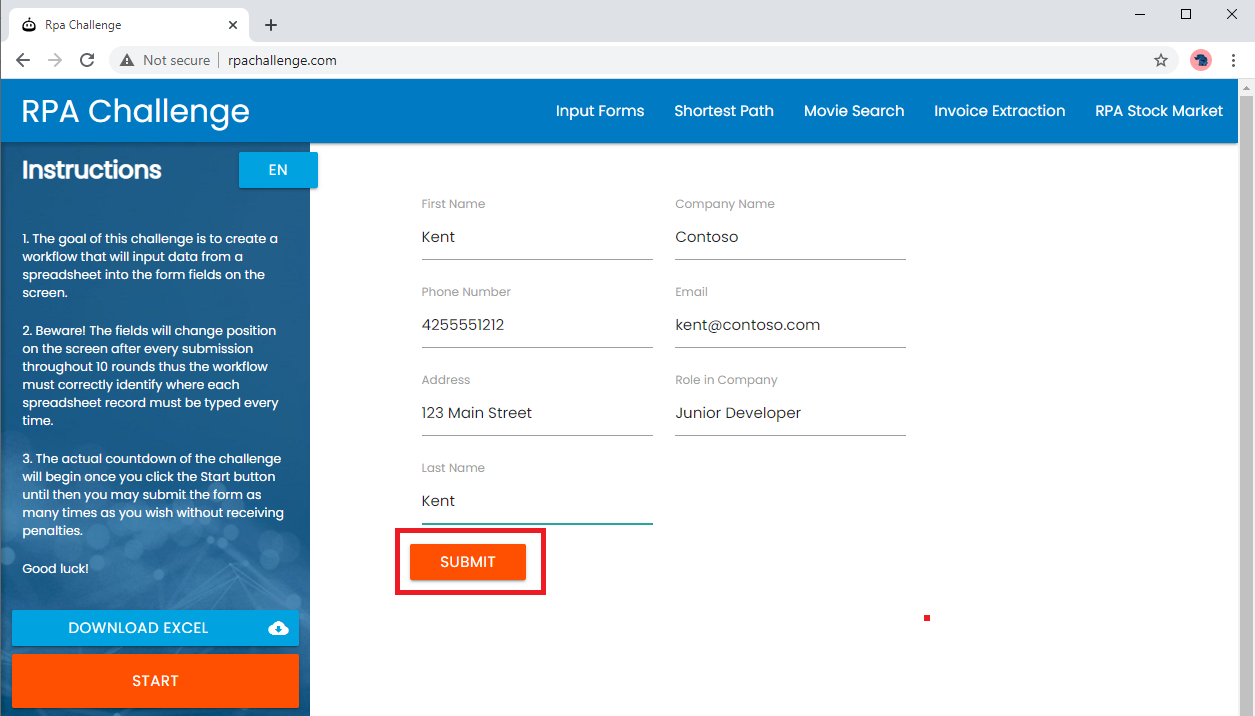
Consider a situation where we may have the following form and we are having trouble locating our Submit button using xpath, css or other selectors. This could be because the web page developer is using dynamic values to generate the button or perhaps it is nested in iframes, divs or other markup that makes locating it more difficult.
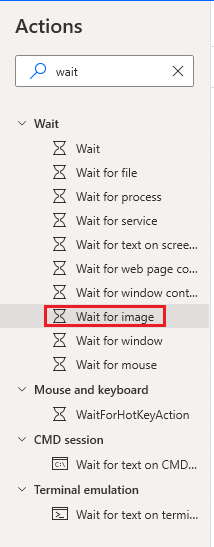
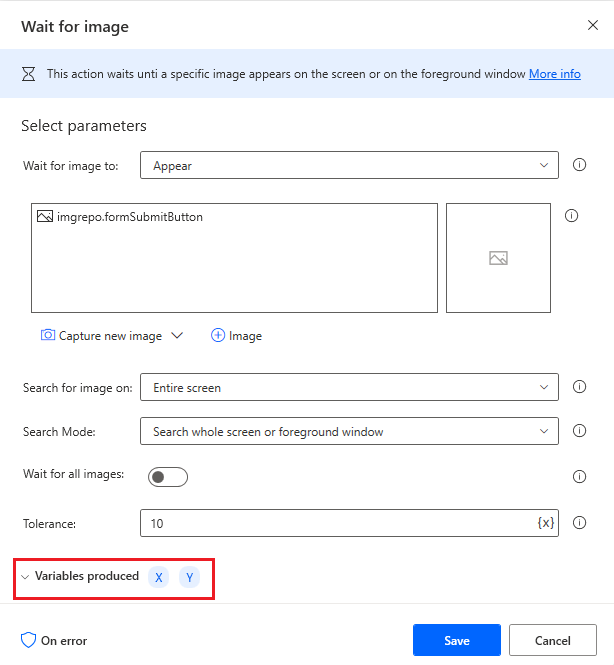
- If we want to click this button, we can use the Wait for Image action to detect the image and then we can use its co-ordinates to subsequently send a mouse click. We can find the Wait for Image action in the left navigation panel by searching for it.
We now need to configure our Wait for image action. The first step that we need to perform is to click on the Capture new image button.
Note: Be sure to have the web page, or application, that you are automating launched before trying to capture the image.
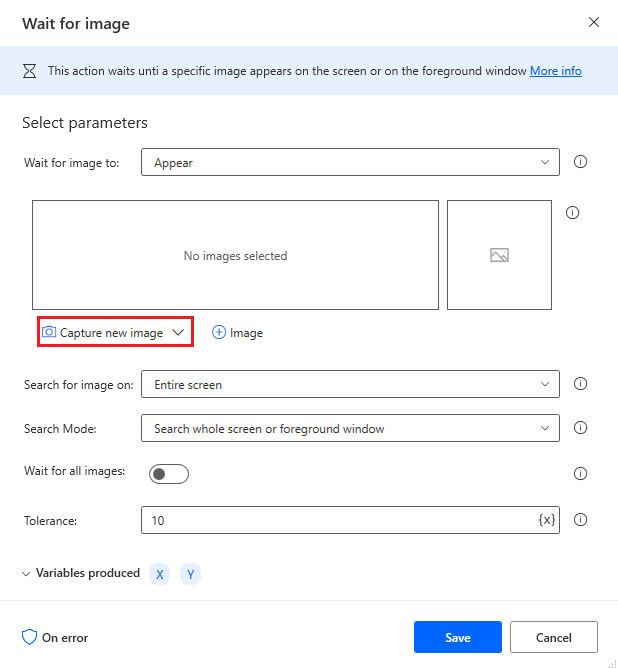
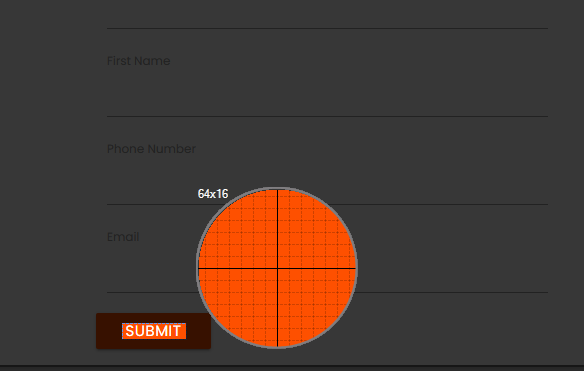
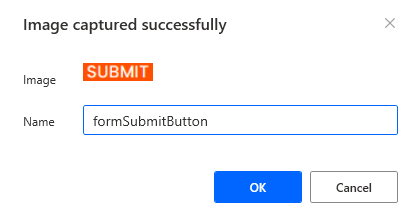
- An experience will launch that will allow you to capture the area of the screen that you want to be able to detect. We will select our Submit button by drawing a rectangle around it.
Note: Do not capture an area that is too big as it will make the computer vision process more complicated and will take longer to complete. Please see this link for additional information.
- Provide a meaningful name and click OK button.
When we use the Wait for image action, there are two variables that are generated that capture the X,Y coordinates of our button. We will use these values in a subsequent step. To complete the configuration of this action, we need to click the Save button.
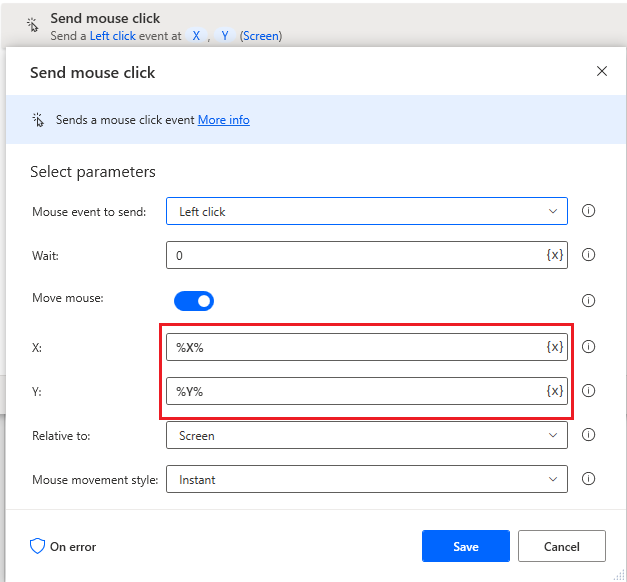
We will now add a Send mouse click action and populate our X,Y coordinates. This will click the screen at this specific location, which represents where our button is located.
Testing
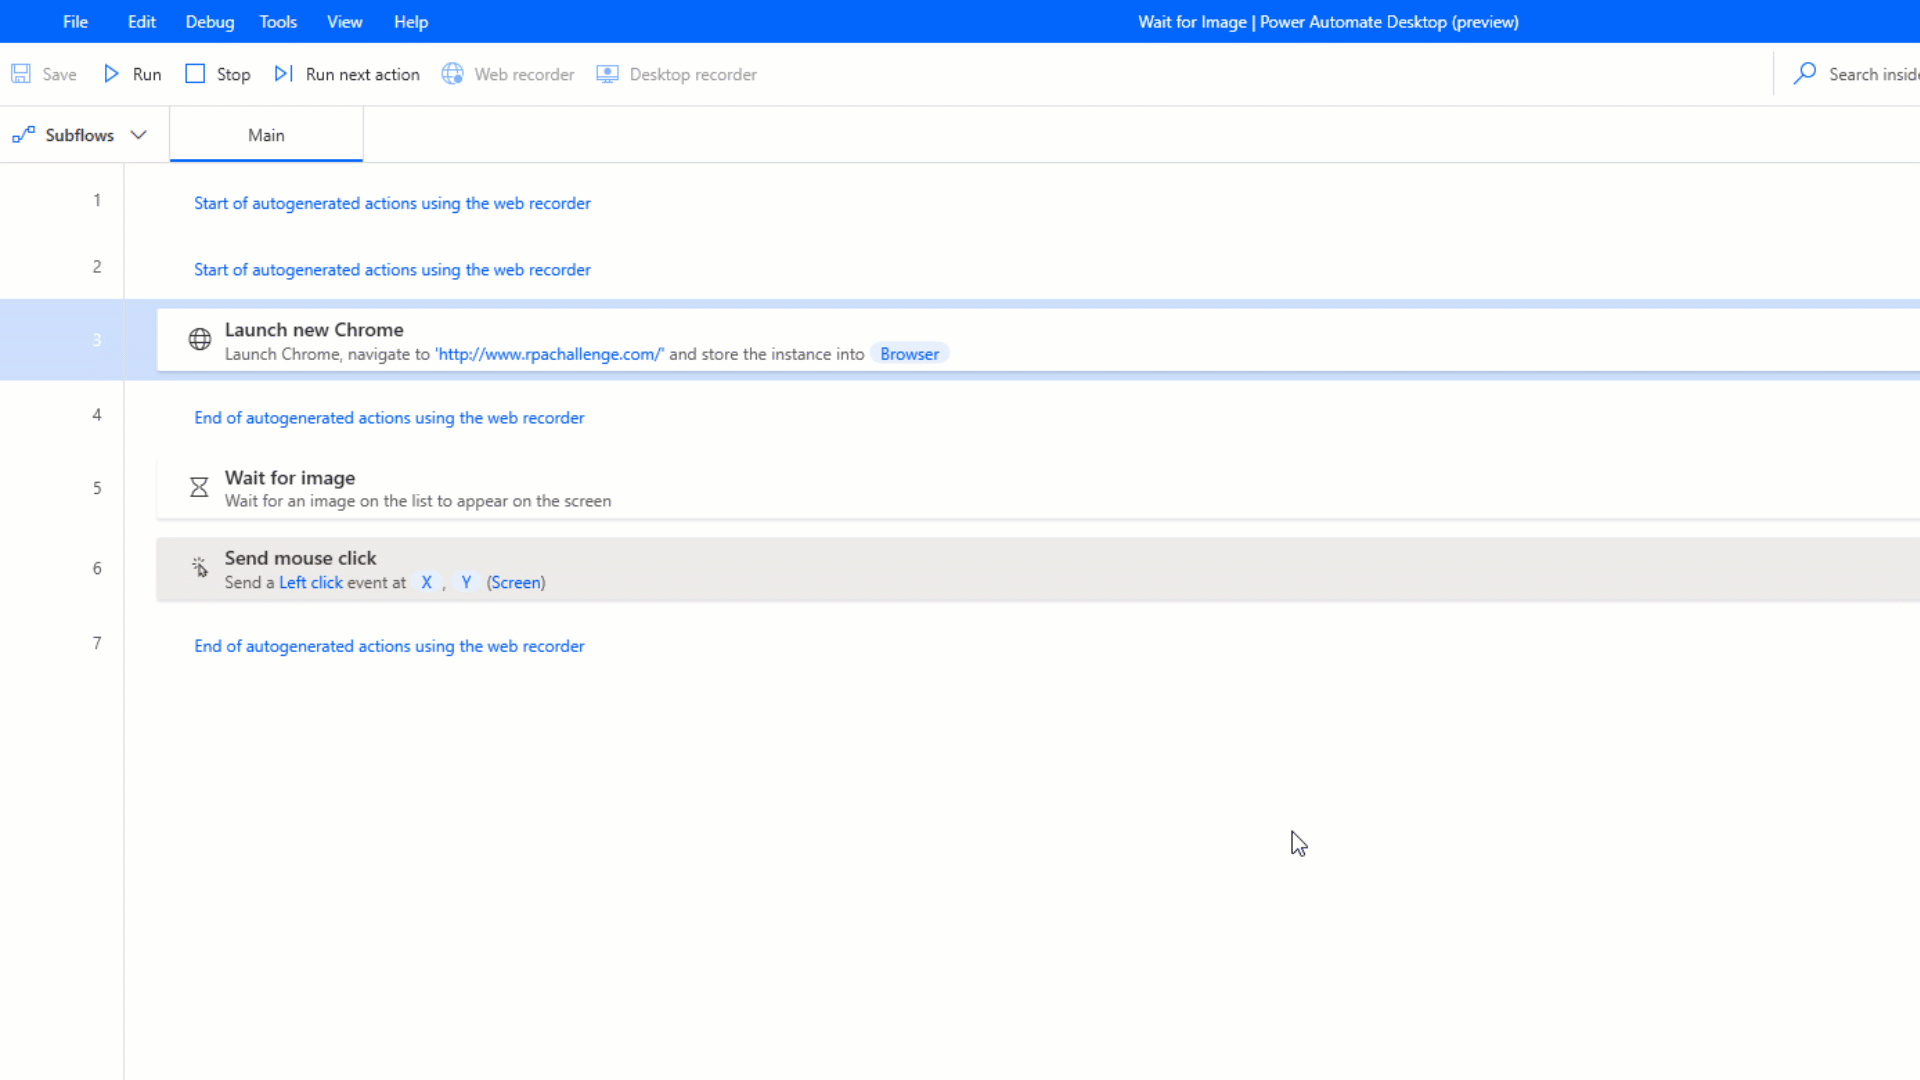
When we run our tests, we will see our web page load, we can populate data and then use the Wait for Image action to detect our Submit button and then click it.
Was this article helpful?