Working with PowerShell Azure Functions Locally
- Print
- DarkLight
- Download PDF
Working with PowerShell Azure Functions Locally
- Print
- DarkLight
- Download PDF
Article summary
Did you find this summary helpful?
Thank you for your feedback!
#ServerlessTips - Azure Functions
Author: Dave Rendón Microsoft Azure MVP
This article is intended to guide you on how to work with PowerShell Azure Functions in your local machine.
Pre-requisites
- An active Azure subscription
- Visual Studio Code - https://code.visualstudio.com/download
- PowerShell 7
- .NET Core SDK 2.2+ - https://www.microsoft.com/net/download
Working with PowerShell Azure Functions locally
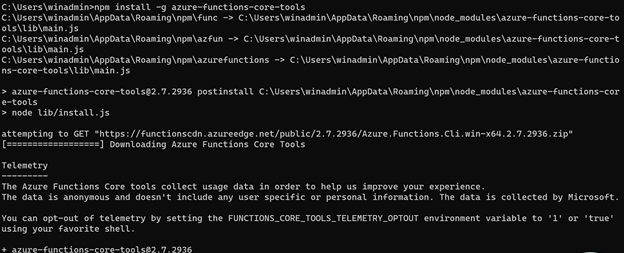
Install the core tools
Before we start working on a local machine, let's install the core tools Core Tools package using the command below:
npm install -g azure-functions-core-tools
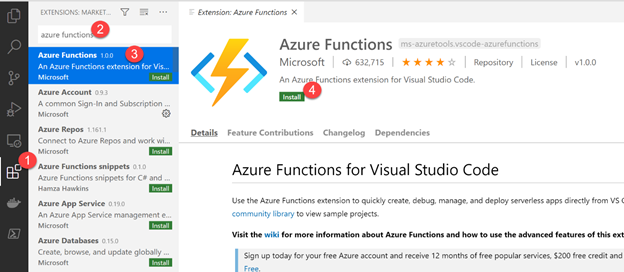
Install Azure Functions extension
Now, on your local machine open Visual Studio Code (VSCode), look for the Azure Functions extension and install it, as shown below:
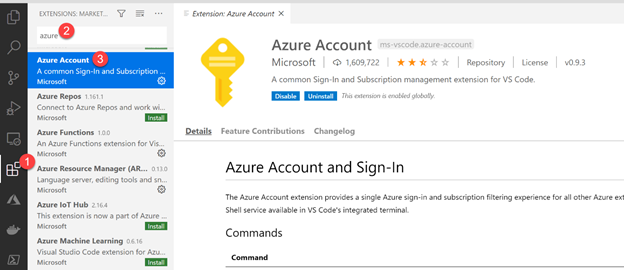
Install Azure extension
In case you don't have it yet, install the Azure Account extension which provides a single Azure sign-in and subscription filtering experience for all other Azure extensions.
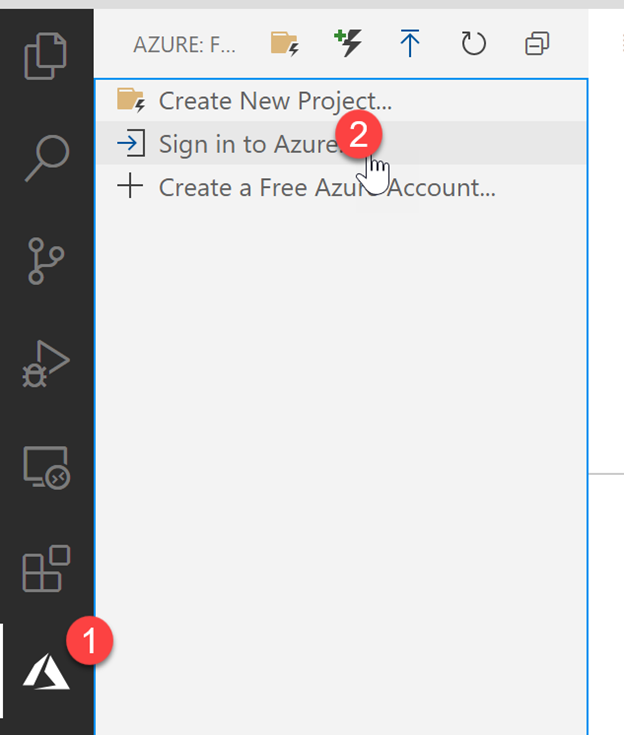
Now, that we have both extensions enabled, let's proceed to sign into the Azure subscription. Click on the Azure Account extension and Sign In, this will take you to a browser tab to login to your actual Azure subscription:
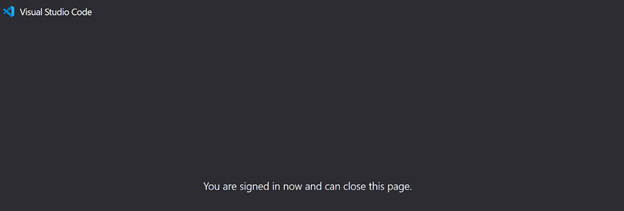
You should see a screen like below after you sign in:
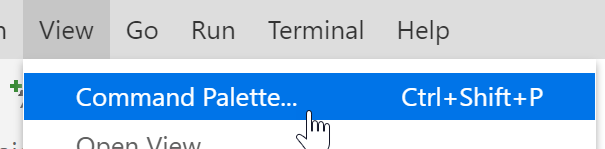
Note: If you're working with multiple Azure subscriptions and you don't see the preferred Azure subscription you can switch the Azure subscription. Click on View- Command Palette…
Now, type "sign out"

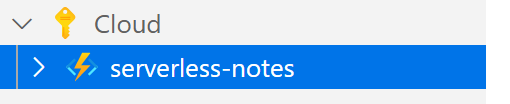
Now, you can sign into the preferred Azure subscription and you should see your Azure Functions previously created:
Expand on the Azure Function and select the actual function, you should see your json file:
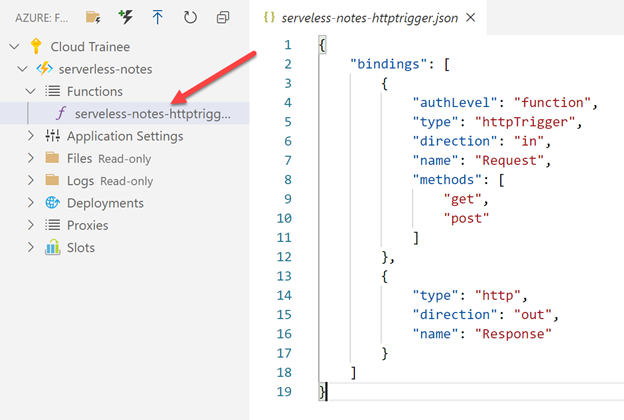
Note, that the files are read-only. Let's go to the top menu and create a new project:

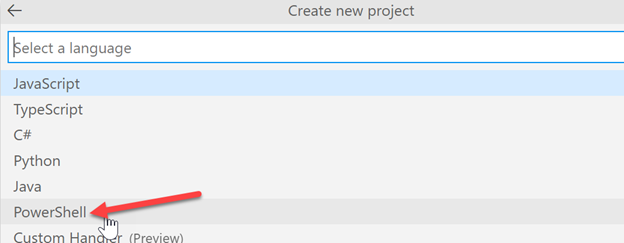
You will then be prompted to select a language for your project. Choose PowerShell.
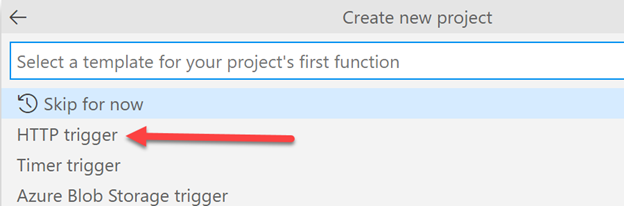
Then create a function, in this case an HTTP trigger:
Then, name the function:

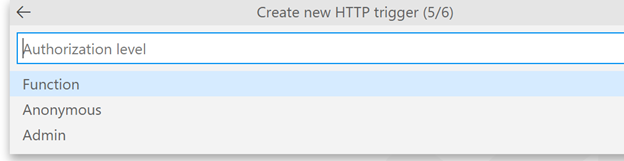
Now, provide the authorization level, in this case "Admin".
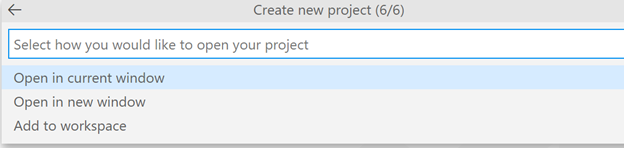
Now choose, how do you want to open the project:
Now, click on Run - start debugging:

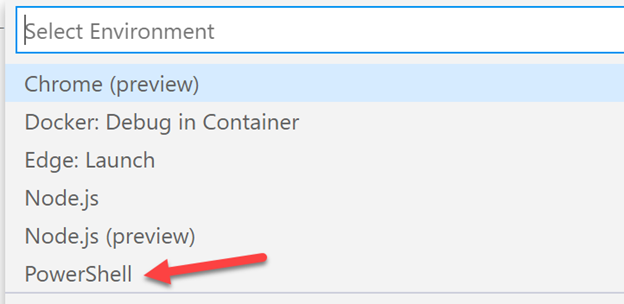
On the select environment option, choose "PowerShell":
Once selected, you should see the project and your PowerShell Azure Function as below:
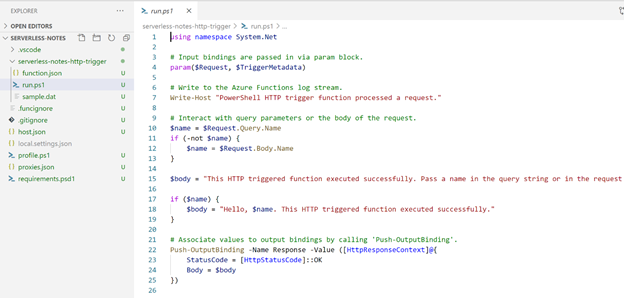
Modify the body:
$body = "Hello from Serverless Notes! Your PowerShell Function works as expected."
Now, let's run the PowerShell Function:
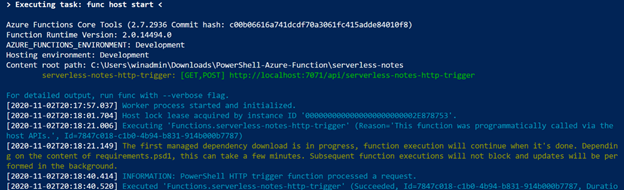
You should see in your browser the $body: http://localhost:7071/api/serverless-notes-http-trigger

Along this article we reviewed how you can work with PowerShell Functions in your local machine, installed the dependencies and extensions needed and demonstrated how to run your PowerShell Function.
Was this article helpful?